A practical tackle list for your first trip to a day-ticket lake. Choose one or two rods, tick off what you have and see how the ready-tied rig fits together.
If you've ever looked at a wall of carp rods and wondered where to start, this guide is for you. We'll put together a simple outfit for a few hours at a day-ticket lake. You'll see what each piece of tackle does, how the pieces fit together and what to have ready before your first cast. The example uses a ready-tied hair rig so you can practise fitting the bait and checking how it sits in the water on your first trip.
Choose your lake before you order anything. Check how many rods you can fish, which hooks and line it allows, and whether it supplies nets or mats. Start with one rod if you're still getting used to the reel and alarm. A few hours with one outfit will give you time to get comfortable with the whole routine, from setting up the rod to having the net ready for a fish.
Pick one or two rods below, then use ‘Already have’ beside each item to count anything suitable you own, can borrow or will get at the lake. If you've got one reel and plan to fish two rods, the list will show that you need one more. Where there are two products for the same job, compare the trade-offs and choose whichever suits your lake and budget. When you're ready, tick ‘Show only what I need’ or print the list to take with you.
Your tackle shopping list
Count suitable gear you own, can borrow or know the venue provides.
14 of 14 tackle categories still to source
Your choices are saved on this device.
Ad · Amazon UK links. As an Amazon Associate I earn from qualifying purchases. Tackle images are generic illustrations. Check the selected variant, customer ratings, price and availability on Amazon.
Landing and looking after carp
It’s easy to think about the first cast as soon as you reach the lake. Give yourself a minute to picture what happens if you get a bite straight away. Where will you stand with the net? Where will you put the fish while you take the hook out? Work those two things out while both hands are free and the rod is still on the bank.
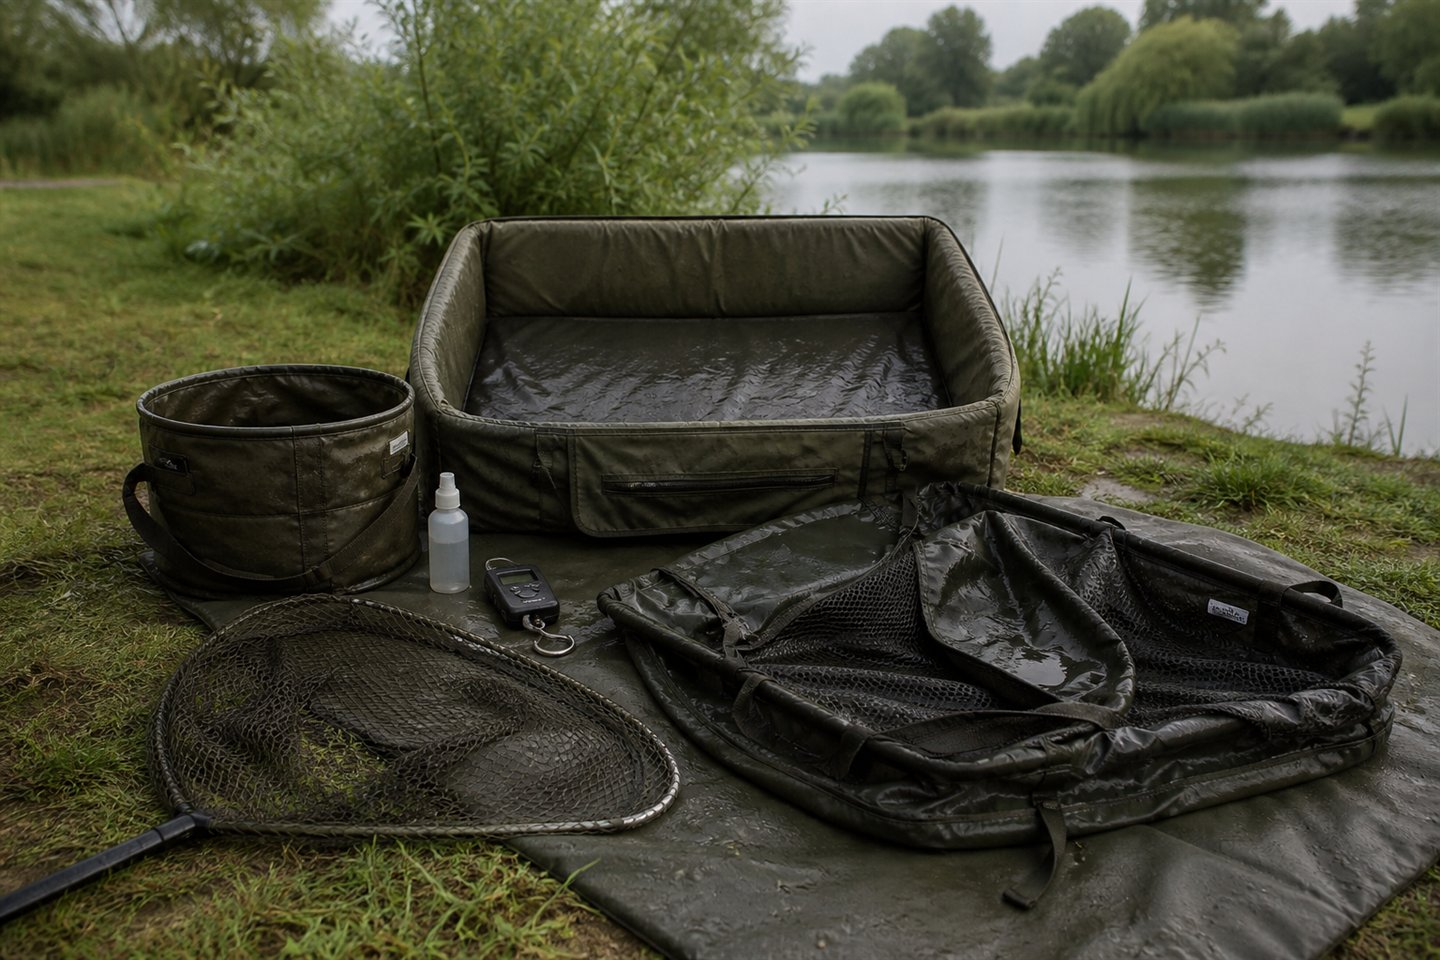
Open the landing net and put it where you can reach the handle without stepping over a bag or another rod. Set the mat or cradle on a level patch nearby, clear of stones and sticks. Keep a container of lake water and your forceps or disgorger alongside it, and wet the mat before the fish goes on it. Do a quick walk from the netting spot to the mat. Moving a fish is much easier when there’s nothing in your way.
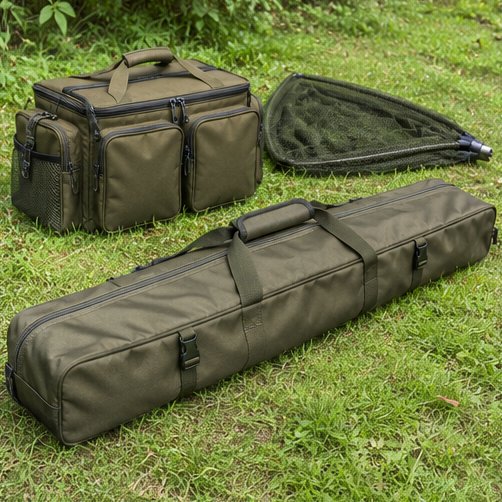
You can share this kit between one or two rods. Before buying a net or mat, ask the fishery what it provides and what it expects you to bring. Some waters want you to use their kit. If you can borrow a suitable net, put it together at home and make sure the handle reaches comfortably from the sort of bank you’ll be fishing.
Landing net and handle
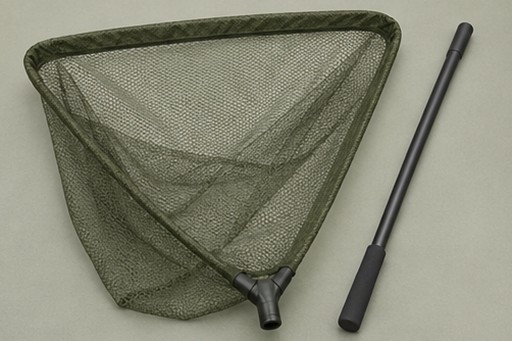
A large triangular net gives a carp room to sit upright in the mesh. A 42-inch net with a roughly 2 m handle is a useful starting point on many UK day-ticket lakes. Check the height and reach from the actual swim before fishing.
Before you buy Assemble it at home. Check the spreader block, arm sockets and handle thread. Guide the carp over the submerged mesh head-first and support the frame and mesh when lifting. Avoid levering the fish up on the handle.
1 complete net needed· 1 complete net to source
NGT 42-inch carp landing net and handle
42-inch net with a 2 m telescopic handle
Why choose it
The listing includes a handle, so you can avoid ordering a net head and a potentially mismatched handle separately.
Trade-off
The net and reach may feel cumbersome in a tiny swim, and a high platform can still be too far from the water. Check the fishery’s net rules first.
Choose a mat with enough padding and surface area for the carp at the lake. Use it on level ground near the water. Set it out and wet the fish-contact surface before transferring a fish from the net.
Before you buy Some lakes specify a cradle or supply their own fish-care kit. If you choose a raised cradle, check that the feet are stable on the actual bank. Keep the fish low and return it promptly.
1 mat or cradle needed· 1 mat or cradle to source
Pack a suitable disgorger or long forceps, a dedicated water container and any fish-care supplies the venue requires.
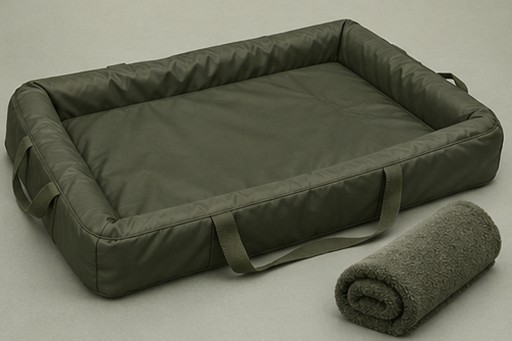
NGT padded beanie mat
110 × 60 cm padded mat with pegging points
Why choose it
Sits low on the ground and is easier to carry than a framed cradle. Pegging points help keep it from blowing away while empty.
Trade-off
Needs a clean, flat patch and may fall short of a venue’s cradle or minimum-size requirement.
Think about where you’re likely to cast on your first day. On a small lake, that might be a clear patch a little way from the bank. Choose an outfit you can lift, aim and cast comfortably from the peg. A shorter rod can be easier to handle in a tight swim, while a 12 ft rod is a useful option when you’ve got space behind you. If you already have a usable rod, fit the reel to it at home and see how it feels in your hands before you shop for a replacement.
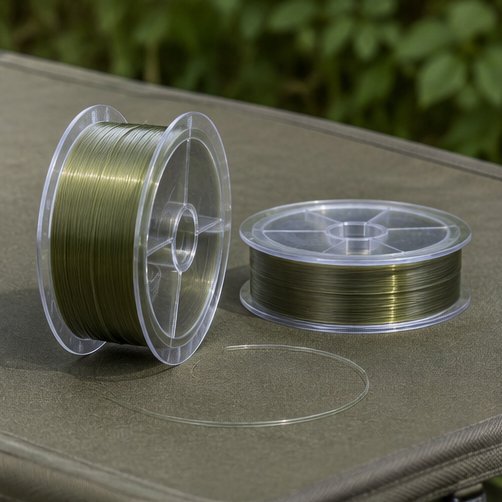
Mainline is the line on the reel that runs through the rod rings to your tackle. Check the lake’s rules before buying it. Where there’s a minimum diameter, look for the measurement in millimetres on the spool label as well as the breaking strain in pounds. Then check how much of that diameter the reel holds. A bulk spool may cover both reels, depending on their capacity and how much backing you use underneath the working line.
Give yourself time to learn the reel before you go. With the hook and lead off, practise opening and closing the bail arm, pulling a little line against the drag and using the freespool lever if you have one. If you’re buying a second reel anyway, matching the first means the controls will be where your hand expects them when the alarm goes.
Carp rod
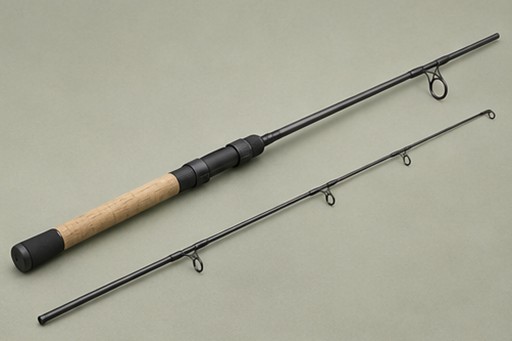
A 12 ft rod around 3 lb test curve is a practical starting point for ordinary open swims and sensible casting loads. A test curve describes the force needed to bend the rod to a stated angle. It doesn’t tell you the maximum casting weight. A 10 ft rod can be easier to swing in a tight swim.
Before you buy Read the actual rod’s casting guidance and include the lead, rig, bait and any extras in the total load. Check transport length as well as fishing length. A three-piece 12 ft rod can pack shorter than some two-piece 10 ft rods.
1 rod needed· 1 rod to source
Daiwa Black Widow XT Carp 12 ft
12 ft, 3 lb test curve, three sections
Why choose it
Progressive action and a 128 cm quoted transport length make it a useful general day-ticket option when storage space is tight.
Trade-off
Needs more clearance to swing than a 10 ft rod. Check all joints are fully seated before casting.
The shorter, lighter outfit is easier to manoeuvre in a clear margin or tight swim.
Trade-off
Use a casting load suited to this lighter rod. Check the manufacturer’s guidance before using the 2 oz lead on this list. The quoted transport length is 157 cm.
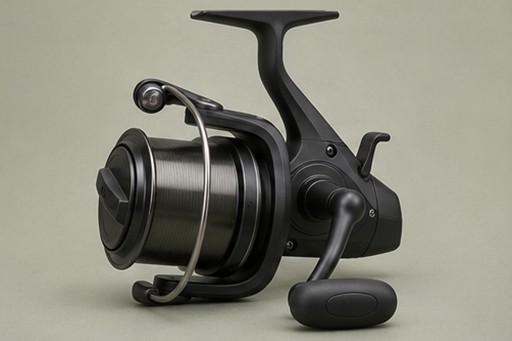
A freespool reel lets line leave the spool under adjustable tension while the rod is on its rests. Baitrunner is Shimano's name for its version of this system. Practise switching from freespool to the fighting drag before you cast, and stay close enough to take the rod promptly.
Before you buy Hold the reel on the rod if you can. Reel size numbers vary by brand, so use the capacity marked on the spool for your chosen line diameter. Check whether backing, line or a spare spool is supplied.
1 reel needed· 1 reel to source
Shimano Baitrunner ST 6000 RB
6000 size, rear drag with freespool lever
Why choose it
The 6000 is the smaller ST RB option and a sensible place to start for a general short-to-medium-range outfit.
Trade-off
Less line capacity than the 10000. Check the exact listing selection and balance before pairing it with a light 10 ft rod.
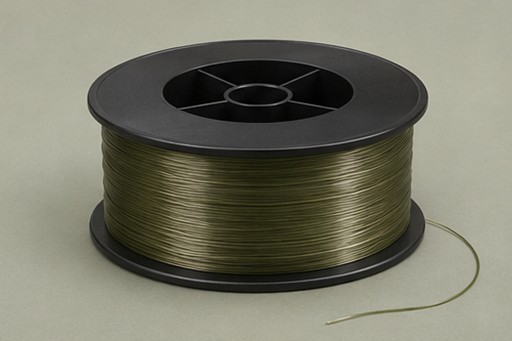
Mono is a practical first mainline for many day-ticket waters. Compare actual diameter as well as breaking strain. A 15 lb line around 0.35 mm is one example for open water if the lake permits it. Some waters require a thicker line or have additional tackle rules.
Before you buy Check how many metres your spool holds at your chosen diameter. Use suitable backing if needed, spool under light tension and leave the gap recommended by the reel maker. Cut back damaged line after a snag or rough contact.
1 bulk spool needed· 1 bulk spool to source
Gardner GT-HD mono
Choose 15 lb / 0.35 mm where permitted
Why choose it
The relatively low stretch helps you feel the lead touch down at short or moderate range.
Trade-off
A 0.35 mm line falls short on lakes that require a larger diameter. Confirm both the strength and spool length on the listing.
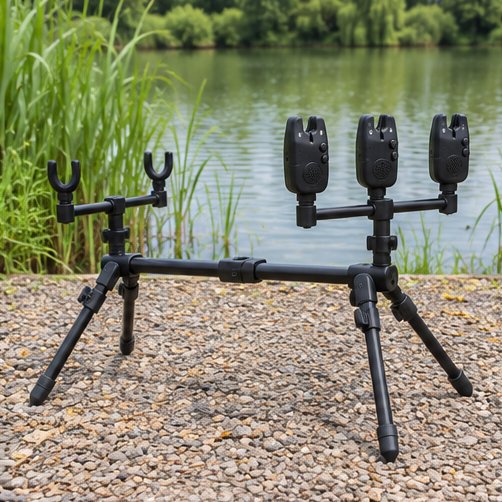
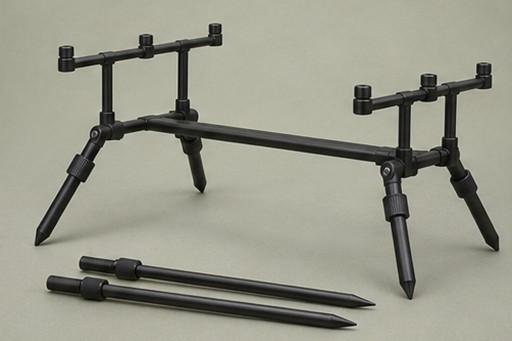
Look at the peg before choosing what to rest your rods on. On firm ground where the fishery allows banksticks, you can use one at the front for the alarm and one at the back for the grip that holds the rod handle. A rod pod does the same job on a platform or hard bank where sticks won’t go in. If you’re fishing two rods, leave enough room to lift either one without catching the other rod or its line.
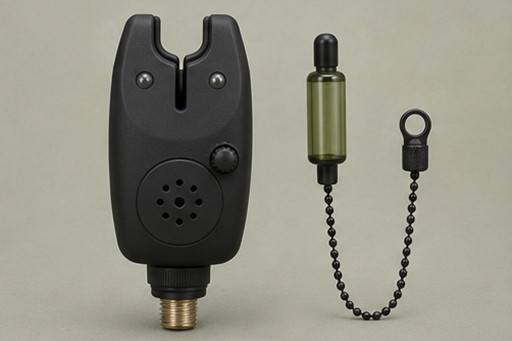
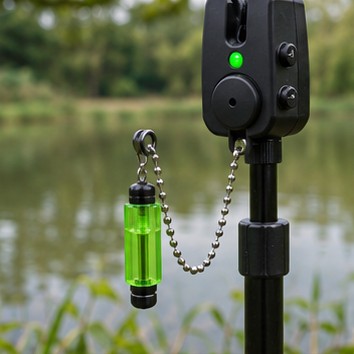
The alarm lets you hear line moving. The bobbin, which hangs from the line below the alarm, lets you see it. Draw a little line away from the reel and watch what happens, then give it some slack and see how the bobbin drops. A fish moving towards you can slacken the line, so that downward movement is worth recognising. Try both directions before the first cast so you know what your own setup does.
Once the rod is fishing, sit where you can see the bobbin and reach the handle promptly. Set the volume so you can hear it from your chair and check that the rear grip holds the handle snugly. If a bobbin keeps twitching in a crosswind, watch what the line and rod tip are doing before you decide whether you’ve had a bite.
Rod pod or bankstick setup
Two banksticks per rod keep things simple on firm, penetrable ground. Use a pod on a stable platform or hard surface where sticks can’t go in. Position the tips so your lines don’t cross and keep a clear route to each rod.
Before you buy A complete support setup means one pod with enough positions or two banksticks per rod. Secure both ends, including rear grips that fit your rod handles. Check what the listing includes before paying.
1 support setup needed· 1 support setup to source
Leeda Rogue 3-in-1 rod pod
Folding pod with buzz bars and carry case, up to three rods
Why choose it
One pod works for the one- or two-rod setup and gives you a solution for harder swims.
Trade-off
Bulkier than a pair of sticks on soft ground. Check rear grips separately and tighten the joints before trusting it with a rod.
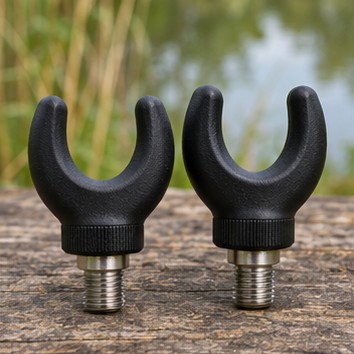
A rear grip holds the rod butt in place and helps stop it shifting on a take. Choose a fit that holds the rod securely while still letting you lift it smoothly.
Before you buy If your existing bankware already includes suitable rear grips, count them here. Check the thread and handle fit with the reel installed.
1 rear grip needed· 1 rear grip to source
NGT Grippz rear rests
Three standard-thread rear grips
Why choose it
One pack covers either rod count and leaves a spare.
Trade-off
Check that the grip actually holds your chosen handle. The pack contains grips and you still need the pod or sticks.
The alarm sounds as line moves through it. For daylight sessions a single adjustable alarm per rod is enough. Use the lowest volume you can hear clearly from beside the rods.
Before you buy Fit batteries, pass line through each alarm and test it before the first cast. A separate receiver is optional for this day setup.
1 alarm needed· 1 alarm to source
NGT VX2 bite alarm
One black alarm with volume and tone controls
Why choose it
A simple way to buy exactly one alarm per rod without a multi-alarm set.
Trade-off
Check the supplied battery and keep a compatible spare. Add a visual indicator separately.
A bobbin clips onto the line below the alarm. It can rise when line tightens or fall when a fish moves towards you. A light bobbin is enough on many sheltered day-ticket swims.
Before you buy Make sure the clip moves or releases as intended without trapping the line. Test by drawing line away from the reel and then giving it slack.
1 visual indicator needed· 1 visual indicator to source
Fox Black Label Slik bobbin
One Slik bobbin, confirm selected colour
Why choose it
Shows changes in line tension and lets you adjust the clip for your line.
Trade-off
A hanging bobbin can move in strong crosswinds. Check the mounting fitting and tension before fishing.
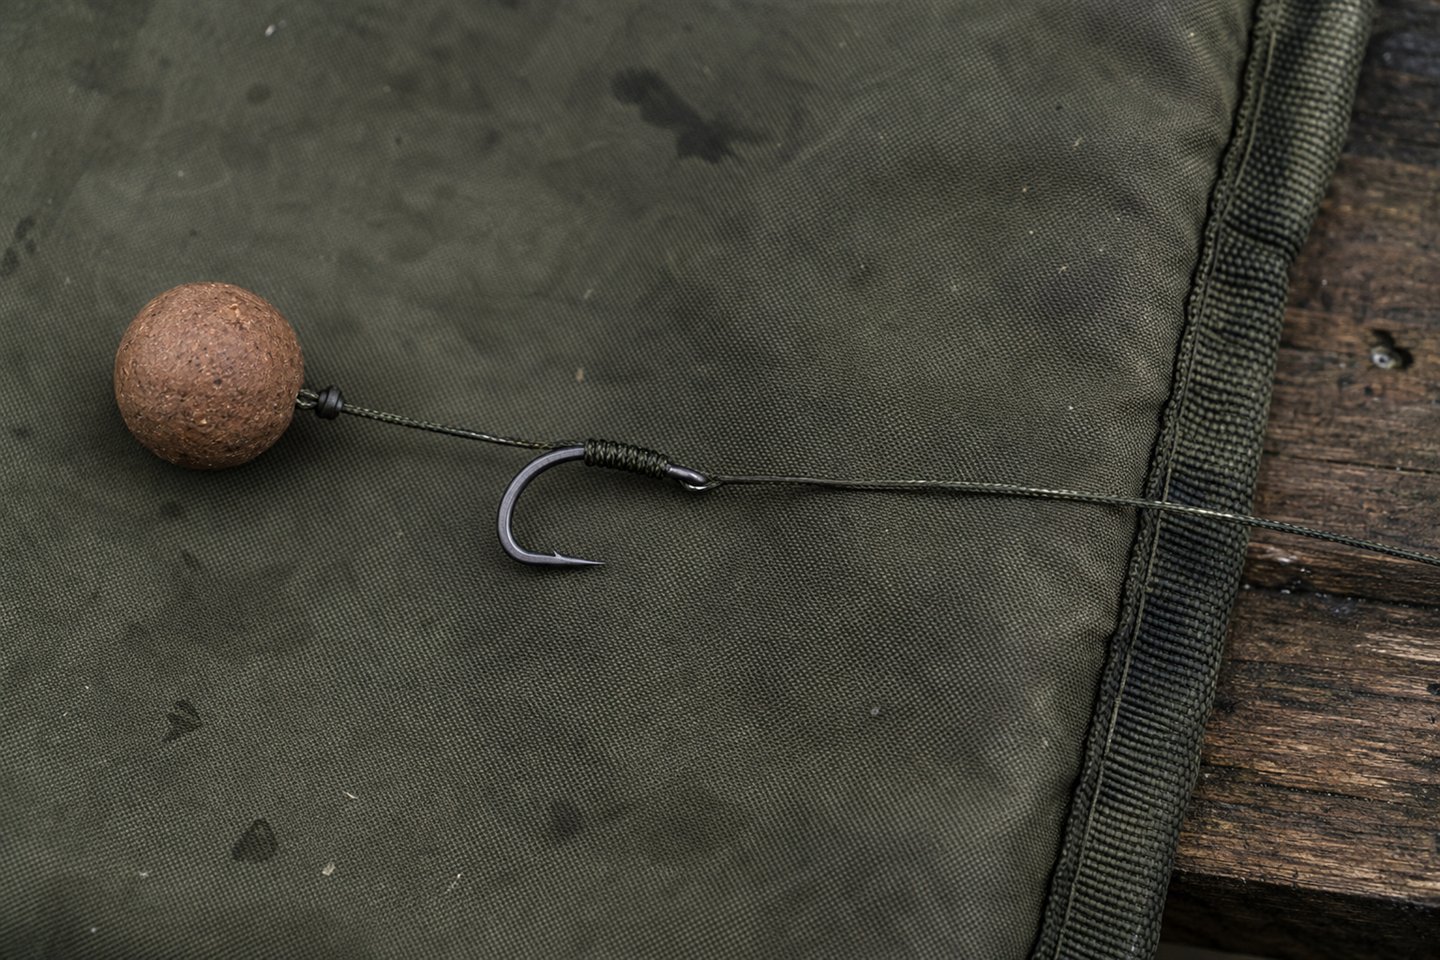
A ready-tied hair rig is a good place to start because you can see what the hook and bait are meant to do. The boilie sits on a short length of line beside the hook, which leaves the point exposed. This setup uses a sinking 15 mm boilie with a size 6 hair rig designed for that bait size. Check which hook type your lake allows before you choose between the barbless and micro-barbed options below.
Lay out the rig, the matching lead-clip pack, a swivel weight, a baiting needle and a bait stop on a table at home. The rig packet contains the hook and hooklink, which is the short length joining the hook to the lead system. The lead-clip pack supplies the matching fittings, and the swivel weight comes separately. Once you can recognise each piece, fitting them at the lake is a much smaller job.
Start over a clean, firm patch within easy casting range. Before casting, lower the baited rig into clear shallows where you can see it. Look for the boilie to settle with the hook point clear. If the rig comes back with weed around it, check the hook and try a clearer spot. A spare rig per rod gives you a quick replacement if you find a damaged point or frayed hooklink.
Ready-tied hair rigs
The hair is the short section that carries the bait beside the hook. Pull the boilie onto that hair with a baiting needle and fit a stop through the loop. The hook point stays clear. Carry a spare per rod so a damaged point or hooklink is easy to replace.
Before you buy Choose the hook size and barb type the lake allows. The default size 6 example is barbless. If the listing title covers both versions, confirm the selected option and packet marking before ordering.
2 rigs needed· 2 rigs to source
Korda BASIX Wide Gape hair rig, size 6 barbless
Size 6 barbless, 18 lb hooklink, two rigs with stops
Why choose it
Pre-tied loop and sleeve match the BASIX quick-change system. The supplied hair is designed for a 15 mm bottom bait or suitable wafter.
Trade-off
The fixed hair and hook size limit bait changes. A short rig can sit poorly in deep silt or thick weed, so choose a clean spot.
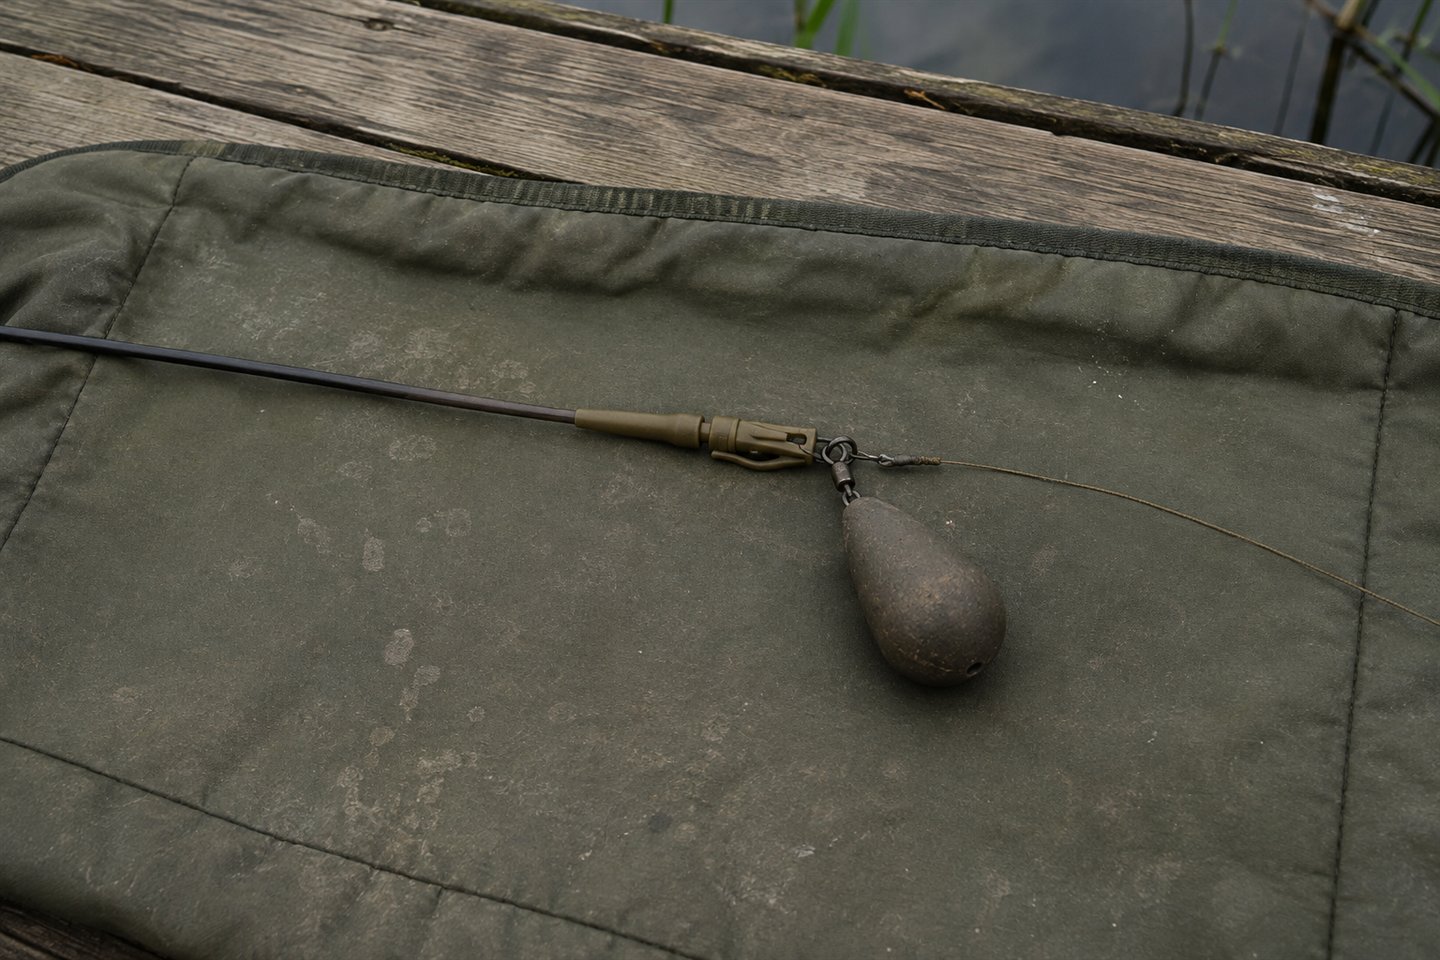
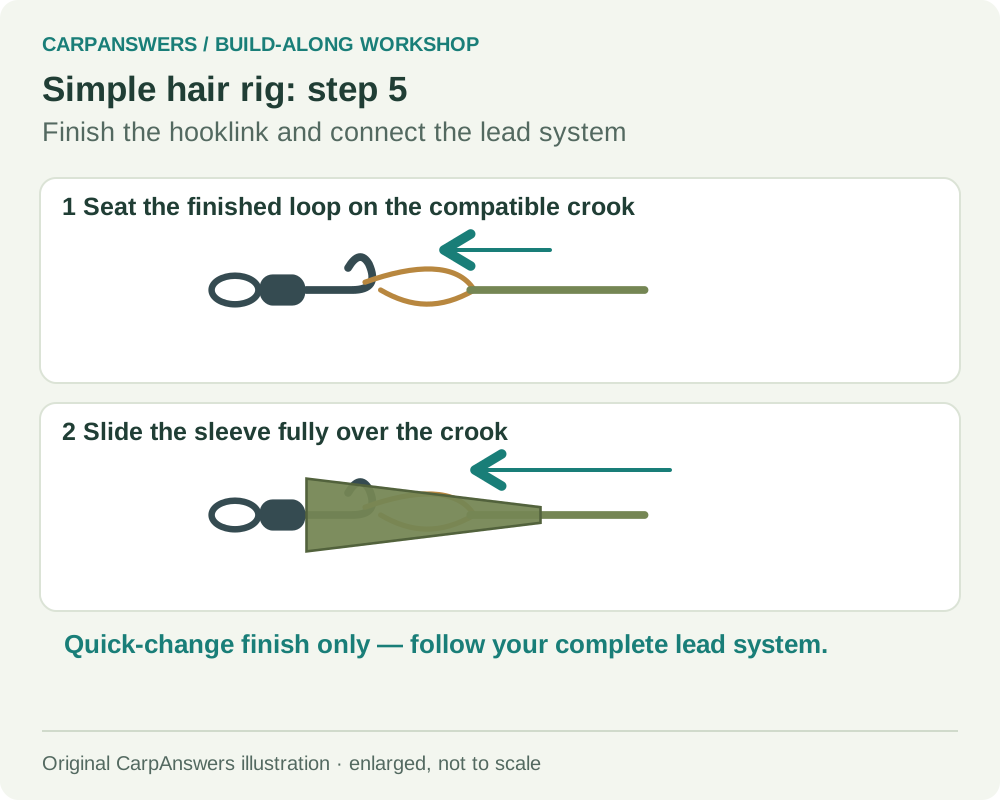
The clip holds a swivel lead, the tail rubber controls how it stays on, and the quick-change swivel connects the rig. Use the matched components and assemble them in the order shown by Korda. One complete assembly per rod plus spares is plenty to start.
Before you buy Follow the maker’s fitting and release instructions. Keep the rig loop fully seated with its sleeve over the swivel hook. Test lead release without a hook exposed. If the venue bans tubing or requires another system, ask what it accepts and use an approved arrangement.
2 lead-clip assemblies needed· 2 lead-clip assemblies to source
Korda BASIX Lead Clip Action Pack
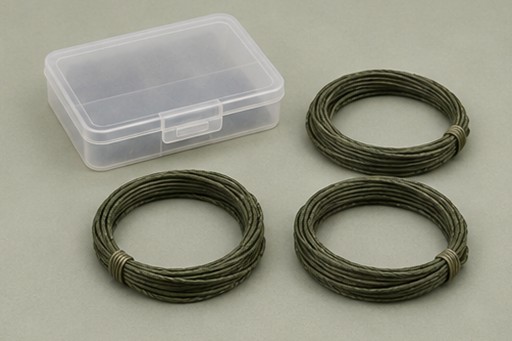
KBX021 camo green, components for five assemblies
Why choose it
Tubing, clips, tail rubbers and quick-change swivels come together, and Korda confirms compatibility with the BASIX hair rig.
Trade-off
Leads are separate. This is a tubing-based system, so check the venue’s rig rules before ordering.
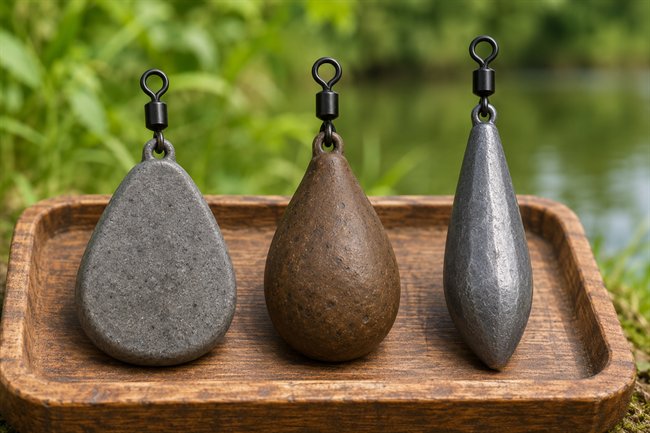
For the matched clip, use a swivel lead with an eye that fits the clip. A flat pear around 2 oz can suit a short cast on the 12 ft outfit if the rod and lake allow it. Choose a lighter load where needed, especially with the 2 lb rod.
Before you buy Check the full casting load against rod guidance and test the chosen swivel in the clip. If the lake requires non-lead weights, use a permitted swivel-weight equivalent with the same fit check.
2 swivel leads needed· 2 swivel leads to source
Flat pear swivel leads
2 oz flat pear, pack of ten
Why choose it
Flat profile and a swivel eye suit the basic short-range clip setup when the eye fits. One pack covers both setups with plenty of spares.
Trade-off
More than a first session needs, and 2 oz won’t suit every outfit or venue. Buy or borrow a lighter suitable weight if that’s what the rod needs.
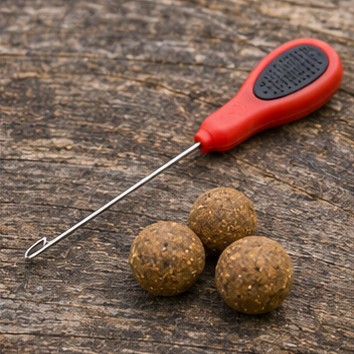
Use a fine needle with a small latch or hook to pull the hair loop through a boilie. Put a bait stop through the loop and ease the bait back against it.
Before you buy Use the needle away from your hand and carry it in a case. The Korda rigs include stops. Keep the hook point exposed and check the bait doesn’t jam against it.
1 baiting needle needed· 1 baiting needle to source
Fox Edges five-piece needle set
Set includes fine and gated needles
Why choose it
Useful if you want a spare and different tips for firmer or softer baits.
Trade-off
One suitable needle is enough for the first trip. You may rarely use the other tools in the set.
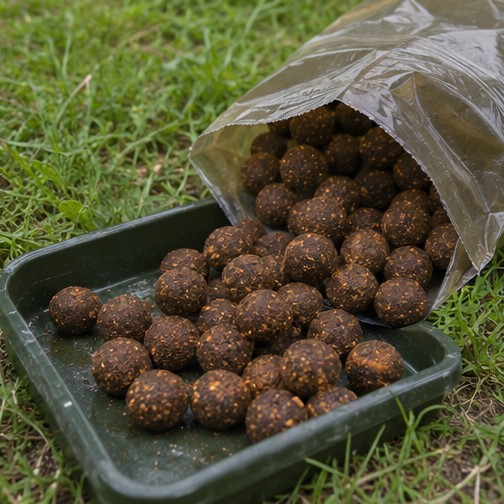
A 15 mm sinking boilie matches the size 6 rig’s intended hair length. Take a small amount to the bank. Start with a few free offerings close to the hookbait and add more only if the situation calls for it.
Before you buy Check that the lake permits the bait. Lower the actual rig and bait into shallow, clear water to see that the boilie settles and the hook sits clear. A pop-up changes the presentation and needs a different balance check.
1 bag of boilies needed· 1 bag of boilies to source
Mainline High Impact Banoffee boilies
15 mm sinking boilies, 1 kg resealable bag
Why choose it
The same bag supplies hookbaits and matching freebies. The 15 mm size fits the intended size 6 BASIX hair.
Trade-off
A kilo is far more than you need to feed on a first short trip. Check the selector because the range also comes in 20 mm.
Start with one rod for a few daylight hours on a manageable lake. With one line in the water you can pay attention to where it lands, how the lead feels as it touches down and how the alarm responds when the line moves. It’s also easier to clear the swim and use the net when you hook a fish.
A second rod is useful once you can manage the first comfortably. Try two distinct spots with clear lines, such as a near-margin patch and a slightly deeper open-water patch. Leave the second rod packed in a cramped swim or where your lines would cross. The second outfit adds a rod, reel, alarm, indicator and rear grip, plus extra rigs and weights. You can share the net and mat.
You can make that decision at the lake. Set up one rod, see how much room you have and work out where you’d bring a fish to the net. If a second line would cross that route, fish the one rod and enjoy the extra space. You’ll still come home knowing more about the swim and how your tackle behaves.
How to fit the ready-tied hair rig
Try the assembly at home first, in good light, with a tray for the little fittings. Follow the BASIX Action Pack instructions for threading the tubing and assembling the lead clip with its matching swivel and tail rubber. At the end of the ready-tied rig you’ll find a loop and a sleeve. Seat the loop in the quick-change swivel, then slide the sleeve over the connection. Fit a permitted swivel weight and follow the maker’s release check.
For the bait, pass the needle through one 15 mm bottom bait and catch the small loop at the end of the hair. Draw the loop through the boilie, slip a stop through it and slide the bait back against the stop. Give the bait a gentle tug, then check that the hook point is clear and the hooklink is free of twists. Lower the rig into the margin, the shallow water beside the bank, so you can see how it settles. If the bait sinks into soft silt or hangs up in weed, try a cleaner patch for your first cast.
At the lake, cast to a clear area within comfortable range. Once the lead has settled, place the rod in its rear grip, seat the line in the alarm and attach the bobbin. Check the drag or freespool setting and stay beside the rod. If you suspect a tangle or feel the lead land in weed, wind in and check for debris around the hook and clip before recasting.
Before your first carp fishing trip
Pick a day-ticket lake with room behind the peg to cast and a bank you can net from safely. Check the lake’s rules on rod limits, hooks, mainline, tubing, weights and fish care. Buy the relevant rod fishing licence where required and obtain permission or a day ticket for the water. Ask the fishery if you’re unsure what a rule means.
Buy, borrow or reuse the net, mat and unhooking tools first. Next, put together one sound rod, reel and mainline outfit and the complete rig. A rod pod, receiver and specialist baiting kit can wait if your existing bankware and a small amount of hand-fed bait already do the job. Set aside money for the day ticket and travel before budgeting for a second outfit.
Pack the net and mat where you can get to them easily when you arrive. A small tub for bait stops and a spare rig in a wallet will save you rummaging through your bag with cold hands. The day-session packing checklist covers the things you’ll want around the tackle too, including drinking water, food, suitable clothing, a first-aid kit and a bag for used line and litter.
Setup questions
Can I go carp fishing with one rod?
Yes. One rod is a manageable way to learn casting, bite indication, playing fish and netting. Check the licence and venue rules before taking a second.
What ready-tied carp rig should a beginner use?
A ready-tied size 6 barbless hair rig with a 15 mm sinking boilie is a simple starting point on a clean, firm spot where the venue allows the chosen rig and lead arrangement. Match the rig to the conditions and test it in the margin.
Do I need a spod rod or bait boat for a day session?
A first short-range trip can be fished with a few boilies fed by hand, where allowed. Get comfortable placing the fishing rig and landing a fish before adding distance or specialist baiting equipment.
Which bits of a two-rod setup can I share?
Use one landing net, unhooking mat or cradle, baiting needle and a pod with two positions or two pairs of banksticks. One bulk spool of mainline can cover both reels if you check the capacity and use suitable backing.
Basic carp fishing setup for beginners
1 rod · Tackle still to source
Landing net and handle · 1 complete net
Padded unhooking mat or cradle · 1 mat or cradle
Carp rod · 1 rod
Freespool carp reel · 1 reel
Monofilament mainline · 1 bulk spool
Rod pod or bankstick setup · 1 support setup
Rear rod grips · 1 rear grip
Electronic bite alarms · 1 alarm
Bobbins or hangers · 1 visual indicator
Ready-tied hair rigs · 2 rigs
Matched lead-clip system · 2 lead-clip assemblies
Swivel leads · 2 swivel leads
Baiting needle · 1 baiting needle
Sinking boilies · 1 bag of boilies
Confirm venue rules, fishing permission and rod licence where required. Pack unhooking tools and any fish-care equipment the fishery requires.