Rig tubing has a knack of becoming the most frustrating item in the tackle box. The line goes halfway through, stops dead and folds back on itself just as you push a little harder. Usually the answer is a fresh line end and a straighter piece of tubing, not more force.
Here's how to thread rig tubing at home or on the bank, with a few checks for the awkward bits. We're feeding bare mono through ordinary anti-tangle tubing before tying the terminal connection. We're not threading a finished leader knot through a tube or making a helicopter setup.
What does rig tubing actually do?
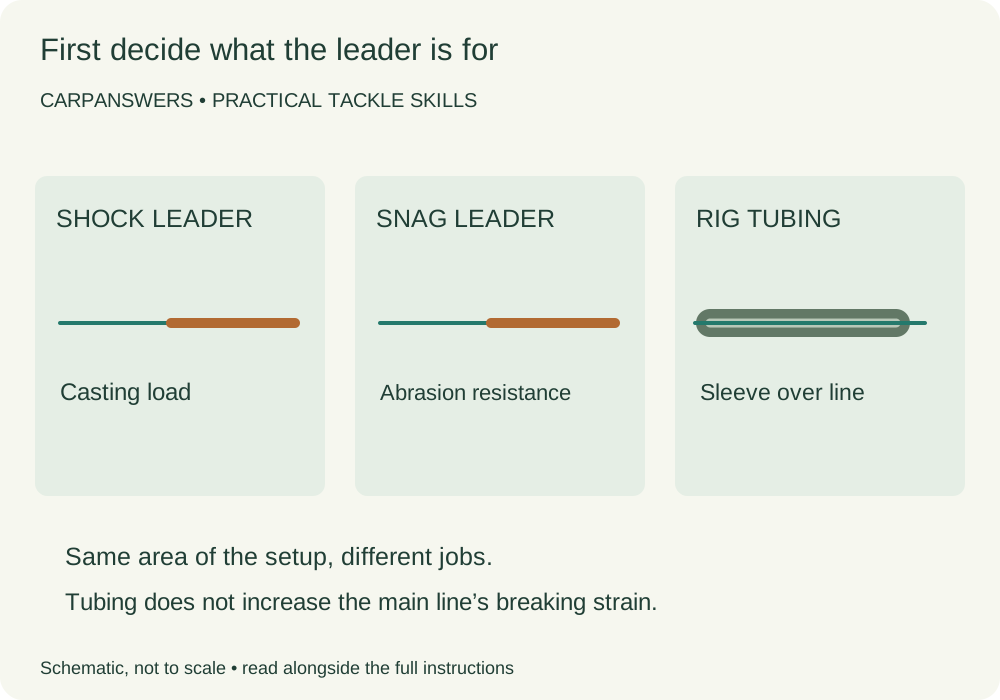
Tubing covers a section of main line near the terminal tackle. Depending on the product and arrangement, it can help reduce tangles and keep that section close to the lakebed. It also puts a sleeve around the line where it might contact a fish. None of that increases the main line's breaking strain or makes a damaged setup safe.
Korda Dark Matter tubing, for example, is a supple tungsten-loaded product. Other tubes have different bores and stiffness. Shrink tube for a hook eye is a different item altogether; don't buy that when you need main-line rig tubing.
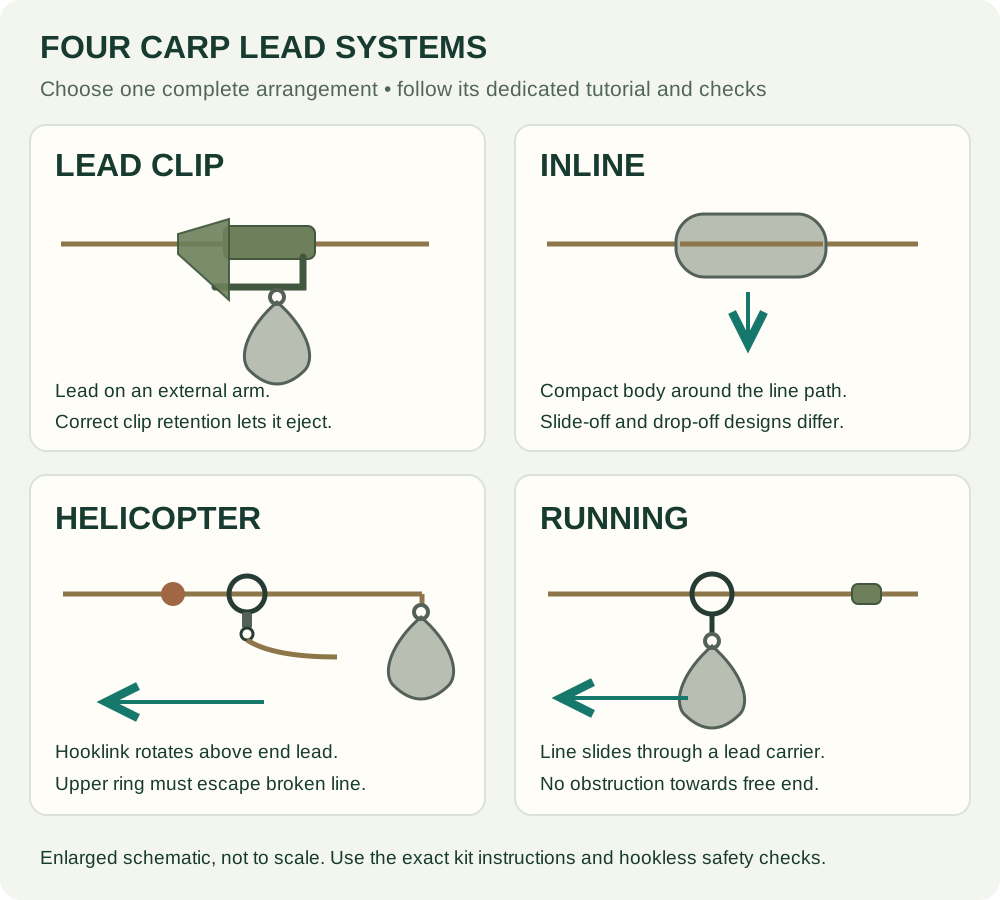
Check the fishery's requirements and your complete lead system before cutting a length. Some venues specify tubing, while others allow different arrangements. If you need the wider picture, start with our carp lead-system guide.
What you need to thread rig tubing
- Sound mono of a diameter the tubing manufacturer allows.
- Clean rig tubing compatible with your lead system.
- Sharp scissors, such as Korda RazorBlades (paid link), and a clean, dry surface.
- Your matched tail rubber and lead-system components, ready to add in the correct order afterwards.
If you're starting from scratch, the Korda Lead Clip Action Pack (paid link) is one complete-system option that includes tubing, clips, matched swivels and tail rubbers. Follow the supplied instructions rather than replacing a supplied component with a similar-looking spare. You don't need the whole pack merely to replace a short length of tubing.
Advertising disclosure: As an Amazon Associate I earn from qualifying purchases. Check the contents and selected version before buying, and reuse compatible tackle you already own.
Step 1: straighten and inspect the tubing
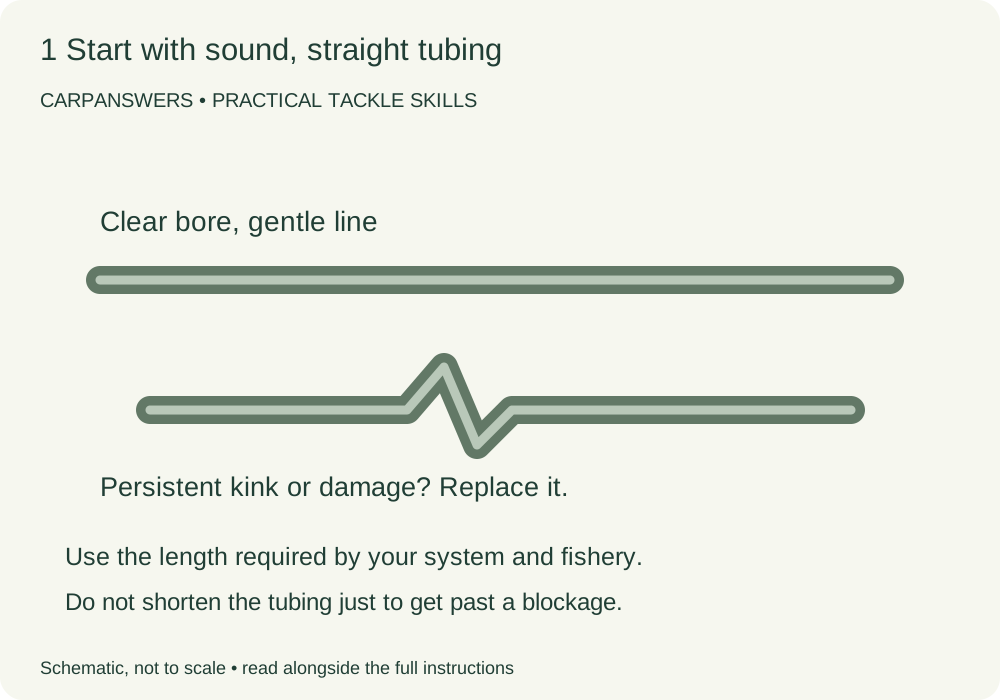
Take the tubing off its storage loop and lay it out gently. Look for a sharp kink, crushed section or damaged end. Make sure you can identify the central bore at both ends. Dirt from a tackle box or a flattened cut can stop the line before it has really started.
Work with the length required by the rig and fishery. There's no single tubing length that suits every hooklink and lead arrangement. Cutting it shorter simply to make threading easier may leave you with a piece that doesn't do the intended job.
Use clean, dry tubing for this starting method. If your product has different threading instructions, follow those. Don't stretch it hard, boil it or push a needle into the bore to open it up. A tube that stays crushed or split is better replaced than repaired with force.
Step 2: prepare a fresh end of mono
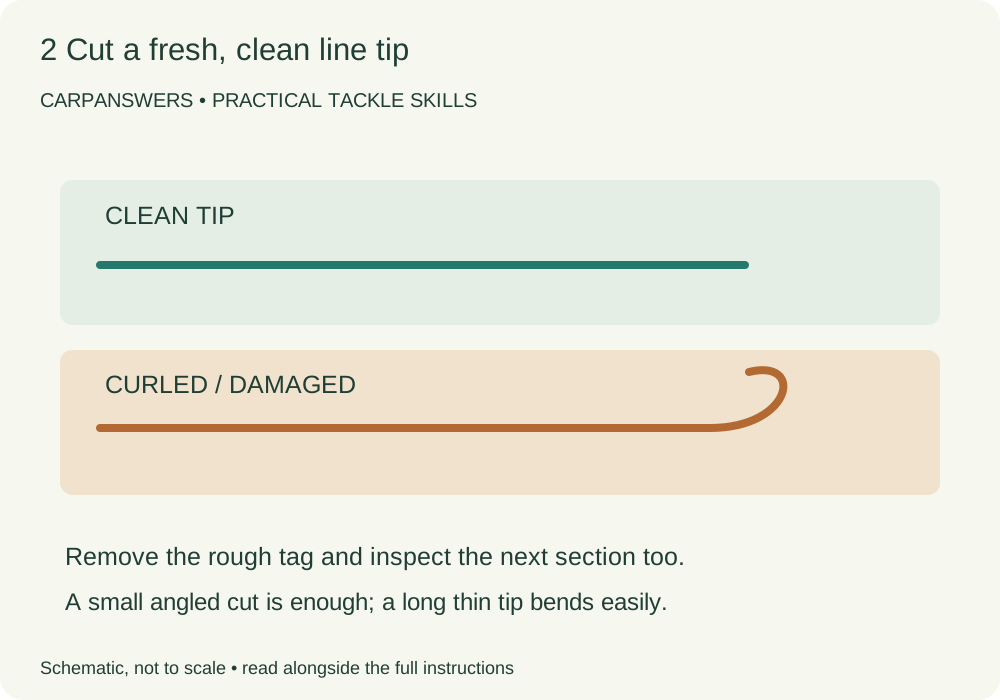
Cut off a curled, flattened or rough tag. Make a clean cut with sharp scissors so the tip isn't burred. A small angled cut can help the end find the bore, but a very long, thin point tends to bend; aim for a clean tip, not a spear.
Check the next section too. If the line has been trapped in a swivel knot or kinked from an old setup, remove that damaged length. Straightening a white stress mark doesn't make the mono sound again. Put the offcut straight into a waste container.
Wipe wet or gritty line with a clean cloth and work over your tray. Starting clean makes it easier to feel a genuine obstruction. Don't add washing-up liquid, oils or solvents as a threading shortcut: they aren't part of this setup.
Step 3: start at the bore, not the tubing wall
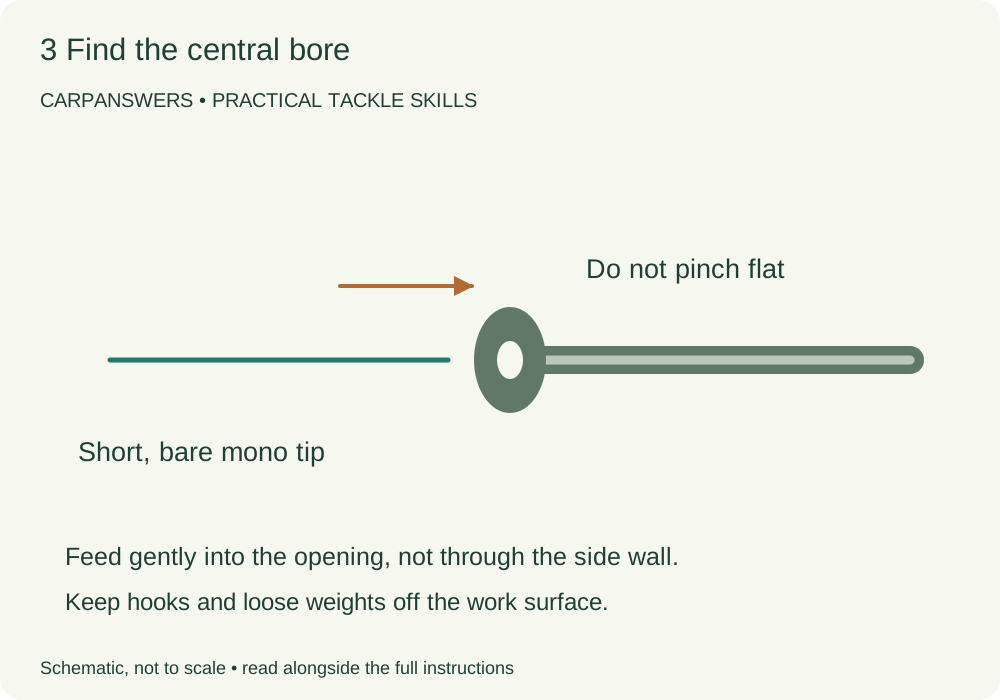
Hold the tubing close to its end without squeezing it flat. Bring the line tip squarely to the opening and feed in a few millimetres. If it won't enter, rotate the tube slightly to see the hole clearly rather than pushing blindly.
The line should pass inside the tube, not pierce its side. Check again if you feel a sudden pop or see the tip emerge where it shouldn't. Discard a split section rather than covering it with another sleeve and hoping it will stay together.
Keep the tackle hook-free while doing this. A loose hook or lead rolling around the tray adds nothing useful to the job and can damage the line as you turn it.
Step 4: feed short sections while keeping the tube straight
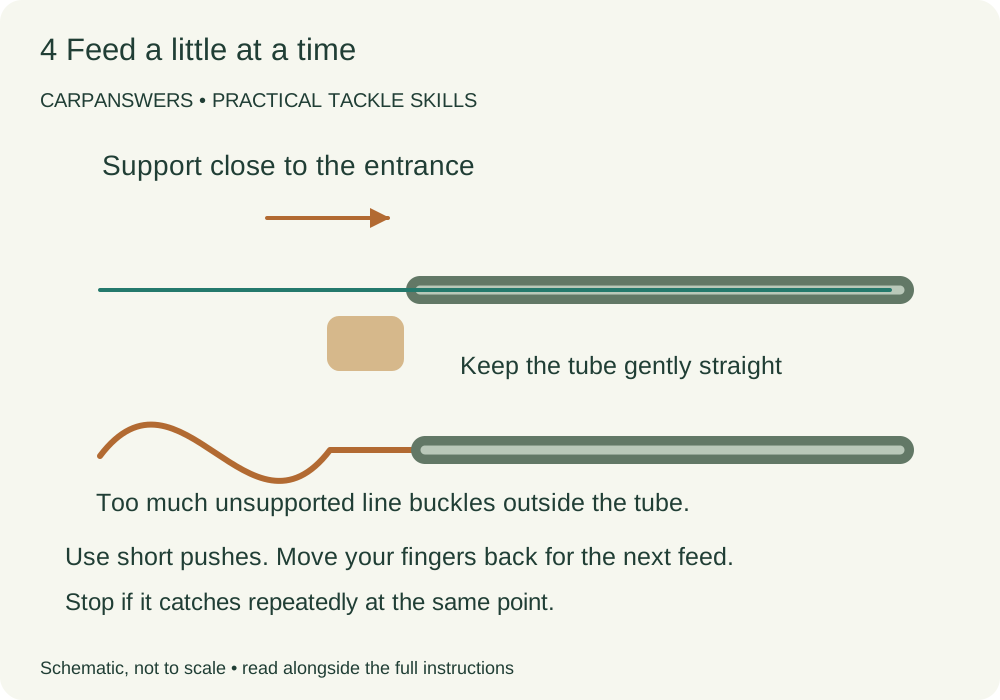
Support the tubing in a gentle line, or let it hang vertically over a clean surface. Hold the mono close to the entrance and advance a small amount at a time. Move your fingers back for the next short push. Trying to shove a long unsupported length into the hole just makes the mono buckle outside it.
Guide the tubing rather than pinching it shut. A curve in the tube means extra friction, particularly once the line has travelled most of the way. Gently straighten that curve and try again with light pressure. If the tip stops repeatedly at the same point, pause and inspect rather than forcing it past.
Take your time near the far end. Once the tag appears, draw enough through to make the terminal connection comfortably. Don't pull a knot, loop or swivel into the tubing. This method starts with bare line for a reason.
If the line stops halfway through
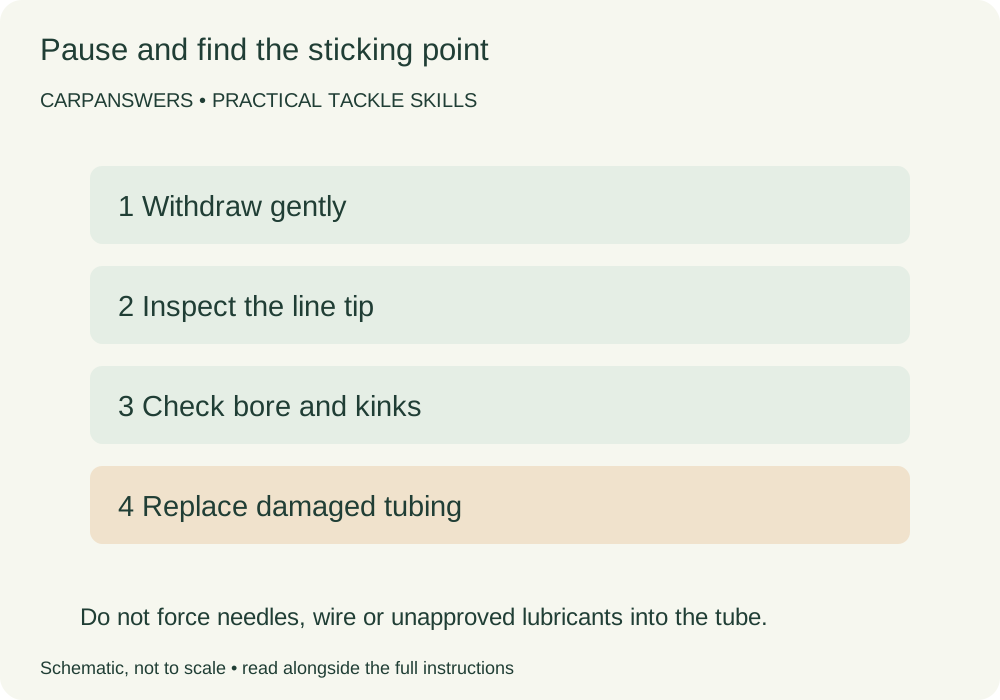
First, withdraw it carefully and inspect the tip. A little curl may be all that's wrong. Trim a fresh end, check the tubing is straight and start again. If it stops at the same place twice, look for a kink or crushed section there.
Trying from the other end can help identify an obstructed entrance. That isn't a reason to ignore a damaged area in the middle. If both approaches meet the same blockage, replace the affected tubing with a sound piece of the required length.
Check the actual line diameter against the product's specification. Breaking strain alone isn't a bore measurement; two lines labelled the same strength may be different thicknesses. A narrower tube isn't necessarily an upgrade for your setup.
| Symptom | Likely place to look |
|---|---|
| The line won't enter | Flattened tubing end, ragged line tip, wrong bore or fingers squeezing the opening shut. |
| It buckles outside the tube | Too much unsupported line. Feed from closer to the entrance with shorter pushes. |
| It stops at the same point | A kink, dirt, water or damage inside the tube. Withdraw and inspect; replace if doubtful. |
| It passes through but feels rough | Check both line and tubing for damage before tying anything on. |
| It only sticks near the far end | Check the final curve and exit. Don't mistake a closed or damaged exit for a need to push harder. |
Step 5: finish the lead system and check its release
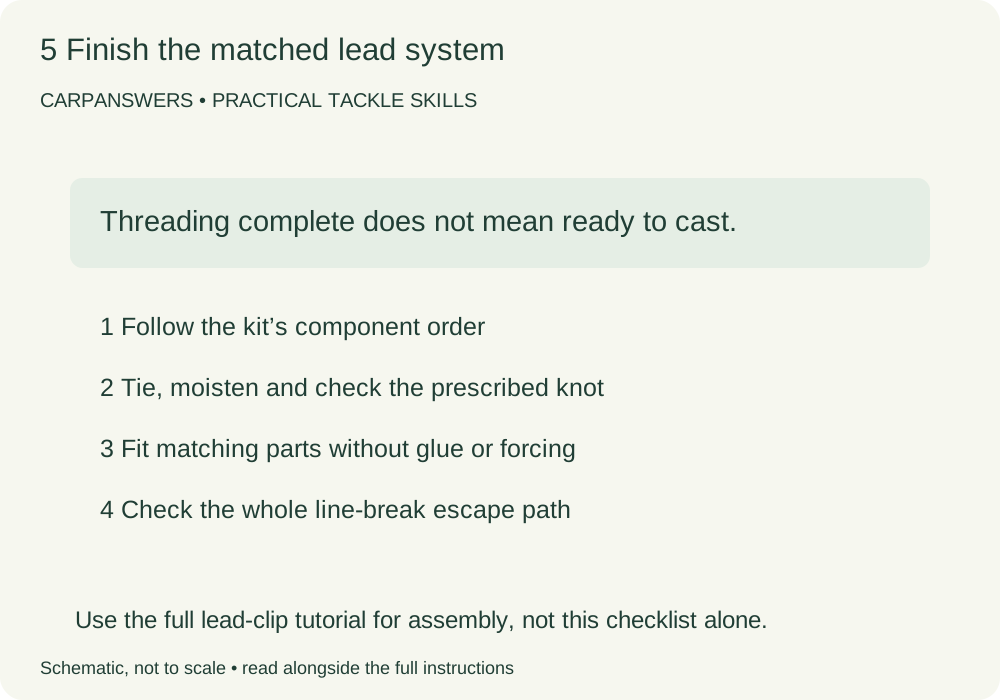
Add the remaining parts in the order specified by your complete kit. On the lead-clip arrangement in our lead-clip setup tutorial, tubing and the matched tail rubber have particular jobs. The small anti-tangle sleeve on a hooklink is not the same part as the tail rubber on the clip.
Tie the prescribed connection to the supplied swivel, moisten and seat the knot, then inspect it. Fit the tubing and rubber only as the maker shows. Shoving a rubber on harder to make everything look tidy can interfere with the release behaviour you need.
With the hook removed or protected, carry out the manufacturer's line-break escape check on the completed setup. Threading tubing successfully is not a safety test. Don't glue the tube, rubber or swivel in place, and don't put a stopper above it without checking whether that obstructs the required escape path.
Make the next session easier
Prepare clean tubing at home, where you can see the line and keep grit off the work surface. Store spare lengths in broad curves rather than folding them tightly. Keep a small bag of fresh, labelled lengths beside the appropriate lead-system parts so you don't have to identify mystery offcuts in the dark.
After a fish or a difficult retrieve, inspect the tubing and the line at each end. A sleeve can hide damage as well as protect a section of line. Replace split or worn tubing, and don't keep using a rough line end simply because the tube covers most of it.
A few common tubing questions
Should I wet the line first?
For this method, start with clean, dry line and tubing. Moisture can make a narrow bore more awkward. Follow any different instructions supplied with your particular product rather than adding unapproved lubricants.
Can I use a threading tool?
Only one intended for that tubing and line combination. Don't force a baiting needle or improvised wire through a narrow tube; it can damage the wall or line. A clean mono tip is worth trying first.
Can I thread braid the same way?
Very limp braid may not push through like mono. Check the tube maker's guidance and any approved threader. Don't assume a mono demonstration establishes compatibility with braided main line.
Is tubing a replacement for a shock leader?
No. Tubing is a sleeve; a shock leader is a load-bearing section of line. Choose each only for its intended job.
The useful habit is to stop when something sticks. A fresh tip and a straight, sound tube usually tell you far more than another determined shove. Once it feeds cleanly, you can get back to the part that matters: assembling and checking the rig you're actually going to fish.