A crack-off is a horrible way to start a session. The rod goes forward, the line parts and the lead carries on without it. A shock leader can help prevent that, but only when the leader, knot and rest of the tackle suit the load you're casting. Adding a length of thick line isn't a cure for every casting problem.
This guide explains when a shock leader makes sense for carp fishing, how to set its length and what to check before using it. We'll keep the fishing rod and spod rod separate. They do different jobs, and a setup that launches a baiting device isn't automatically suitable for a rod with a hook attached.
Do you actually need a shock leader?
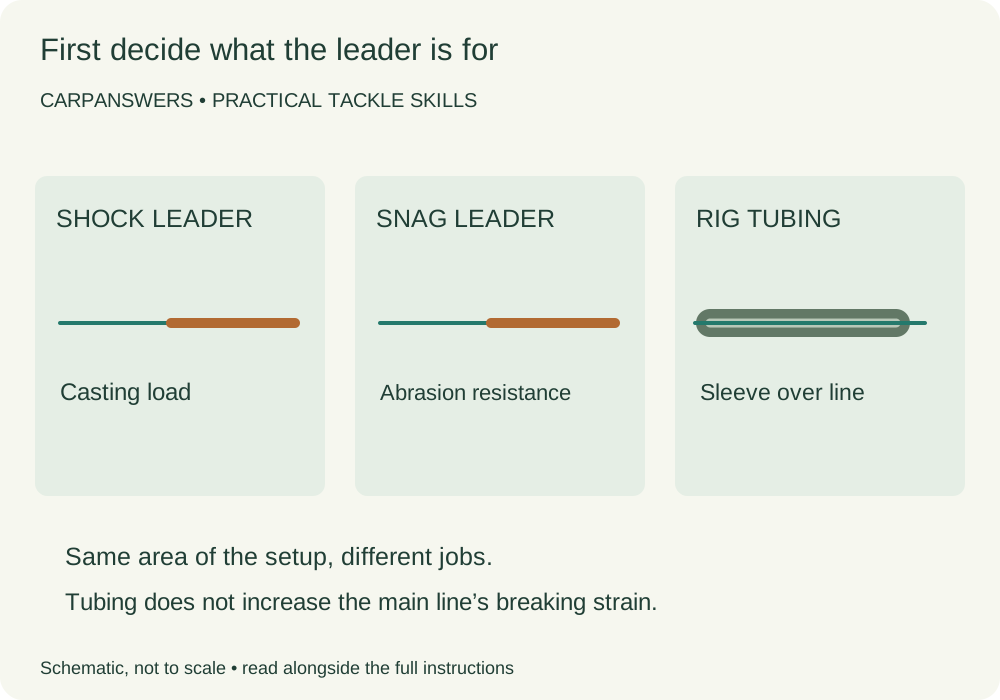
A shock leader is a stronger section between your main line and the business end of the tackle, intended to handle casting load. It isn't the same thing as a short fused leader used to keep the line down, or rig tubing threaded over the main line. Tubing doesn't increase the line's breaking strain.
Start with the fishing you intend to do. Modest casts with suitable straight-through mono may not need a separate shock leader. Fine main line and a heavy casting payload need a much closer look. Check the recommendations for the line, rod and baiting device rather than borrowing somebody else's breaking strain because they cast further than you.
If the venue bans leaders, that settles it. Use an approved straight-through arrangement within its safe limits, reduce the casting demand or fish a nearer spot. A leader ban isn't something to work around by calling the same piece of line a snag leader.
What to lay out before you start
- Your rod, reel and sound main line, plus the instructions for the tackle you're joining.
- A purpose-made shock leader approved for that main line and intended casting load. Korda's leader guide explains its mono and braided options; choose the actual product and strength before tying.
- Sharp cutters such as Korda RazorBlades scissors (paid link), and a ruler or tape measure.
- A suitable casting finger stall, especially when using braid. Check its fit and condition before casting.
- The complete terminal system's assembly instructions. Leave the hook off while learning the connection.
Use the kit you already own where it's suitable. You don't need another reel just to practise a leader knot. Equally, spare coated hooklink braid isn't a substitute for purpose-made shock-leader material simply because the breaking strain printed on it looks high enough.
Advertising disclosure: As an Amazon Associate I earn from qualifying purchases. Check the selected product and size against your own tackle before buying.
Step 1: choose for the job, not just the label
Mono and braid behave differently. Mono stretches; braid has very little stretch and needs particular care around your casting finger. Tapered mono leaders change diameter along their length, allowing a smaller main-line join while retaining a heavier casting section. Join the end specified by the maker, not whichever end happens to come off the spool first.
Don't confuse abrasion resistance with permission to fish an unsafe spot. A heavier leader doesn't make it sensible to cast behind a snag or into a place where you can't land a fish. Our main-line guide is useful background, but your chosen swim and venue rules still decide what is appropriate.
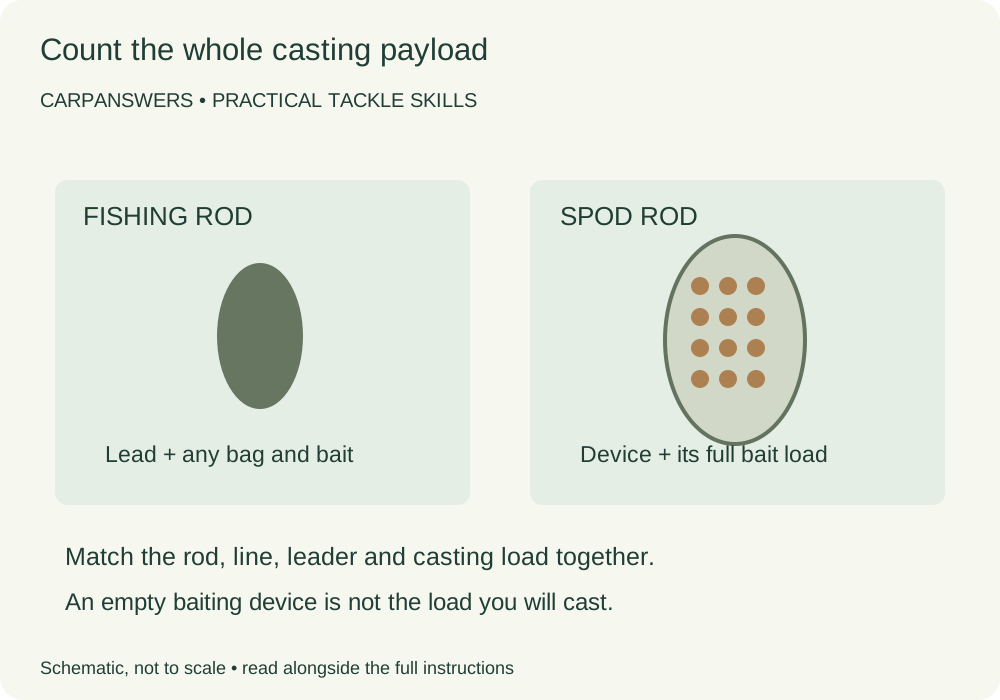
For spodding, count the filled device rather than the empty plastic body. Wet bait can change the load considerably. A fishing rod's test curve isn't a universal casting-weight certificate, and neither is the number printed on a leader spool. Stay within the tackle maker's intended use.
Step 2: set the length with the rod ready to cast
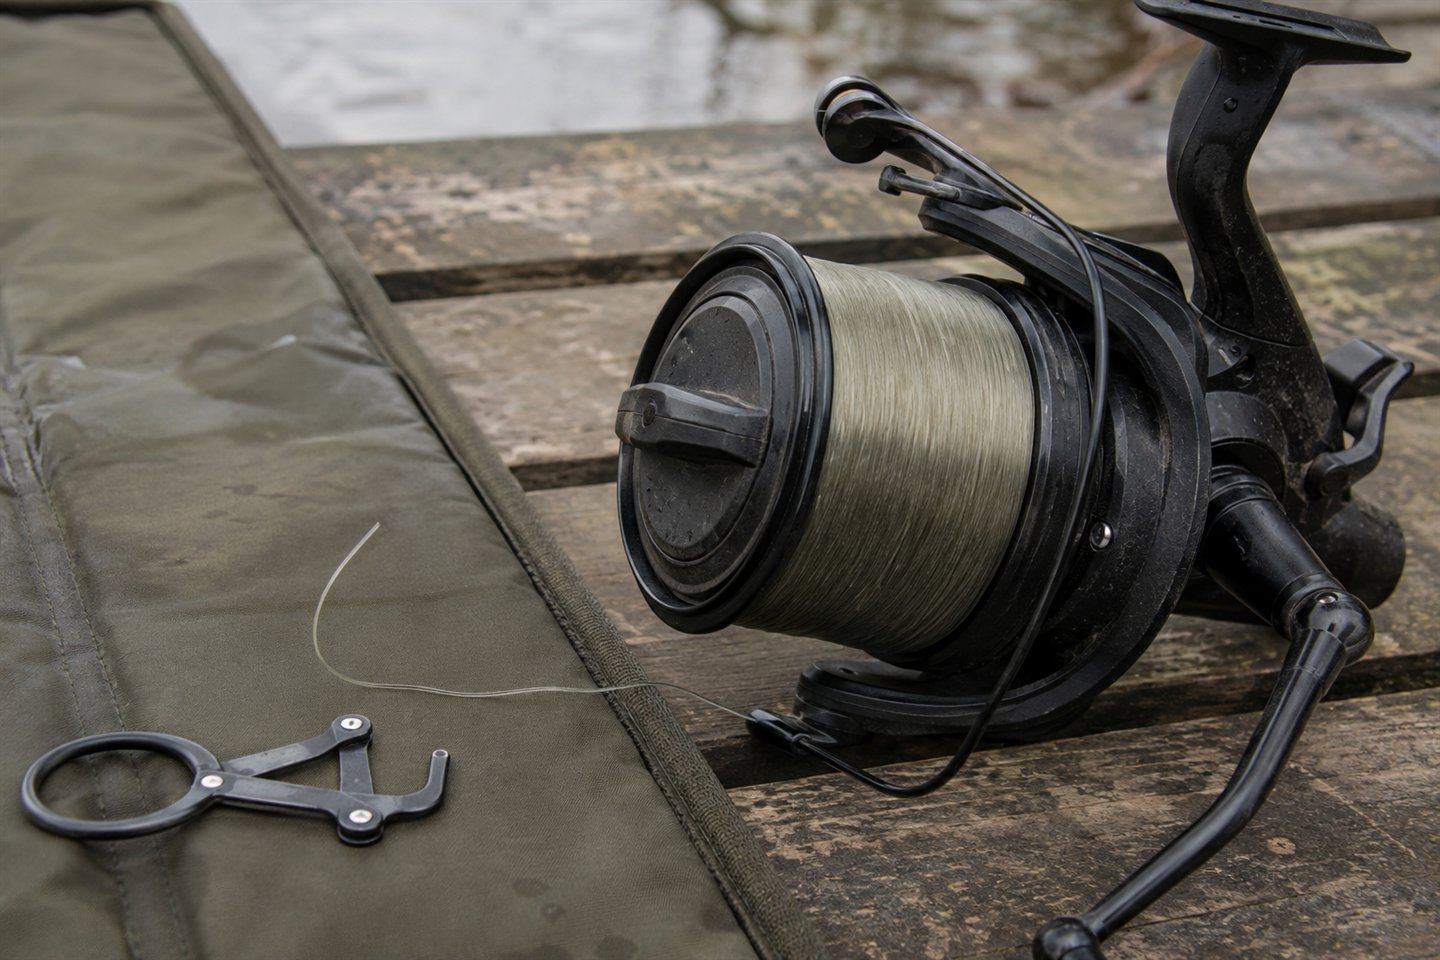
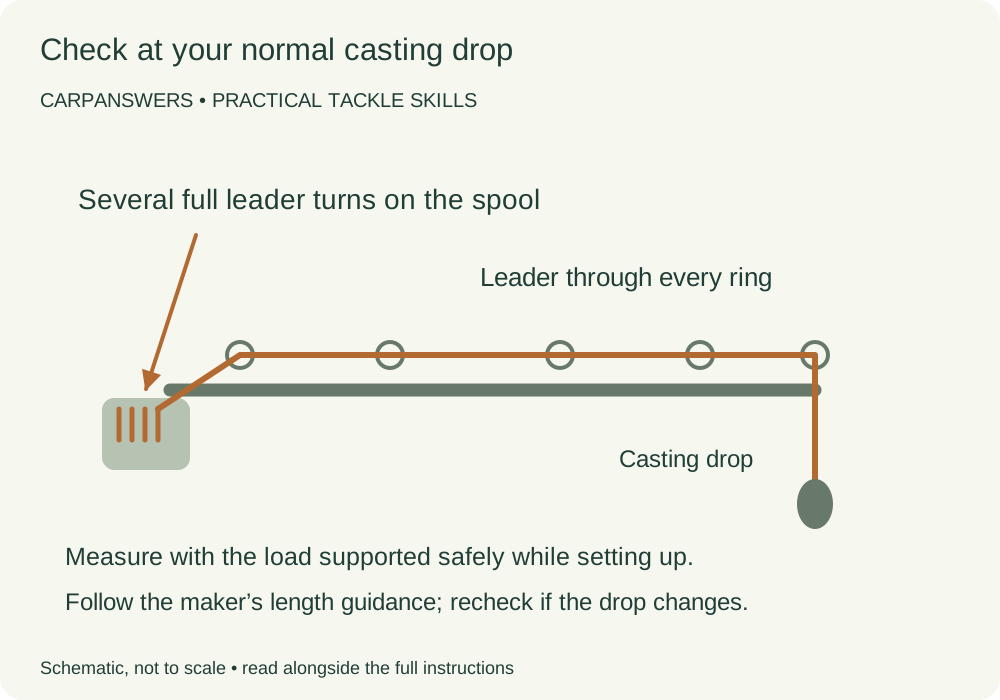
Thread the line through every rod ring and check it hasn't wrapped around the tip. Arrange the normal casting drop with the load supported safely on the ground while you measure. At that position, the heavier leader needs to run through the rod and make several full turns onto the reel spool. The connection must not sit between the spool and rod tip taking the casting load instead.
A couple of rod lengths is a useful starting estimate, not a finished measurement for every setup. Rod length, casting drop and the maker's instructions affect the amount needed. Check the actual arrangement. If you change to a longer drop, check the turns on the spool again.
Leave enough material for the main-line knot, the terminal connection and trimming damaged ends. Don't cut a taper at an arbitrary point to get an attractive round-number length. Follow the leader manufacturer's instructions for its heavy section and overall length.
Step 3: make the recommended main-line join
Choose the knot after choosing both materials. The best connection for two similar pieces of mono isn't automatically the best one for fine braid and a much thicker leader. Diameter, surface finish and stiffness all affect how a knot beds down and passes through the rings.
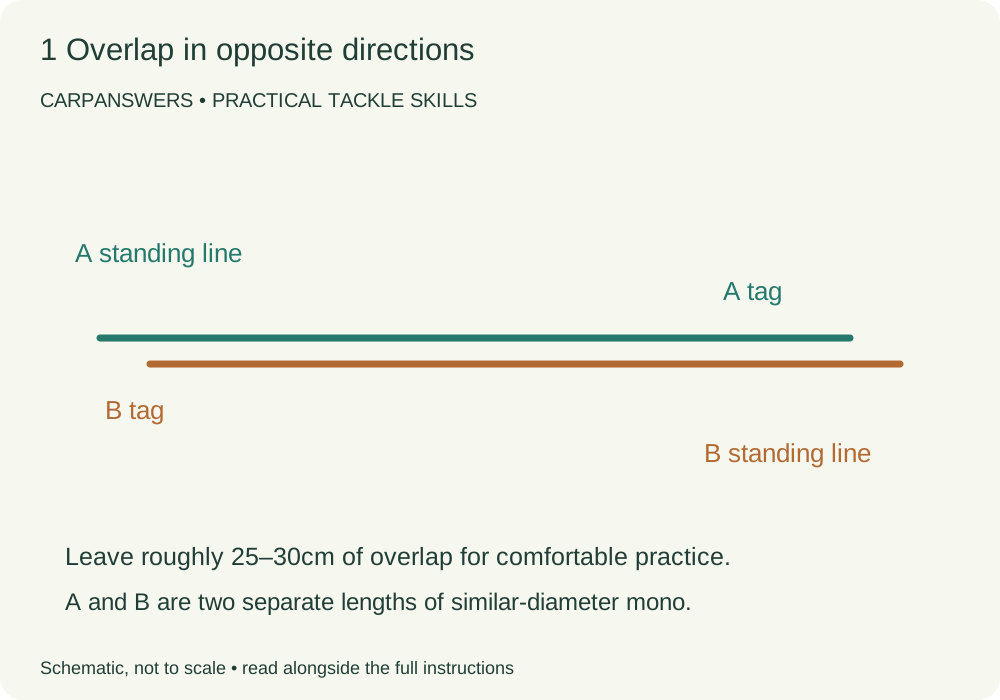
The Double Grinner tutorial is a useful way to learn a line-to-line join. Its mono practice exercise isn't a blanket recommendation for every shock leader. Use the knot and turn count specified for the products on your reel; ask the manufacturer if the combination isn't covered.
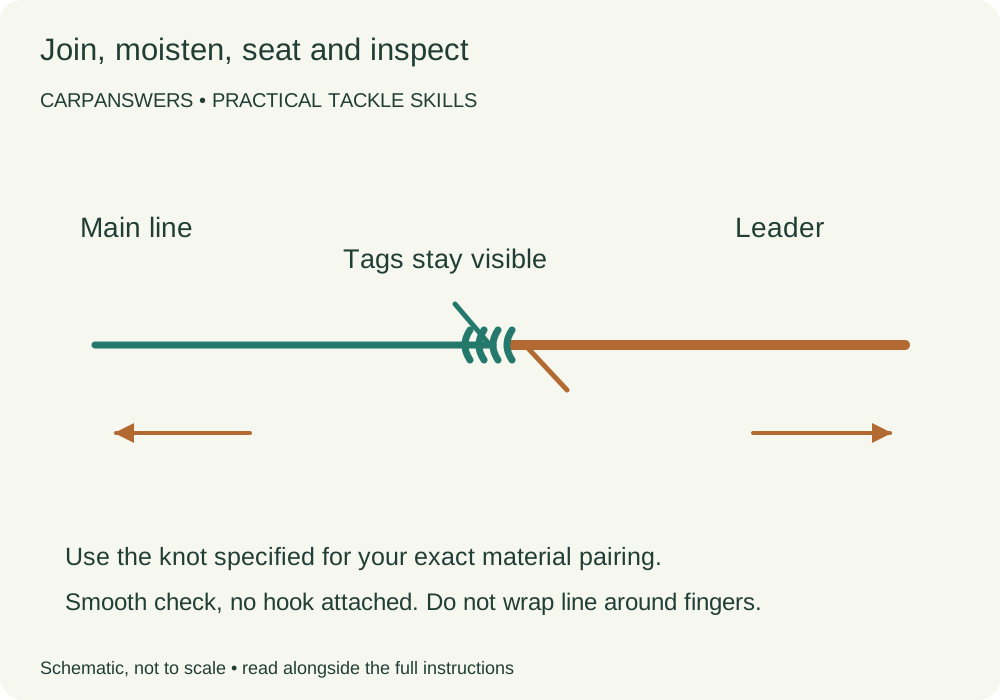
Moisten the knot and close it steadily. Keep both tags visible while checking that the coils have settled neatly. Reject crossed turns, a slipping tag or whitened, kinked mono. A tidy knot that moves under load still needs remaking.
Check the join with smooth pressure and suitable line grips, away from people and with no hook or casting weight attached. Don't wrap thin line around bare fingers. This catches obvious slipping and poor seating; it does not measure the knot's breaking strain or certify a maximum casting load.
Step 4: check the whole fishing-rod system
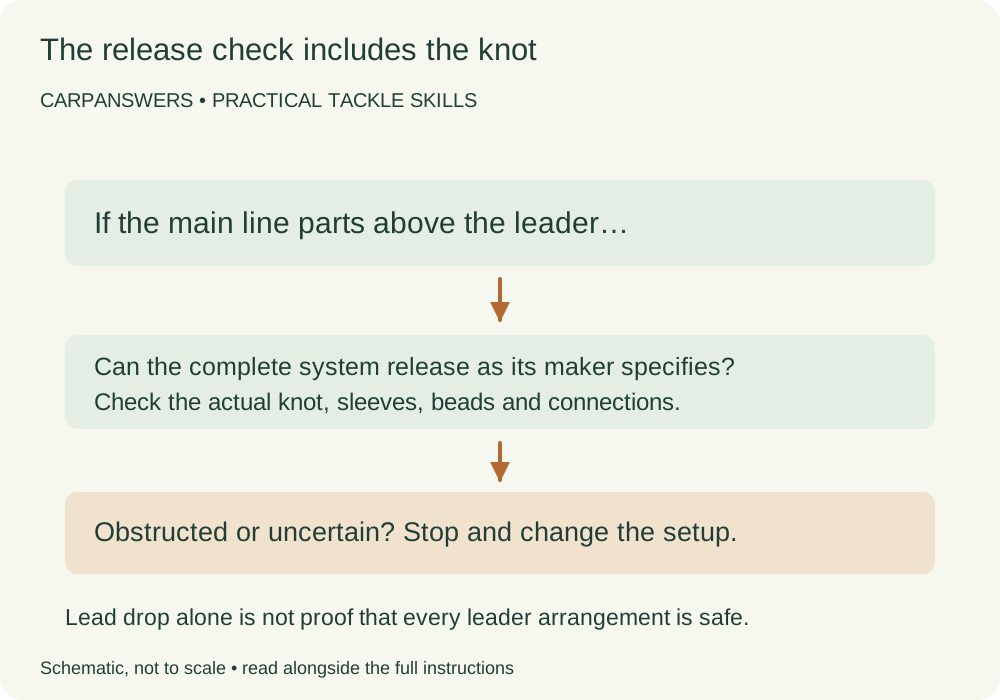
This is the step that gets missed when all the attention goes on distance. If the main line parts above the leader, what remains attached to the fish? Follow the complete lead system's prescribed escape test with the hook removed or securely protected. Check the actual leader knot, not an unknotted sample of the line.
Depending on the system, components may need to pass over the join, the lead may need to separate, or the hooklink may need to escape from the leader. These are different arrangements. Dropping a lead alone is not proof that every leader-based setup is safe, and a component that slides on bare mono may stop against the knot.
Don't drill out parts, glue things in place or force mismatched swivels into a clip. If the manufacturer doesn't approve the combination or you can't demonstrate its intended release, change the setup before fishing. Start with the lead-system guide, then follow the instructions for your exact kit.
What changes on a spod rod?
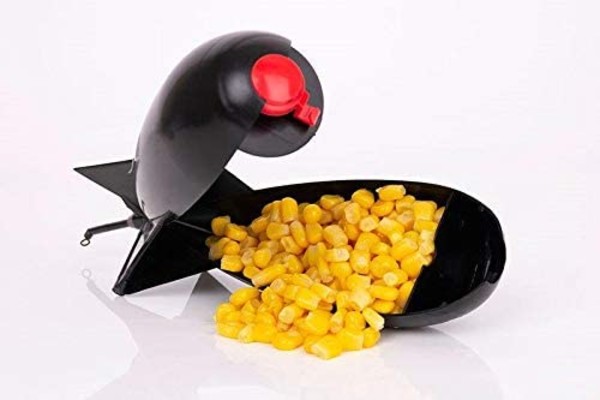
There is no fishing hooklink on the baiting rod, but a lost baiting device can still hurt somebody or leave waste in the lake. Check its attachment, the leader knot, line condition and full casting weight. Keep the casting area and the water beyond the spot clear of people, boats and wildlife.
Fox's Spomb shock-leader guidance pairs its purpose-made leader with Spomb Braid and specifically calls for a finger stall. That is a named product combination, not evidence that any braid sold for carp fishing will do the same job.
Begin with controlled short casts. If the knot catches the rings, the line spills in loops or the load feels beyond the rod, stop and investigate. More force won't fix any of those. The accurate spodding guide covers the next part: delivering bait repeatedly to the chosen spot.
Problems worth sorting before the next cast
| What you notice | What to check |
|---|---|
| A sharp knock through the rings | Knot bulk, tag length, damaged rings and whether the chosen join suits the diameter difference. |
| Repeated crack-offs | Stop casting. Inspect tip wraps, line damage, knot seating, casting load and spool behaviour before changing anything. |
| Fraying or rough patches | Replace damaged material and find the cause. Inspect the rod rings, line roller and route through the water. |
| A release component catches at the join | Don't fish it. Return to the complete system's compatibility and escape instructions. |
Run through those checks after a tangle, a hard pull or any suspected damage. A leader isn't a fit-and-forget upgrade. Keeping a fresh, correctly labelled spare is useful, but the replacement still needs tying and checking on the actual setup.
Quick shock-leader questions
Does every carp rod need one?
No. Suitable straight-through line can be the simpler choice for many ordinary situations. Match tackle to the distance and load, and obey the venue's rules.
Can I use the same leader for fishing and spodding?
Only if the material maker approves both uses and both complete setups pass their own checks. The baiting rod's casting demands and the fishing rod's line-break escape behaviour are separate questions.
Is a stronger leader always better?
No. A thicker join can bring new problems, and extra strength doesn't repair a damaged main line or an unsafe terminal arrangement. Choose a suitable system, not the biggest number.
Get the connection and release checks right first. Distance can wait. A smooth, repeatable cast to a sensible spot is a far better starting point than discovering the weak link with a heavy lead in the air.