The Double Grinner looks more complicated than it is. You're tying one Grinner with each of two lines, then drawing the two knots together. Once you've seen which strand is doing the wrapping, the sequence becomes much easier to remember.
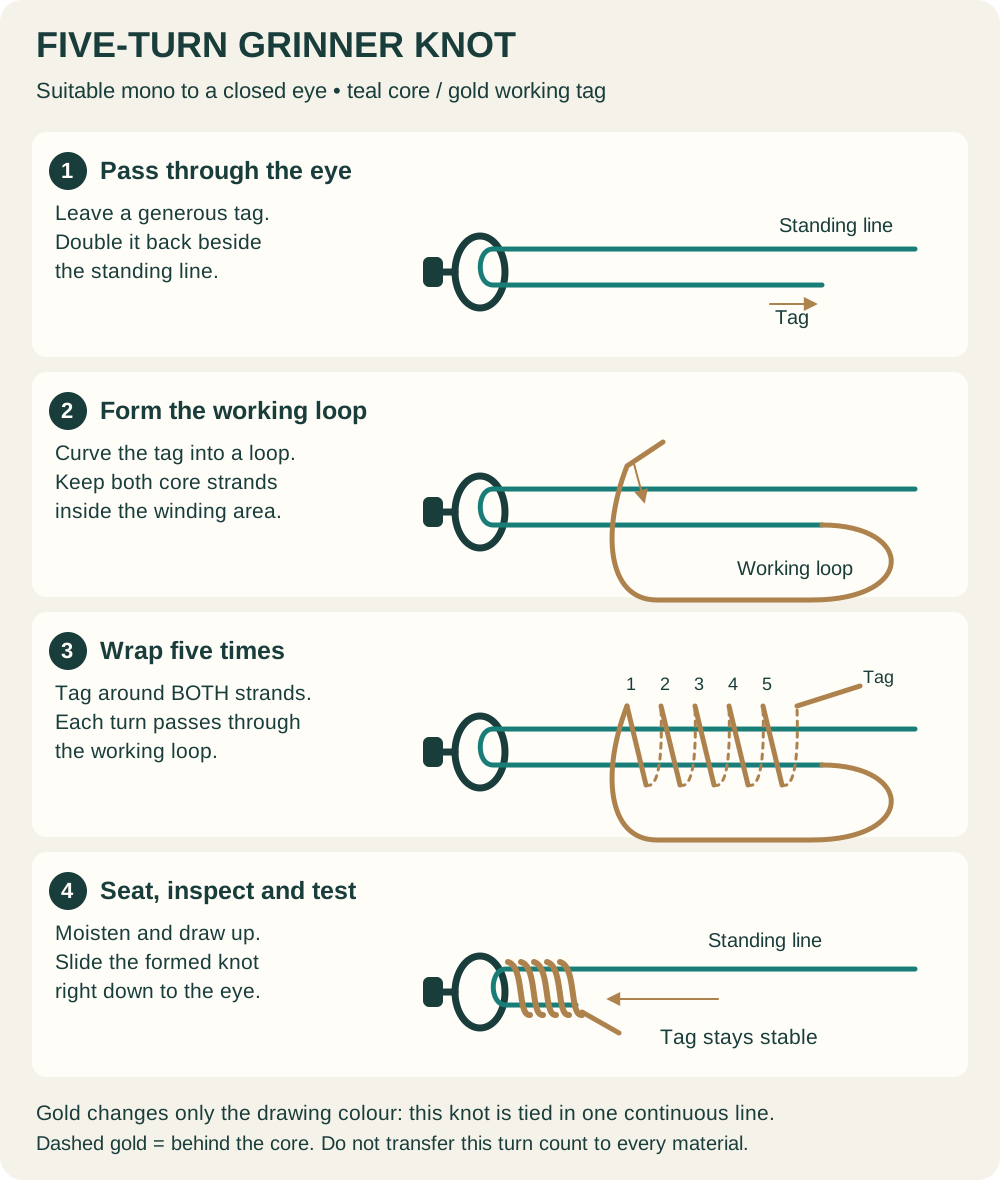
It's also called the Double Uni or back-to-back Grinner. Unlike the single Grinner, which our existing guide uses to attach mono to a swivel, this is a line-to-line connection. There is no hook or swivel eye in the middle.
For this exercise, use two spare pieces of ordinary nylon mono of similar diameter. Four turns on each side gives us a clear practice sequence based on the Pro-Knot Double Uni instructions. This is not a four-turn rule for braid, heavy leaders or every fluorocarbon. Your material maker's instructions take priority before you use the knot for fishing.
What you need
- Two clean pieces of mono, long enough to hold comfortably and leave generous tags. Spare sound line is fine for practice.
- A light-coloured surface and good light. Different-coloured cord can help you learn the route first, but doesn't test fishing-line performance.
- Sharp cutters, such as Korda RazorBlades scissors (paid link).
- Clean water to moisten the knot and suitable line grips for a controlled check.
If you need fresh mono, Korda Touchdown (paid link) is an example of a carp main line, not a mandatory purchase or a universal leader recommendation. Check the selected strength and diameter; a listing may offer several versions.
Advertising disclosure: As an Amazon Associate I earn from qualifying purchases. Reuse suitable line and tools you already own, and check the selected size before buying.
Step 1: overlap the lines in opposite directions
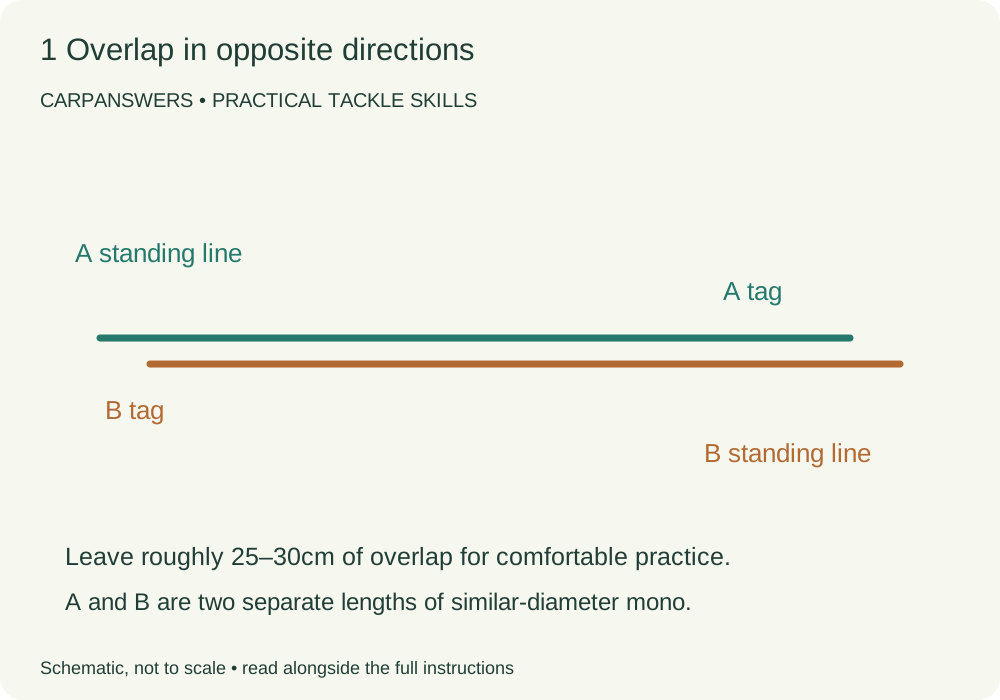
Lay the two ends alongside each other with roughly 25–30cm of overlap to give your fingers room. The long part of line A runs off to the left and its short end points right. Line B is the opposite way round. In the diagrams A is green and B is orange; the colour is just there to make the route easier to follow.
The short loose end is the tag. The long section you'll eventually pull is the standing line. Get those names straight now and the later steps make much more sense. Don't trim either tag down before you've tied, seated and checked the whole connection.
Step 2: make a loop with line A
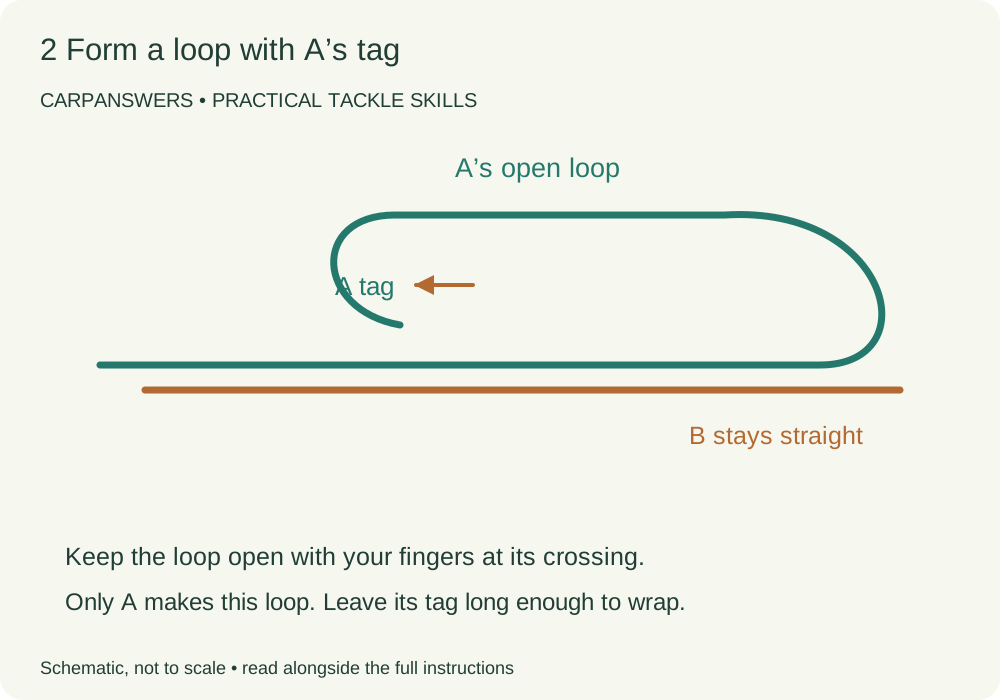
Take A's tag back towards the left to make an open loop beside the overlapping strands. Pinch the crossing gently so it stays open. B stays straight through the working area. You're not making a loop with both lines together.
Leave enough of A's tag free to work through that loop several times. If it feels fiddly already, open it up and give yourself more line. Saving a few centimetres at this stage usually means starting again when the tag becomes too short.
Step 3: take A's tag around both strands and through its loop
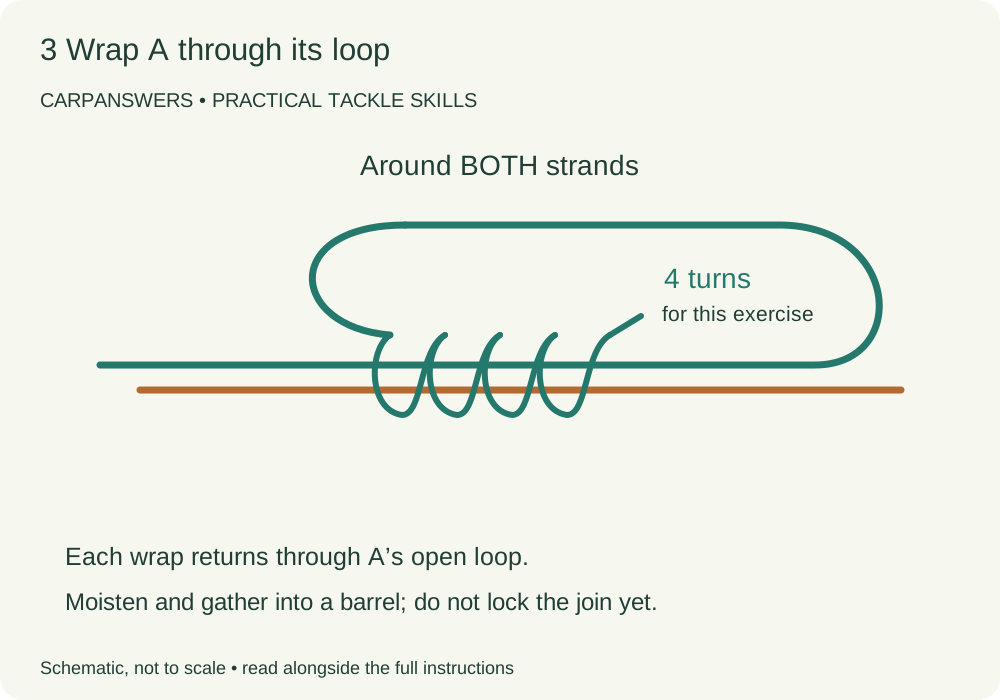
Bring the tag around the two overlapping strands and back through A's open loop. Repeat along the overlap, keeping each turn beside the previous one. Make four turns for this similar-diameter mono exercise. Each turn goes through the loop as well as around the paired strands; simply spiralling around the outside makes a different, insecure arrangement.
Moisten the working area and pull A's tag gently to gather the turns. Support A's standing section so the loop closes neatly into a small barrel. Snug it enough to hold its shape but don't try to lock the entire join yet. This first knot still needs to slide along B when the pair are brought together.
Look at the turns before moving on. If one has crossed another or the tag has escaped the loop, loosen and remake it while there's room. A messy first half doesn't become a good knot when you add the second half.
Step 4: repeat with line B
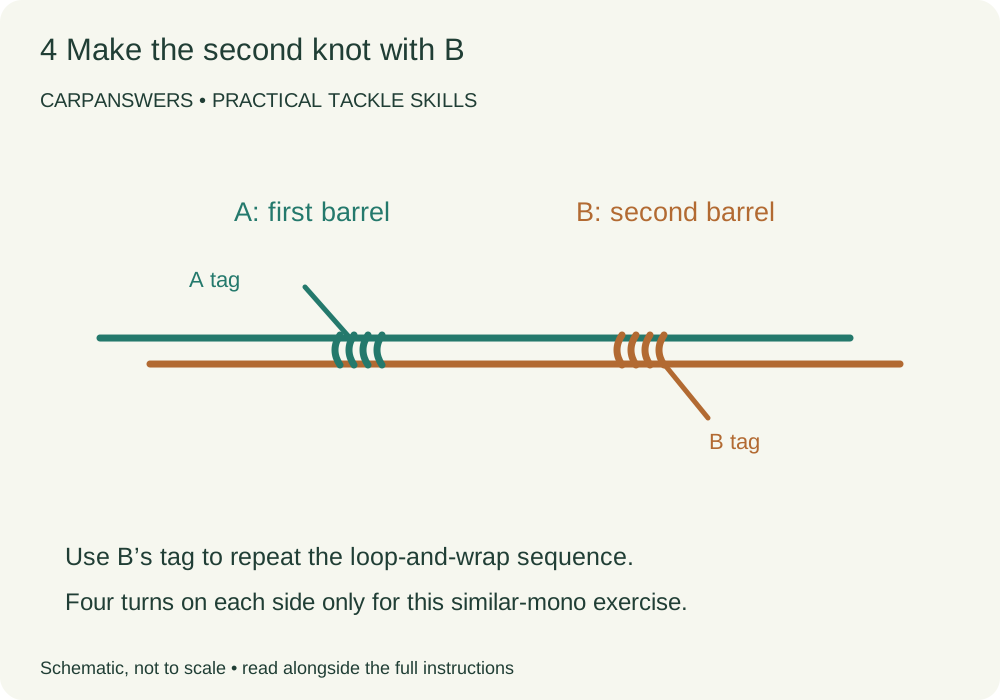
Now use B's tag at the other end of the overlap. Make its own loop, wrap the tag around the overlapping strands and through that loop four times, then moisten and gather it into a second neat barrel. You're making the mirror image of the first knot, with B doing the wrapping this time.
Keep the two barrels separated while you inspect them. Both should be formed from their own line, with a visible tag and an opposing standing line passing through. Accidentally continuing with A's tag doesn't produce a Double Grinner, however many wraps you add.
You may find it easier to turn the whole piece round so your stronger hand repeats the same movement. That's fine. Identify the remaining unused tag before you begin, rather than trying to remember which end was on the left.
Step 5: bring the two knots together
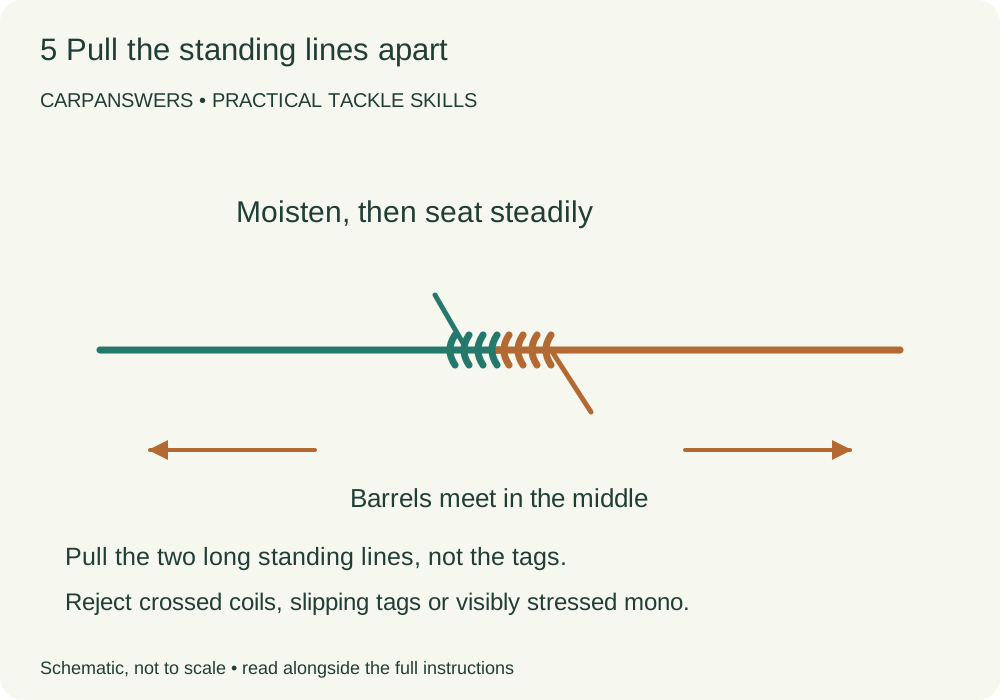
Moisten both barrels again. Hold the two long standing lines and pull them steadily in opposite directions. The knots should travel towards each other and meet, closing the gap between them. Don't yank the tags apart and expect the same result.
Seat the connection progressively, checking both barrels and gently snugging the tags as needed. The aim is an orderly join without a loose loop between the halves. Keep your hands clear of the knot so you can see what moves. Stop if either tag pulls through or one barrel collapses into a jumble.
Heat from hurried dry tightening can damage mono. Wetting the line doesn't excuse a sudden jerk, and pulling harder isn't a way to straighten crossed coils. Cut away a doubtful join and start again with fresh ends.
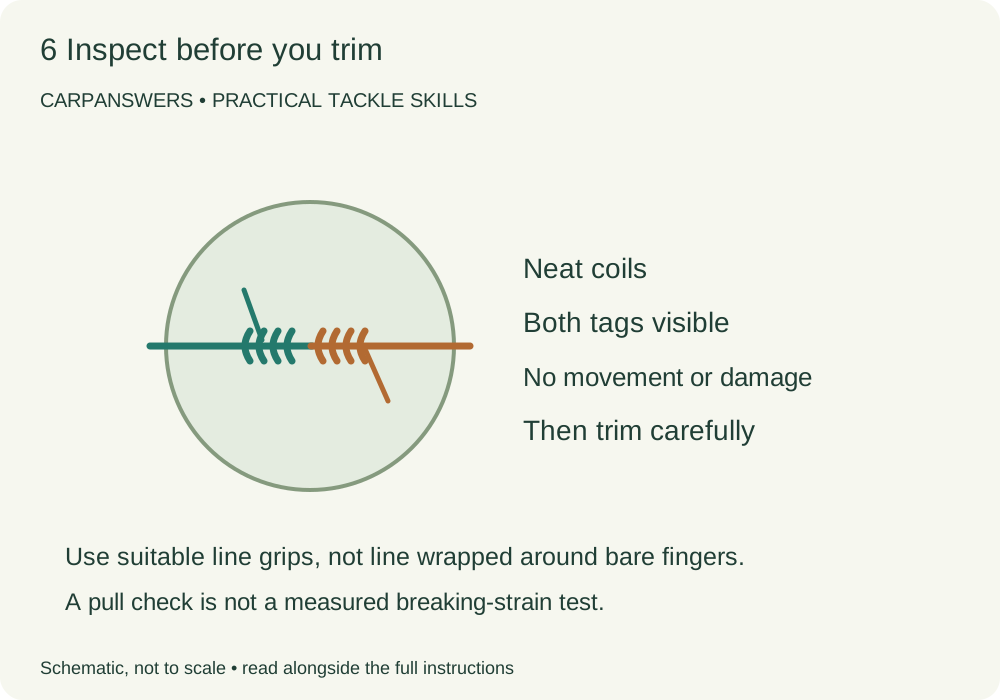
Step 6: check, then trim
Apply smooth pressure to the standing lines using suitable grips, keeping the assembly away from your face. Never wind fine line around bare fingers, and practise with no hook, lead or baiting device attached. Watch the tags and the point where the barrels meet.
If either tag creeps, the join slips or the mono becomes visibly damaged, discard it. Once the join is properly seated and checked, trim the tags neatly but leave them visible rather than cutting flush into the coils. Follow the line maker's tag allowance for a fishing connection; don't burn the ends with a lighter.
A controlled pull check is useful, but it isn't a calibrated strength test. It cannot tell you a percentage of retained breaking strain or prove the join suitable for a heavy cast. Treat claims of one guaranteed knot strength with caution: material and tying quality matter.
Where does the Double Grinner fit into carp fishing?
A line-to-line join can be useful when adding backing beneath fresh reel line or connecting an approved leader. It doesn't belong in the middle of a damaged working length simply because there is enough line left on either side. Replace worn fishing line rather than patching every rough section.
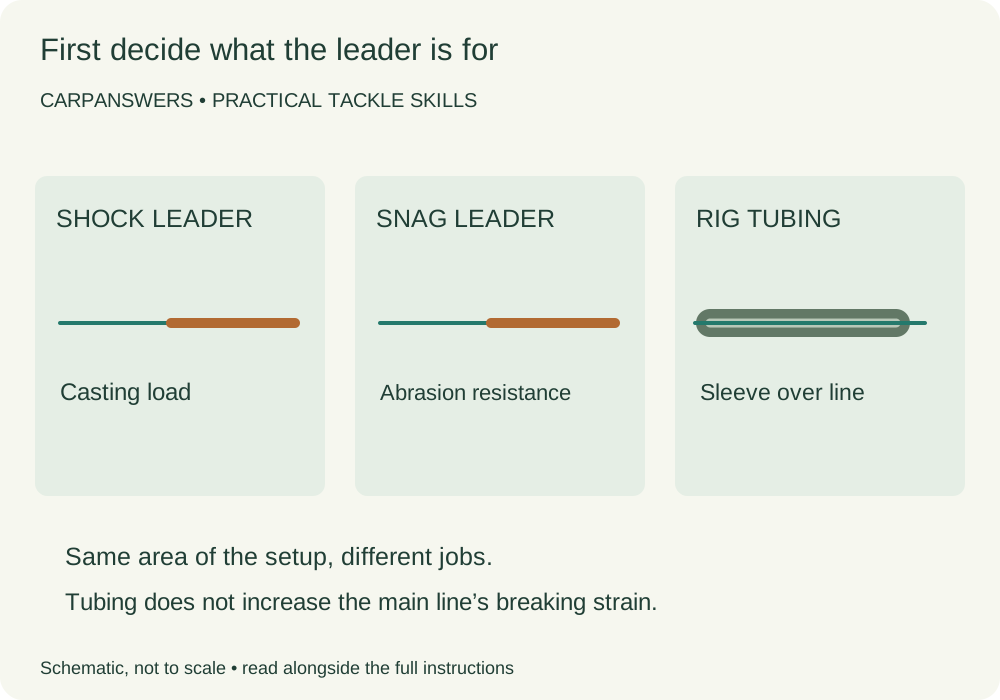
For a shock leader, think beyond whether the knot holds. The join has to suit the two materials, travel appropriately through the rings and work with the terminal system's line-break release. Our shock-leader setup guide covers those separate checks.
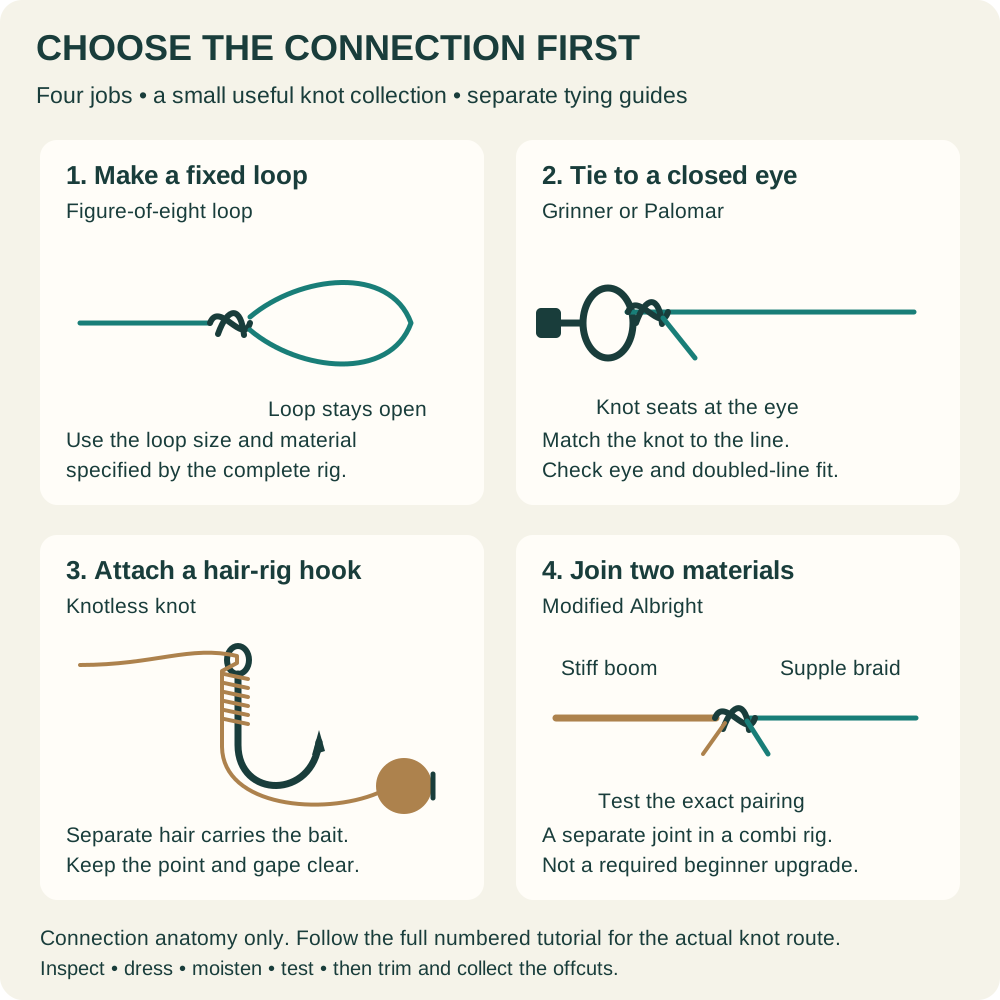
A bulky Double Grinner is not always the best distance-casting join. Nor is our Albright combi-rig tutorial a universal substitute: it covers a particular hooklink connection. Match the instructions to the actual job instead of transferring a turn count from an unrelated rig.
Why is my Double Grinner slipping or looking untidy?
| Problem | Try this |
|---|---|
| The first knot falls apart | Check that every wrap passed through its own loop, not merely around the outside of both strands. |
| One tag disappears while tightening | Start again with a longer overlap. Don't fish a join whose tag has pulled into the knot. |
| The barrels don't meet | Identify and pull the two standing lines. Check neither half has been tightened so hard that it cannot slide into place. |
| Coils cross or mono turns white | Use fresh ends, moisten and seat slowly. Damaged mono is not repaired by loosening the knot. |
| A braid version slips | Stop using the mono practice count. Check the braid maker's recommended knot and wraps for the exact pairing. |
Practise a few joins at home and compare them before cutting them apart for disposal. Look for repeatability, not speed. If one looks noticeably different, work out why rather than keeping it as a spare fishing connection. Collect all offcuts; clear mono is particularly easy to leave behind.
Double Grinner questions
Is it the same as a Double Uni?
Yes. Both names describe two Uni or Grinner knots working back to back. The single Grinner uses the same basic movement for a different connection.
How many turns should I use with braid?
There isn't one reliable number for every braid and leader. This guide deliberately teaches a mono exercise. Use the line maker's instructions for a braid pairing and check that connection before fishing.
Do I need glue?
No glue is used in this exercise. It won't correct the wrong route, damaged material or a slipping knot. Remake the connection rather than covering up a problem.
Once the two halves make sense, practise the knot with your intended materials under the maker's guidance. For the rest of the connections in a carp setup, keep the essential knots guide handy.