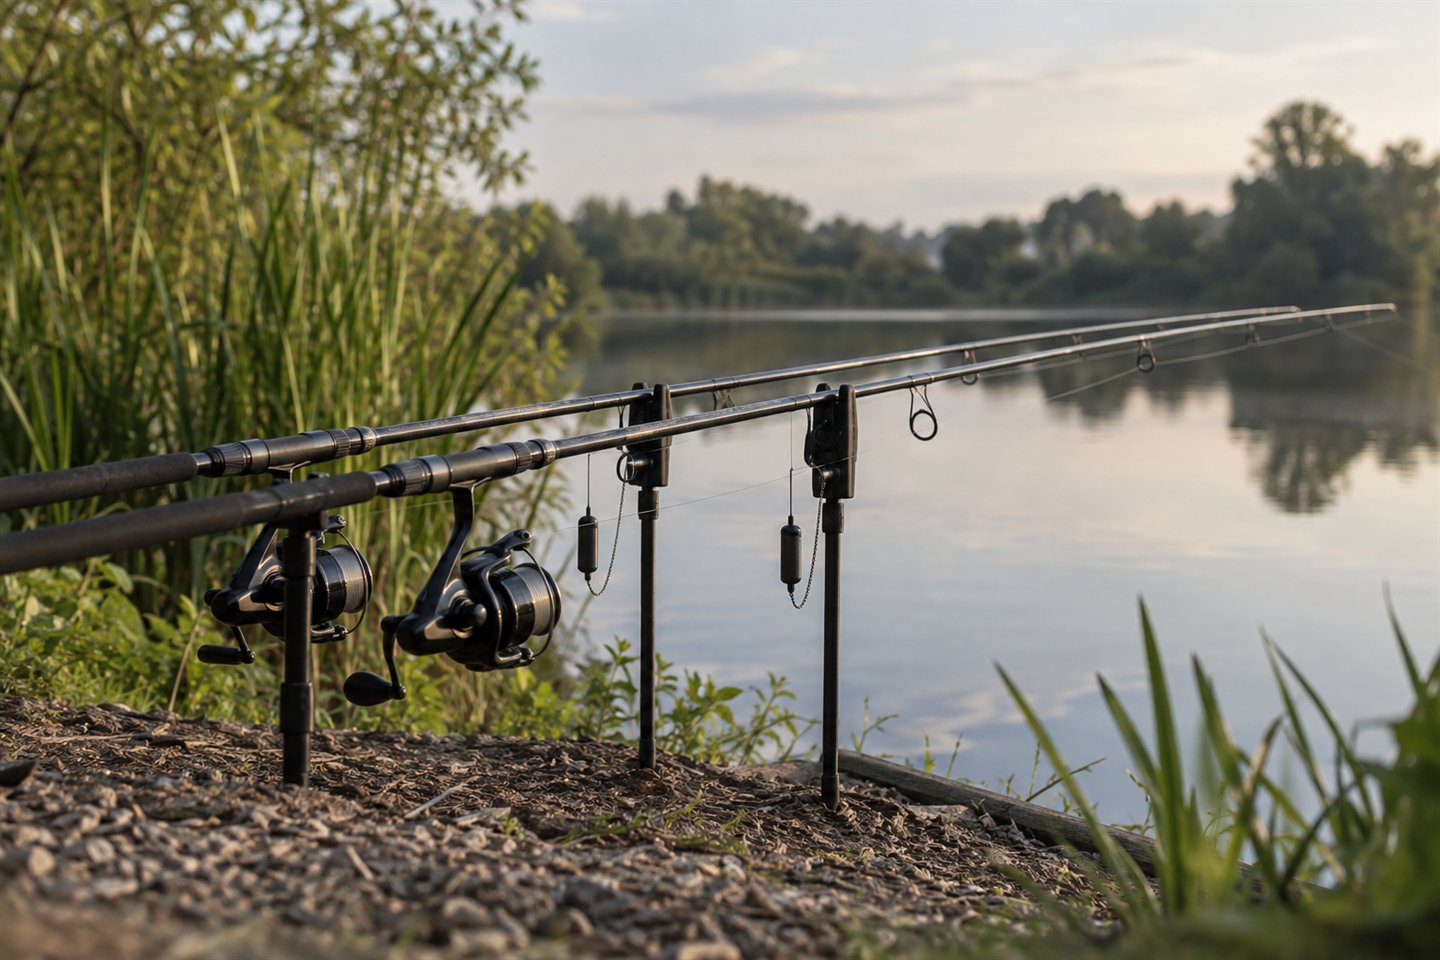
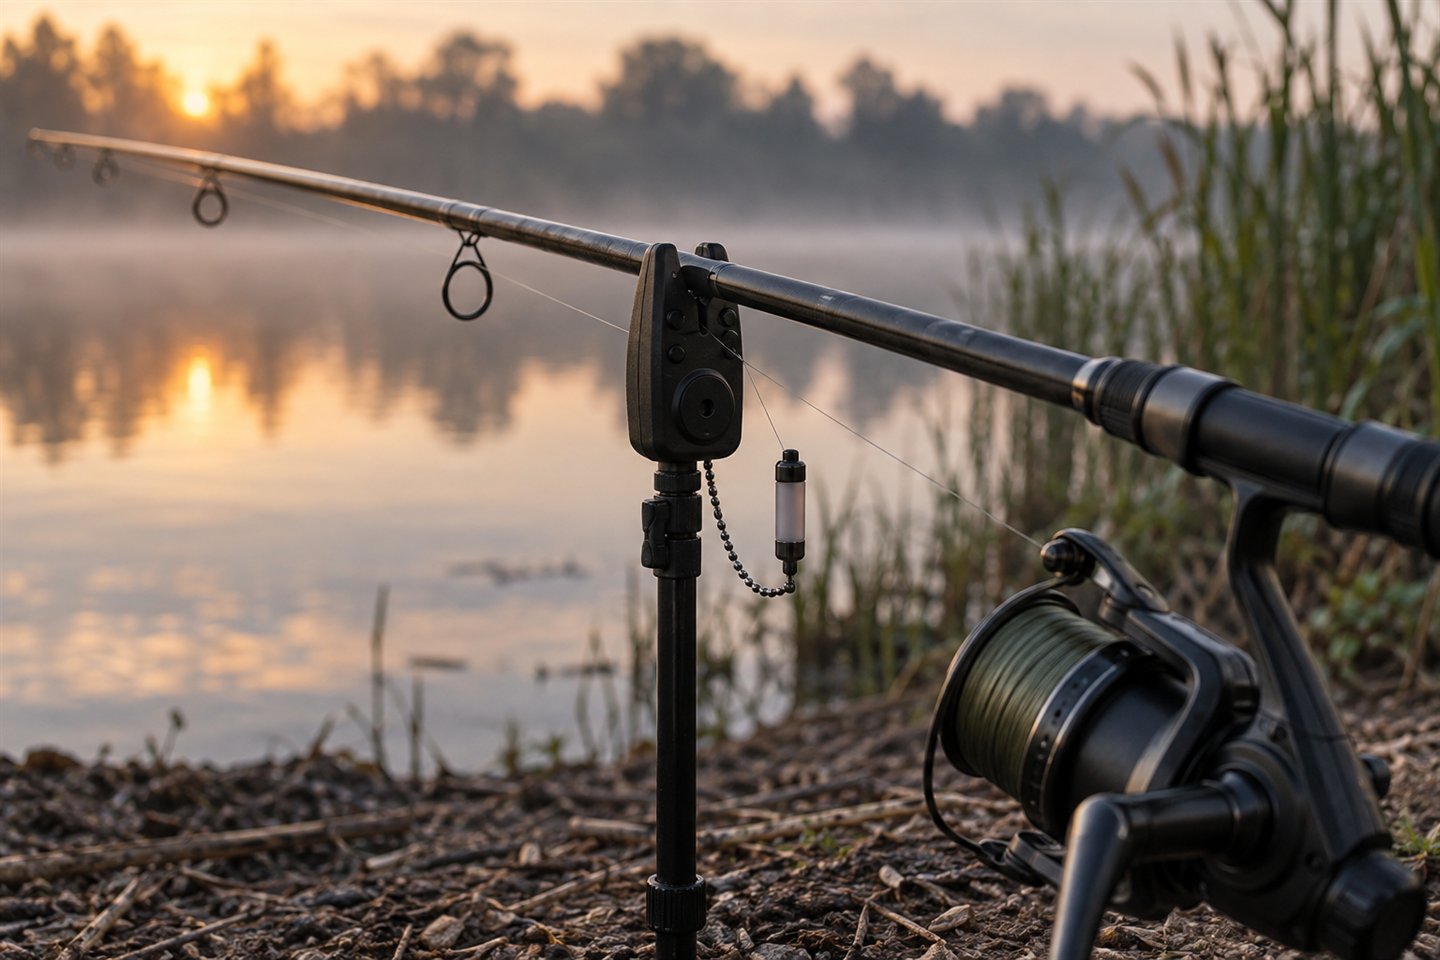
Before adding a backlead, ask what you want it to do between the rod and rig. It changes the line route, which isn't always an improvement. We'll look at the bottom and bite indication before deciding whether one helps.
On a suitable clear bottom, a backlead can help keep part of the mainline low. Put the same setup across weed, a sharp bar or submerged branches and it can create a problem rather than solve one. You don't need a backlead on every rod, and a line that disappears neatly beneath the surface isn't proof that it lies safely along the bottom.
This guide explains the different backleads used for carp fishing, how to assess the line path and the checks to make before leaving a rod fishing. Read it alongside our slack or tight lines guide; the two decisions belong together.
Backleads for carp fishing: when should you leave them off?
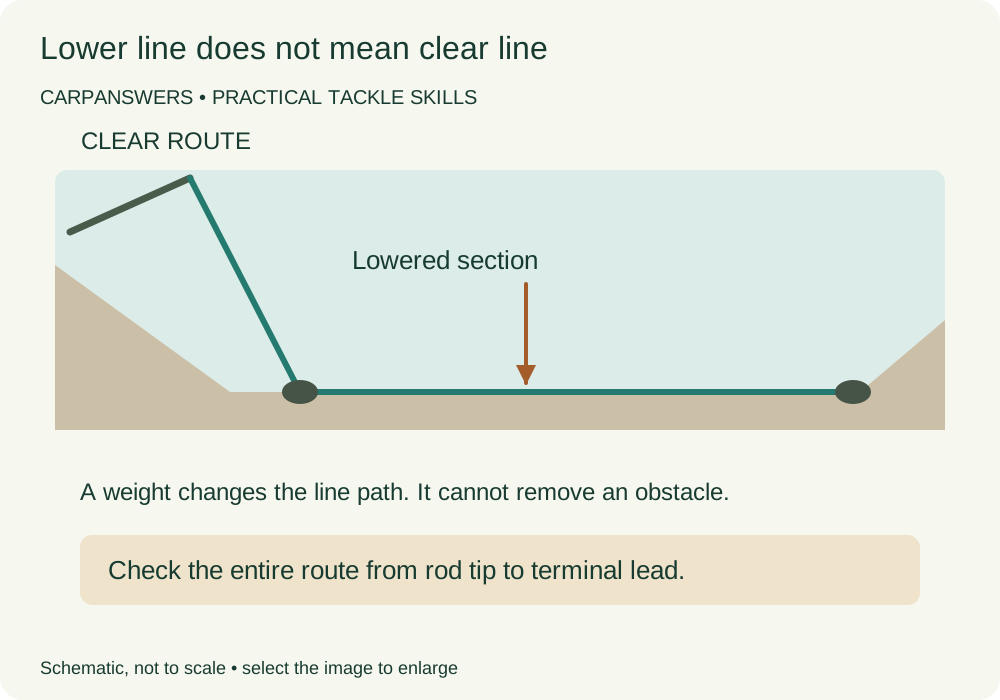
A backlead adds a weighted point along the mainline behind the terminal lead. Its position changes the route the line takes through the water. It doesn't pull every inch of line into every hollow, and it cannot turn a snaggy route into a clear one.
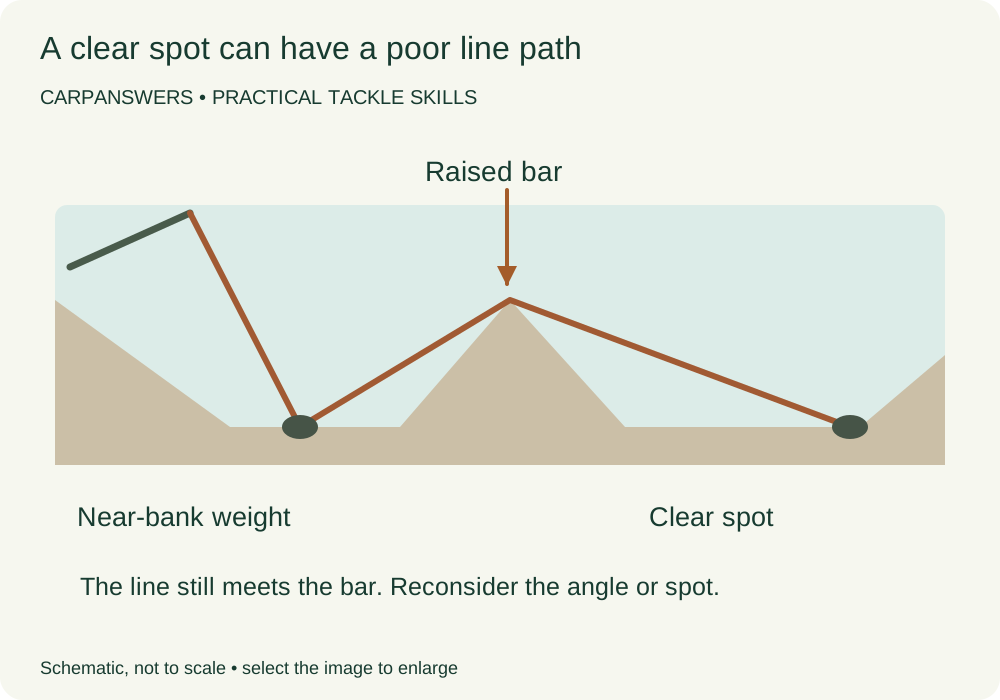
Imagine a washing line stretched over a fence. Lowering one end doesn't make the fence disappear. Underwater bars and weed can have the same awkward effect on a line you hoped was lying flat. That is why knowing the swim matters more than choosing a heavier backlead.
Flying or clip on backleads for carp line lay?
| Type | How it is used | Main thing to understand |
|---|---|---|
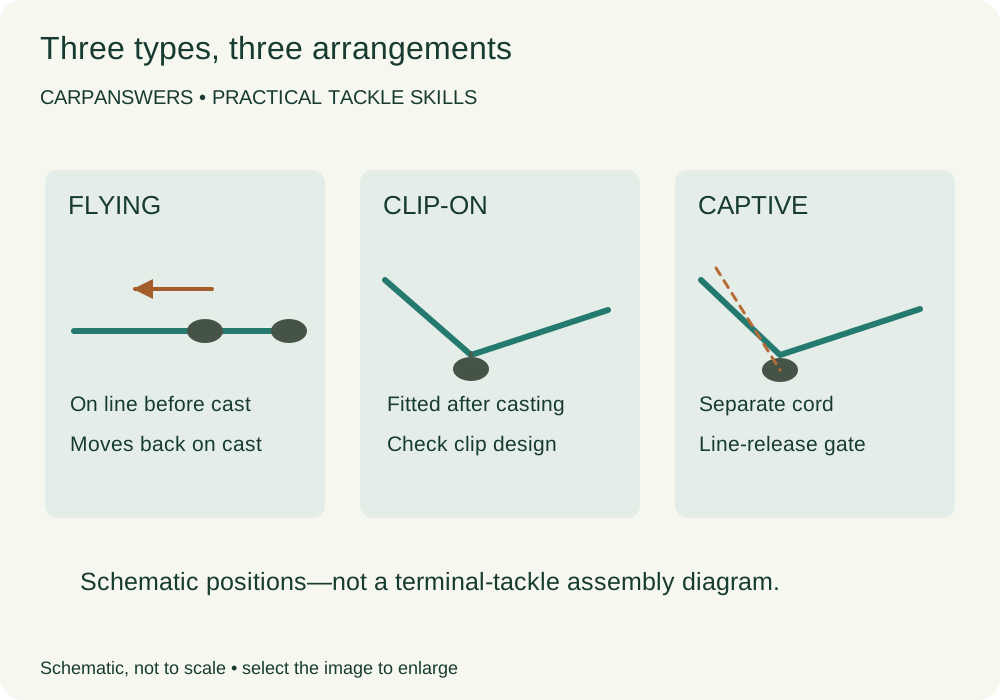
| Flying backlead | Fitted on the mainline before casting; travels back from the terminal tackle during the cast. | It is not placed precisely beneath the rod tip after the cast. |
| Clip-on backlead | Attached to the line after casting and lowered or allowed to slide into position as its design permits. | Check the product's line-retention and release arrangement; designs differ. |
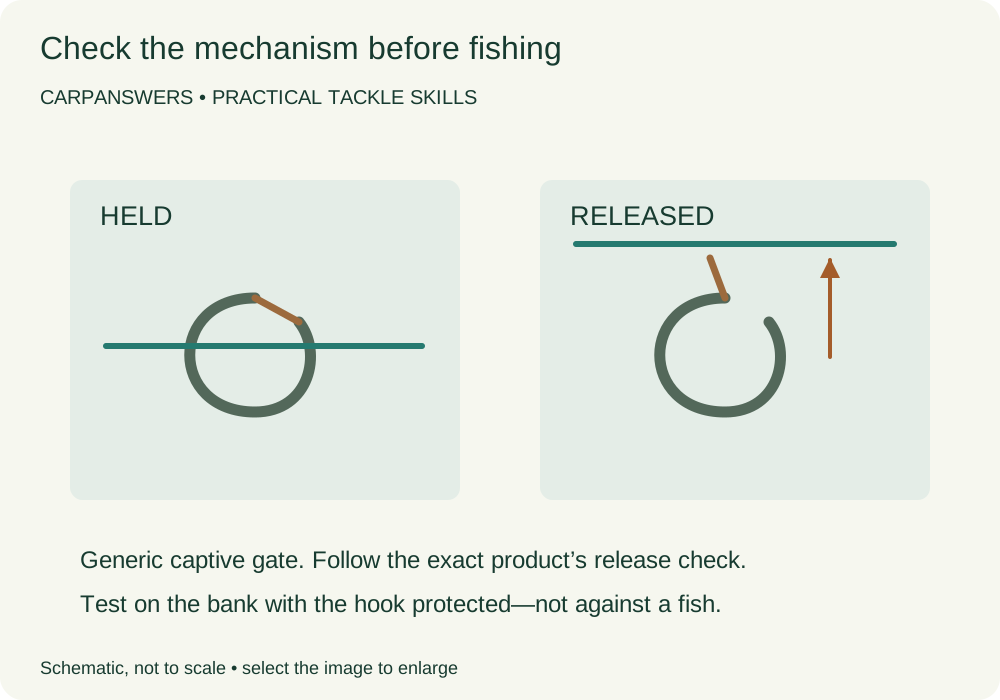
| Captive backlead | A near-bank weight with its own retrieval cord and a line-release mechanism. | The fishing line must release as intended; the retrieval cord needs a clear, tidy route. |
The Korda Flying Backlead (paid link) is an option for the first type, not a clip-on weight for lowering under your tips. Korda offers different weights, so check the selected version and the supplied inserts before buying.
Korda's flying-backlead instructions distinguish the mainline and braid inserts and show the manufacturer's arrangement with a buffer above the leader knot. Follow the instructions for your exact setup. Don't copy a bead from a photograph without checking whether it can obstruct the safe release of your terminal tackle after a break.
For comparison, the Fox Captive Backweight uses a mechanical gate and a separate retrieval cord. That makes it a different system, not merely a bigger flying backlead. Its release mechanism is an essential part of using it correctly.
When should I avoid backleads for carp fishing?
Start with the reason you want to add it. Are you trying to lower a near-bank section of line on a known clear approach? Or are you reacting to an occasional bleep without knowing what caused it? The first gives you something to assess. The second calls for a closer look at the swim and indication first.
Korda's line-lay guidance discusses the trade-off between concealment and bite indication. A backlead can add an angle and resistance to the line's movement. Don't assume that a quieter alarm means the presentation has improved.
Consider the simpler options too: a different rod position, a safer casting angle or a different spot. You may not be able to make the original idea work sensibly. Leaving a piece of tackle in the bag can be a perfectly good decision.
How to check a backlead route over weed and gravel bars
Look from the rod position to the chosen spot. What is between the two? Include the near margin, any shelf, known weed beds and the area around the terminal lead. A clean patch at the far end tells you very little about the rest of the route.
Use observations and the permitted feature-finding methods you already understand. The marker-float guide can help you build that picture. Don't repeatedly drag a lead through an obvious snag to prove it is still there, or wade out to investigate an unsafe margin.
If the route crosses submerged branches, substantial weed or abrasive features, leave the backlead off and reconsider the line path. Simply using heavier mainline doesn't remove the obstruction. Where prompt indication and immediate control are critical, adding another weighted bend is an especially poor default.
Step 3: prepare the chosen type properly
Check the fishery rules before fitting anything. If you're using a flying type, assemble it before the cast in the position specified by its maker. Inspect the insert for damage and make sure it is the correct one for the actual mainline. Don't add improvised fixed stop knots to force the weight to sit where you want it.
With a clip-on type, inspect the clip and the route by which the line enters and leaves it. A rough edge or a distorted opening is a reason to stop. Use the manufacturer's method to check retention and release; different clips are not interchangeable just because the lead shapes look similar.
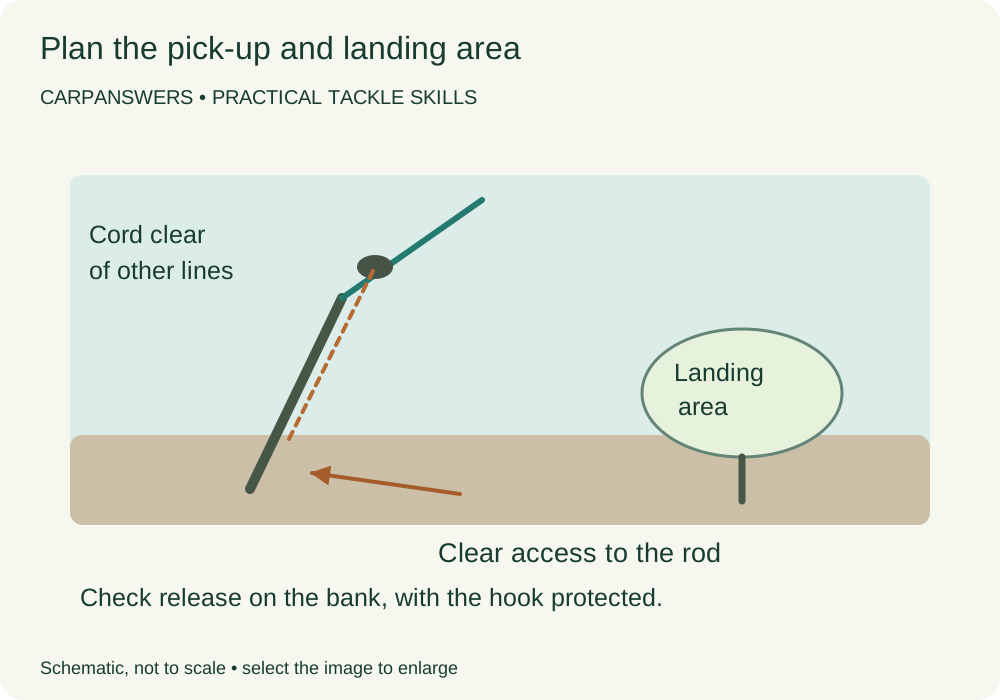
With a captive type, sort out the cord and winder before lowering the weight. Keep the cord out of the walking and landing-net area, and away from the other rods. A spare cord curled around a bankstick is not something you want to untangle with a fish attached.
These checks are made on the bank, with the hook protected and people clear. Don't test a release mechanism by pulling against a fish or by jerking an exposed hook towards yourself. If the system doesn't release as described by its maker, don't fish with it.
Step 4: let the line settle, then reassess
After casting, establish the line lay appropriate to the swim before adding a post-cast backlead. Follow the product instructions for lowering it; don't drop a heavy weight blindly into a margin you haven't checked. Watch for an unexpected stop rather than assuming the weight has reached clean bottom.
Set the alarm and indicator for the resulting arrangement. Look at the indicator's starting position and whether there is room for it to show the movements you need to see. Our guide to line bites and drop-backs explains why different movements deserve attention.
Don't keep tightening and loosening simply to make the setup resemble someone else's photograph. You are trying to fish a known line path with understandable indication. If the backlead repeatedly snags, shifts unpredictably or complicates that job, remove it and reassess the spot.
Three swims, three different decisions
A clear, gently shelving margin
You know the near-bank bottom is clear and the line has an unobstructed route to the rig. A suitable post-cast backlead may be worth considering if there is a specific reason to lower that section. Check the system and indication first, and keep the rod attended as normal.
A gravel hump between you and the spot
The hookbait is on a lovely clear patch, but the line crosses the hump. Lowering the near end may bring the line against the feature rather than remove it from view. Change the angle or spot if needed. Don't regard a heavier backlead as the answer to every raised feature.
A narrow clear channel through weed
The channel might look fishable, but a sliding weight can finish somewhere you didn't intend. There is also the route a hooked fish will take to consider. Work through the weed-fishing guide and fishery advice before deciding to fish there at all. A backlead is not a weed-safety device.
Common backlead mistakes
- Adding one to every rod: each line can cross a different bottom, even from the same swim.
- Chasing silent alarms: fewer bleeps aren't proof of fewer fish touching the line, and may reflect changed indication.
- Mixing types up: a flying weight, a clip-on weight and a captive system have different fitting and release requirements.
- Ignoring the retrieval: plan how both the fishing line and any captive cord will stay clear when you pick the rod up.
- Forgetting the next cast: check the insert, line and clips again after retrieving through debris.
Backlead questions
Will a backlead prevent line bites?
Not reliably. Fish can encounter line in different places, and not every alarm bleep is a line bite. Understand the movement and the swim before adding tackle to suppress it.
Can I use backleads with slack lines?
There isn't a universal yes or no. Consider the resulting line path and indication rather than combining the two by habit. Start with the job each is meant to do, and avoid arrangements you can't assess confidently.
What weight should I buy?
Choose within the intended use of the exact product and the conditions, not from a single weight recommendation for all lakes. If you need more and more weight to make a doubtful setup behave, revisit the setup.
Do they make fishing around boats safe?
No. A lowered line is not permission to obstruct navigation or ignore local rules. Follow the waterway and fishery requirements, and retrieve when necessary. Never assume a passing boat will clear unseen tackle.
The useful habit is to picture the line all the way from the tip to the rig. If a backlead improves that arrangement without adding an avoidable problem, it has a job. If it doesn't, leave it in the tackle box.