A marker float helps you measure depth and find changes in the lakebed. Here's how to use one, then mark the spot so you can cast back to it.
A marker float doesn't tell you where the carp must feed. It tells you what is beneath the surface. You still need to watch for bubbles, coloured water, shows, bird activity and other signs of fish. The most useful spot is not always the cleanest or deepest one; it is an area carp visit where you can present a rig safely and accurately.
What does a marker float tell you?
A marker float can provide two kinds of information. The lead tells you how the lakebed feels, while the float allows you to estimate depth. By repeating the cast slightly shorter, farther, left and right, you can build a picture of how the bottom changes across the swim.
The landing of the lead gives the first clue. A crisp feeling through the rod can suggest firmer ground, while a softer or muted landing may point towards silt, weed or debris. That first sensation is never enough on its own. A lead can drop through a small hole in weed and hit hard ground even though the surrounding area would make presentation difficult.
Pulling the lead adds the next part of the picture. Vibration can indicate stones or rough gravel, a smooth slide may suggest clay or sand, steady suction often points towards soft silt and a spongy increase in resistance is commonly associated with weed. These are interpretations rather than guarantees because line bow, range, wind, rod action and lead shape all change what reaches your hands.
Depth completes the map. A sudden difference in the amount of line needed to surface the float may reveal a shelf, channel, bar or depression. Measure the neighbouring casts as well as the attractive one. The edges of a feature are often more useful than its centre, particularly where a change in depth meets weed or a strip of firmer bottom.
Marker float tackle and setup
Choose a suitable marker or spod rod
A marker rod must be rated for the lead and the complete casting load. Many anglers use a combined spod and marker rod because it is powerful enough for both jobs, although a responsive tip can make subtle changes easier to recognise. Our guide to spod and marker rods explains the main choices.
Use a reel with controlled line lay and a sound clip
A large fixed-spool reel with tidy line lay makes marker braid easier to manage. Fast recovery is useful when winding in, but feature finding itself should be slow. A smooth and undamaged line clip is more important because it lets you retain a measured range once an area has been found.
Why braid is normally used
A suitable low-stretch floating braid transmits the movement of the lead far more directly than stretchy monofilament. That clearer connection makes changes easier to feel and helps the float rise without a heavy sinking line pulling it away from the lead. Bright braid is also easier to see when other anglers or birds are nearby.
Braid can cut skin badly when it is placed under casting pressure, so wear a finger stall or a suitable casting glove. Check the venue rules before spooling up because some fisheries restrict braided main line or require a particular shock leader. Never assume that a setup allowed on one lake will be acceptable on the next.
Marker lead, bead and float
A marker lead needs enough weight to stay in contact with the bottom, but it must remain within the safe casting limits of the rod, line and leader. Leads with projections or a textured shape can transmit changes well. Extremely aggressive shapes may collect more weed, so it is useful to have more than one option rather than believing one lead suits every lakebed.
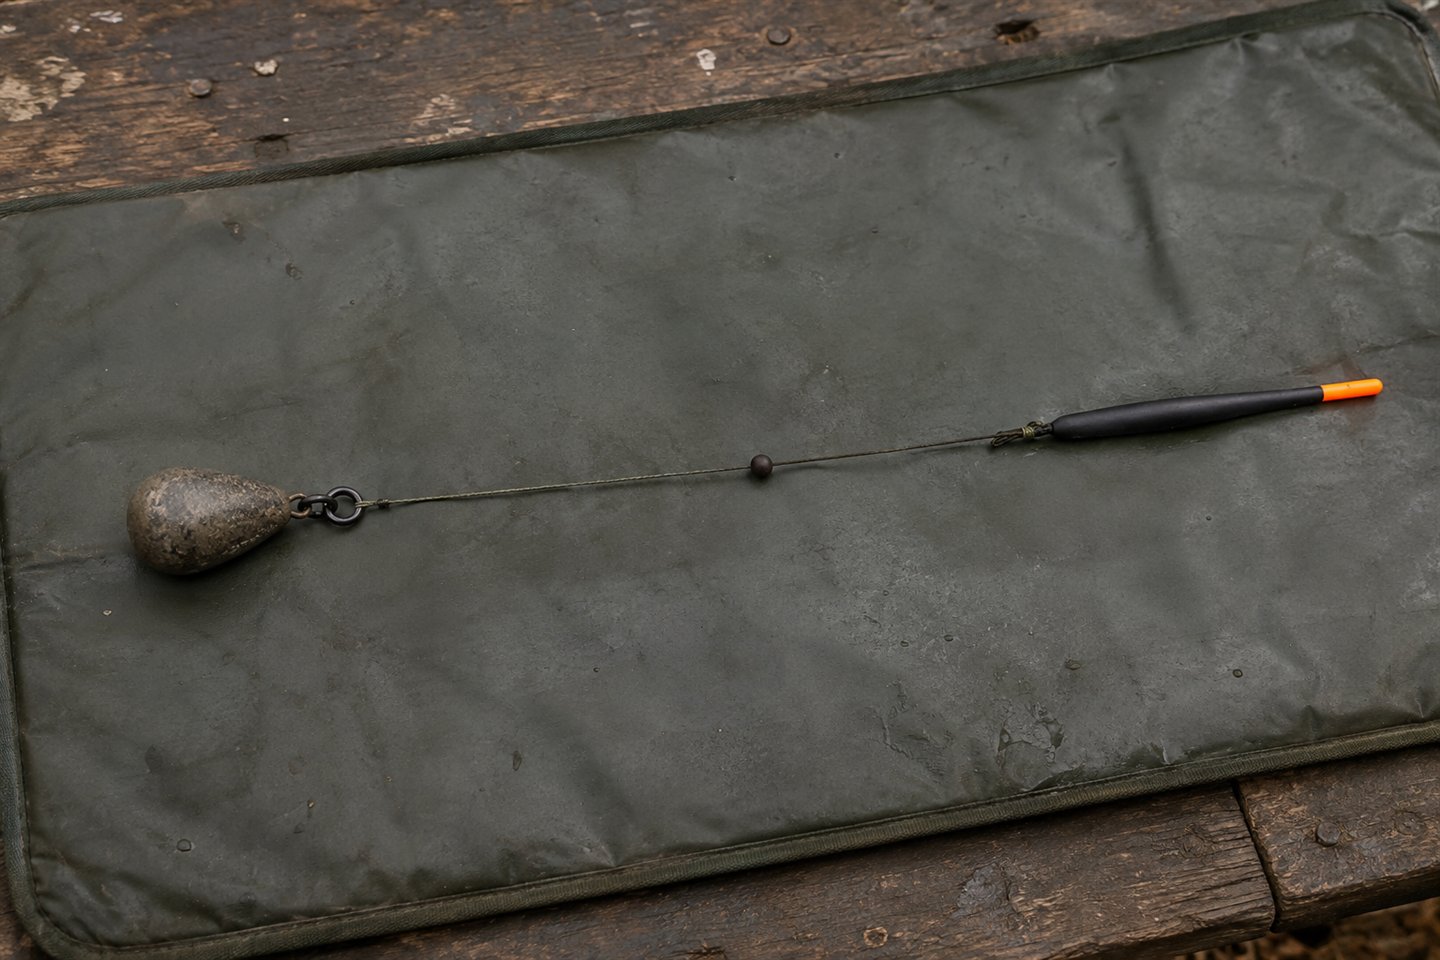
The lead must run freely on the line or on a compatible running link. A large-bore protective bead sits between the link and the marker float, preventing the parts from jamming together. The float needs enough buoyancy and visibility for the range and depth being explored.
How to set up a marker float for carp fishing
Start by reading the fishery's rules on braid, shock leaders and feature finding. Check the casting area behind and above the swim before assembling the tackle. Thread the braid or approved leader through the large running eye of the marker lead arrangement, then slide on the correct protective bead and tie the line to the float with a dependable knot.
Commercial marker systems differ, so follow the component maker's instructions rather than combining parts that were not designed to work together. The lead link should not be able to pass over or become trapped against the bead. If a leader knot is present, it must pass through the arrangement as intended without stopping the float from travelling up the line.
Pull-test every knot, inspect the line and make sure the lead runs freely. Lower the finished setup into the margin and feed line from the reel. The float should rise without sticking. This simple margin test is worth doing at the beginning of every session because dried weed, damaged components or a poorly seated bead can change how the system works.
Finally, check the total loaded tackle against the rod rating and put on finger protection before casting. A marker lead is not as bulky as a loaded spod, but a crack-off can still send it a long way. People, wildlife, boats, branches and overhead cables must be clear of the casting path.
How to use a marker float to find a fishable spot
1. Watch the water before you cast
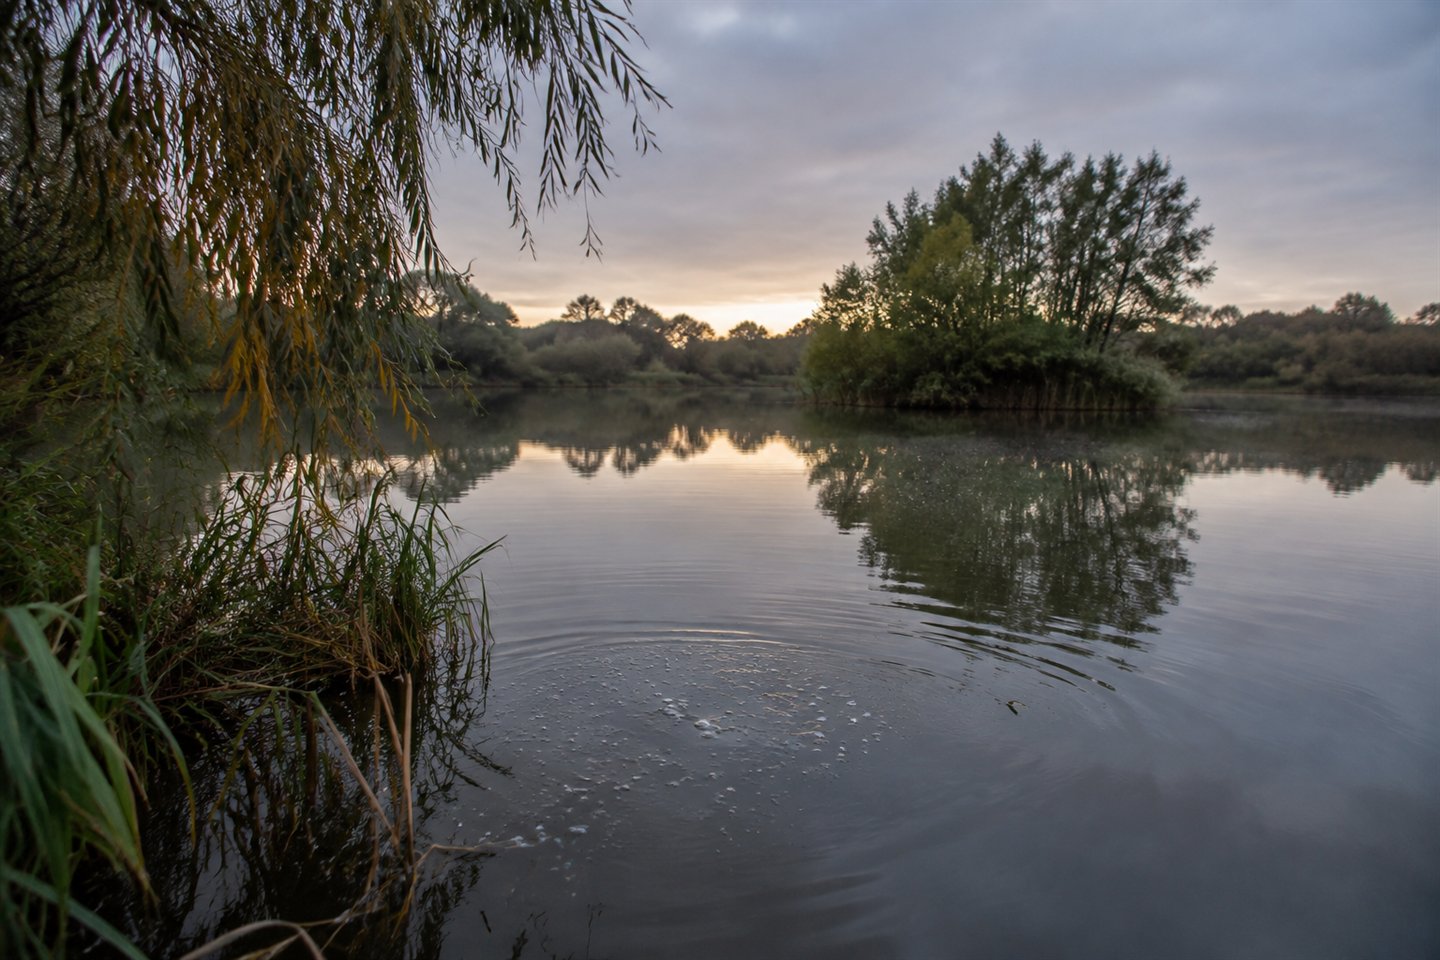
Spend a few minutes looking across the swim before making any disturbance. Note where carp show, where bubbles appear, which way the wind is pushing and whether birds repeatedly dive over one area. Pick two or three zones that have a reason to be explored instead of covering the entire lake with random casts.
On a busy day-ticket water, also establish the boundaries of the swim. Ask the bailiff if they are unclear and speak to neighbouring anglers. Marker braid travelling across somebody else's line is frustrating and potentially dangerous, and no feature is worth creating an argument over.
2. Select a fixed far-bank marker
Choose a tree trunk, roof line, telegraph pole or another permanent object beyond the target. Avoid using a parked vehicle, an angler or a patch of light that can move. Stand in the same place for every cast and align the rod with the same marker.
The direction is just as important as the distance. A clip gives you an arc across the lake, not one exact point. Combining the clip with a far-bank marker allows the rig to return to a much smaller area, which is why both details need to be recorded.
3. Cast within comfortable range
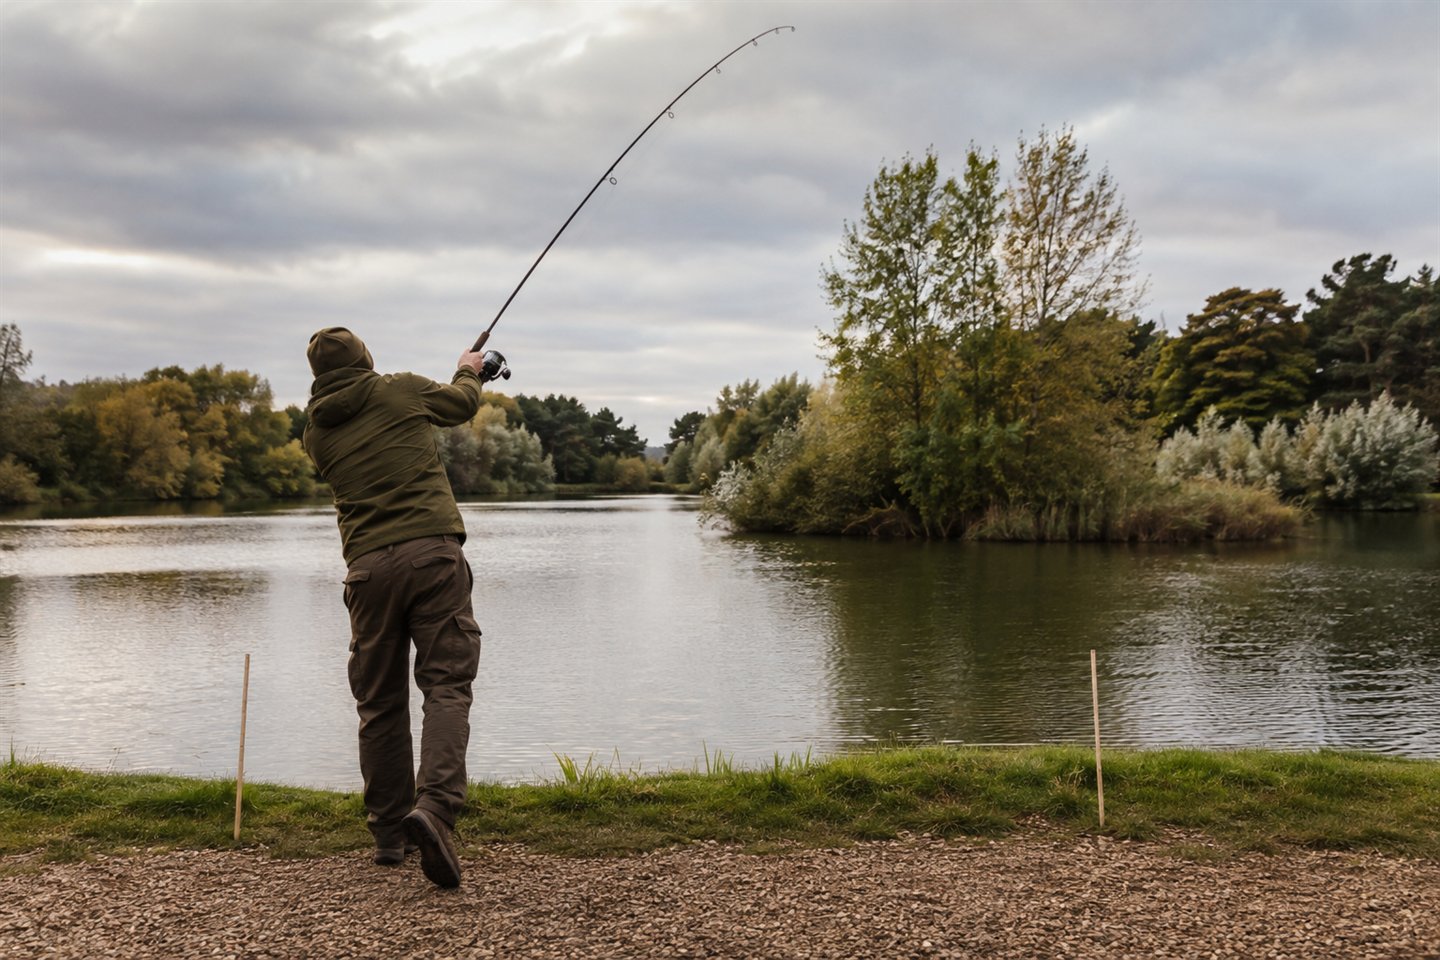
Make a smooth cast rather than immediately trying to hit the horizon. Feather the braid as the lead approaches the surface so the float and lead straighten before landing. This reduces tangles and gives you a cleaner connection as the lead starts to fall.
Close the bail and keep light contact with the lead as it sinks, holding the rod high enough to reduce a large bow in the braid. Don't pull the lead towards you. You're following it down, not retrieving it. The time taken to reach the bottom also gives a rough comparison of depth between nearby casts.
4. Feel the lead land
Concentrate on the rod tip and blank as the lead reaches the bottom. A positive stop may indicate firmer material, while a dull landing may suggest something soft. Treat this as the beginning of the investigation rather than a verdict.
Repeat around the area from slightly different angles. If one cast lands firmly but those around it feel heavy and spongy, you may have found a small hole in weed. That could still be a useful spot, but only if it is large enough for the rig and you can cast to it consistently.
5. Pull the marker lead with the rod
Point the rod towards the lead, then sweep it slowly to the side through a short and repeatable distance. Hold the spool if the clutch is likely to slip. Stop, return the rod towards the lead and use the reel only to take up the slack created by that movement.
Dragging the lead several metres in one hurried pull blurs changes together and can bury it in weed. Short movements let you notice where a smooth slide turns into vibration, where resistance increases or where the lead suddenly becomes lighter as it passes over an edge.
Keep the rod at a similar angle on every pull. A low rod and a high rod transmit the load differently, so changing position constantly makes the sensations harder to compare. Consistency is what turns an unfamiliar knock into useful information.
How to find gravel with a marker lead
Gravel or small stones often produce taps and vibration through the rod, but a firm clay bottom can also create a clear landing. Sand may feel smoother and less lively. Don't label the feature from one sensation; combine the landing, the drag and several casts around the area.
Soft silt often cushions the landing and then holds the lead with steady suction. The strength of that pull can vary with lead shape and how deeply the lead has settled. Pause after the cast and compare the effort needed to start the lead moving, then check whether debris or an odour returns on the lead.
Weed can feel spongy, springy or steadily heavier as strands collect around the lead. Different weed species and growth stages feel different, and clean stems may behave nothing like decaying material. Pull slowly enough to detect the edge, then inspect any weed brought back to learn what you have been feeling.
A sudden lightness can mark the top of a slope, while an abrupt increase in tension may appear as the lead reaches the foot of a shelf. Measure the depth on both sides before deciding. Line passing over the feature can alter the sensation, so the map is always an informed approximation rather than a survey drawing.
How to measure lake depth with a marker float
Once the lead is stationary, lower the rod to a repeatable position and keep light tension in the line. Release the clutch or baitrunner and feed braid in measured increments. One foot at a time is easy to count. Continue until the marker float breaks the surface.
If eight one-foot pulls were needed, the water is approximately eight feet deep. At long range the angle of the line and any bow make the figure less exact, but it remains very useful for comparing nearby areas. The key is using the same rod position and measurement every time.
A crosswind can hold the float below the surface or move it away from directly above the lead. If it doesn't appear, gently tighten and feed line again instead of pulling hard enough to shift the lead. Deep weed can also trap the float, which is another reason to test the running arrangement and proceed patiently.
8. Clip up and record the spot
When you have found an area worth revisiting, tighten to the lead and place the braid in the reel's line clip. Wind in, then measure the distance around straight distance sticks set at a known spacing. Count the wraps carefully and avoid walking with tight braid where another person could cross it.
Record the wrap count, stick spacing, exact far-bank marker, depth, bottom feeling and the place you stood in the swim. Add the date and water level because a reservoir margin can look very different after heavy rain or a dry spell. A note such as 17 wraps, left edge of oak, seven feet, firm strip beside weed is much better than trying to remember a number on its own.
If the clutch slipped during the pull or the braid was not tight when it entered the clip, the measurement may have changed. Check it again before committing bait. A few extra minutes with the marker rod is easier than spending the rest of the session casting accurately to the wrong distance.
9. Map the edges of the feature
Cast a little shorter, farther, left and right to discover the size and shape of the area. You may find that a firm patch is only large enough for one rig, or that a narrow clear strip runs along the edge of weed. Marking the boundary tells you how much tolerance there is in the cast.
Stop when you have enough information to make a decision. Endless feature finding creates disturbance and can move carp away from the area you hope to fish. On many waters, watching the lake and making six purposeful casts is more valuable than making thirty without a plan.
How to choose a carp spot from your marker work
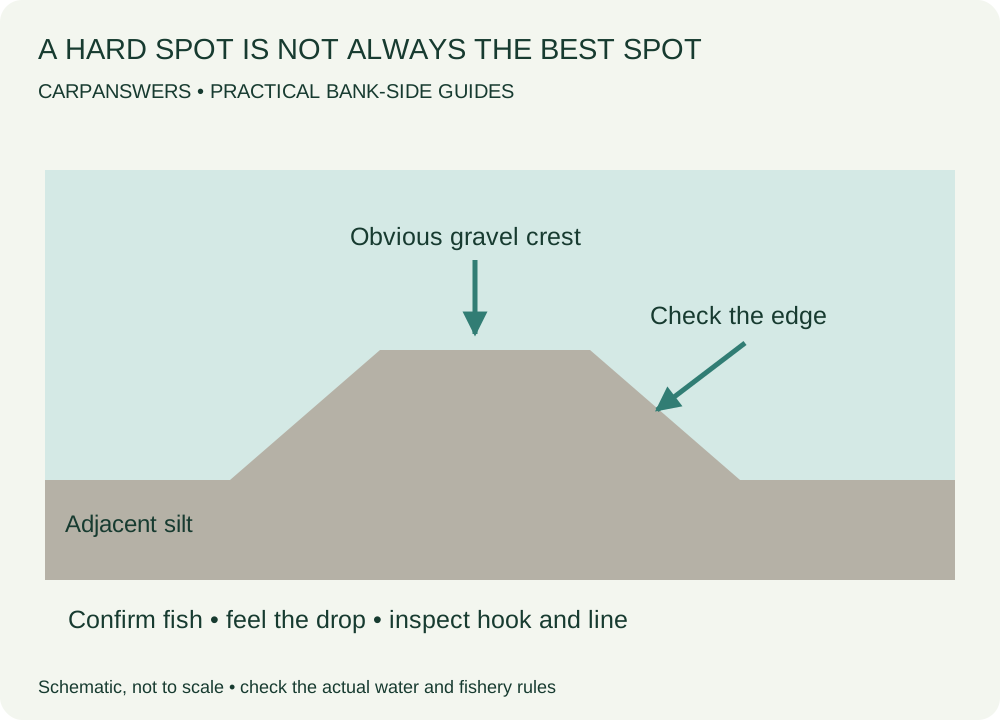
Don't assume gravel is always the answer. Carp feed over silt, clay, sand and weed, and a large polished gravel patch may receive far more angling pressure than a quieter strip nearby. Look for a useful change that fits the signs you have observed, such as the edge of fresh weed, the base of a shelf or a slightly firmer route through soft sediment.
Then think about presentation. A short stiff hooklink that sits neatly on firm ground may be a poor choice if it lands on deep debris. A longer or more supple presentation, or a solid PVA bag tested in the margin, may settle more naturally on a softer bottom. The finished rig and lead arrangement must be safe and permitted by the fishery.
For anglers still building confidence with terminal tackle, our guide to beginner carp rigs explains why the lakebed, hooklink and lead arrangement need to work together.
Transfer the range to your fishing rods
Once the marker rod has been measured on distance sticks, wrap each fishing rod to the same initial distance and use the same far-bank marker. Place the line in the clip, cast with a bare lead or suitable rig and feel it down. If the landing doesn't match the marker information, wind in and investigate rather than assuming the presentation is correct.
The rig can swing back towards you as it falls, especially in deep water, while a baiting device lands and opens nearer the surface. Wind, line bow and trajectory also affect the final position. There's no reliable rule such as subtracting a fixed amount for every foot of depth because the variables change from lake to lake.
Start from the recorded distance and make small adjustments based on what actually happens in the swim. When you're ready to introduce bait, our guide on how to spod accurately explains how to match the wrap count, aim point and casting rhythm without scattering bait across the feature.
Common marker float mistakes
Calling one hard landing a clean spot
A single sharp knock proves only that the lead met something firm on that cast. It could be clay, a stone, compacted silt or a tiny hole in weed. Pull the lead, measure the depth and explore around it before calling the area clean.
Moving the lead with the reel
Winding continuously gives poor feedback and encourages the lead to skip. Move it with a slow sweep of the rod and use the reel only to recover slack. This keeps the movement controlled and makes transitions much clearer.
Searching for too long
Repeated casting can disturb a small water and interfere with neighbouring swims. Decide what you need to know, explore purposefully and then put the marker rod away. Find enough to choose a good spot; you can build up the rest of the map over later visits.
Marker float safety and fishery rules
Check that braid, leaders and marker work are permitted before the first cast. Use a rod and leader rated for the complete casting load, inspect the braid, knots, lead link, bead and float, and wear proper finger protection. Stop immediately if another angler, a boat, a bird or any other hazard enters the casting area.
Never pull snagged braid with bare hands or wrap it around your hand, arm or body. Braid can cut deeply when it tightens. Use an appropriate protected method and ask the fishery team for help if the tackle cannot be retrieved safely.
Marker work should also respect the fish and the lake. Avoid dragging tackle repeatedly through areas where carp are clearly present, recover discarded line and don't leave a marker floating while fishing unless the venue expressly allows it. The information is useful only when it is gathered responsibly.
Turn the feature map into a usable spot card
Give each worthwhile spot a simple name, then record the casting position, far-bank marker, stick spacing, wraps, estimated depth and bottom feedback in the Distance Stick / Spot Card tool. Add the safe landing route and an alternative aiming mark for fading light.
A note such as “smooth firm pull beside rough crest” is useful even when you cannot confidently distinguish clay from compact sand. Keep observations separate from guesses. You can update the description after another careful check instead of turning an uncertain first cast into a permanent lake map.
Use the gravel guide for hard patches, the silt guide for soft areas and the weed guide where growth changes the presentation or landing route. The Carp Rig Selector is the next step only once you know the spot can be fished safely.
Features are not fish. A beautifully recorded bar with no activity may deserve less time than a modest safe shelf where carp are repeatedly feeding. Return to How to Find Carp when the map starts distracting you from watching the lake.
Frequently asked questions
Can I use monofilament with a marker float?
You can, but mono stretches and softens the feedback from the lead. A suitable low-stretch floating braid is normally preferred where venue rules permit it. If mono is required, work at manageable range and focus on consistent comparisons rather than expecting every subtle vibration to reach the rod.
How heavy should a marker lead be?
The lead needs to stay in contact and transmit the bottom while remaining safely within the rod, line and leader ratings. Range, wind, depth and weed all affect the useful weight, so there's no single answer for every setup. Start with the maker's guidance and never exceed the rod's safe casting range.
Why will my marker float not rise?
The float may be trapped in weed, the running link may be jammed, the bead or knot may be incompatible, or wind and line bow may be holding it below the surface. Tighten gently, feed line again and retrieve the setup if it remains stuck. Check it in the margin before recasting.
Final thoughts
The most reliable way to use a marker float is methodically. Pick a fixed direction, feather the cast, follow the lead down, pull it slowly with the rod, measure the depth and map the edges. Record the range and far-bank marker so the information can be repeated on your fishing rods.
Keep looking for carp while you build your map. A lovely clean gravel spot is only useful if the fish visit it! Find somewhere you can present the rig safely, record the depth and distance, and add to those notes on the next trip.
Sources and further reading
Korda's guides explain how to use a marker float, how to find and record a spot and how to use distance sticks.
For more about matching the approach to difficult lakebeds, see Korda's guide to carp fishing in weed. Angling Times also covers the practical process of finding productive carp spots.
Putting together a marker setup? Our spod and marker reel guide explains the features worth checking. For feeding the spot afterwards, see the baiting guides.