Before you reach for the file, check the hook. A clean, sharp point needs no work, and a bent or badly damaged hook is one to replace. Here's how to sharpen carp hooks when a light touch-up is actually useful.
A sharpener is handy for a light touch-up, not a reason to file every hook in the packet. Inspect the point in good light before deciding whether it needs any work.
We'll check the hook, make a light hand touch-up where appropriate and inspect it again. If you can't see what you're changing or don't trust the result, fit a suitable fresh hook.
How to sharpen carp hooks: start with the right tools
You need good light, a magnifier or loupe, a secure hook-holding vice, a purpose-made fine sharpening tool and somewhere safe to put used hooks. A light-coloured tray helps you find anything you drop. Keep the work away from children, pets and the edge of the swim.
- A Nash Pinpoint Precision Sharpening Vice (paid link) holds the hook while you work; it isn't a substitute for keeping fingers out of the point's path.
- Nash Pinpoint Finishing Files (paid link) are for fine finishing work, not an excuse to grind down a chipped hook. Nash describes their role as smoothing and polishing after shaping.
- Carry spare hooks in the pattern, size and barb arrangement your rig and fishery allow. For example, Korda Wide Gape X size 6 barbed hooks (paid link) are a replacement option for a compatible setup—not for a barbless-only venue or every rig.
A fine abrasive rubber such as the Gardner Point Doctor is another approach to small touch-ups. Gardner explains that it removes a fine layer of coating as it works. Whichever tool you choose, follow its instructions and make small, visible changes. Don't start with a powered sharpener while you're still learning what a sound point looks like.
How to tell if a carp hook needs sharpening
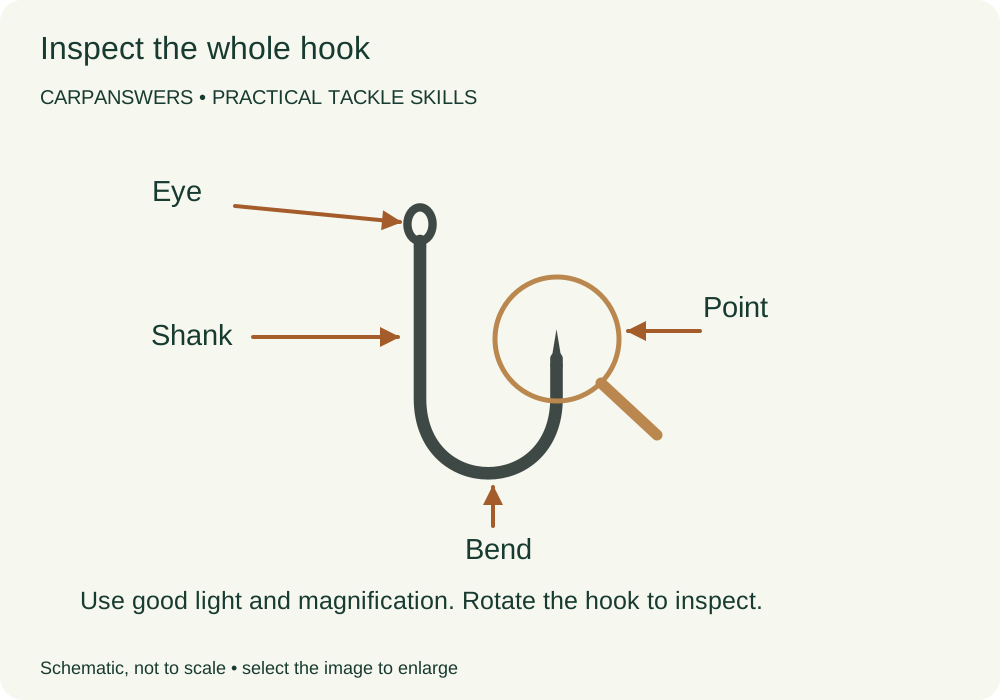
Secure the rig safely, remove bait or debris that obscures the view and examine the hook under bright light. Turn it slowly so you can see the point from more than one side. Don't bring an unsecured hook close to your face to make up for poor lighting.
Look beyond the last millimetre of the point. Check the eye, shank, bend and barb if present. A damaged eye can threaten the hooklink; a bent shank or opened-out bend is not put right by polishing the tip. Compare it with an unused hook of the same pattern if the shape looks doubtful.
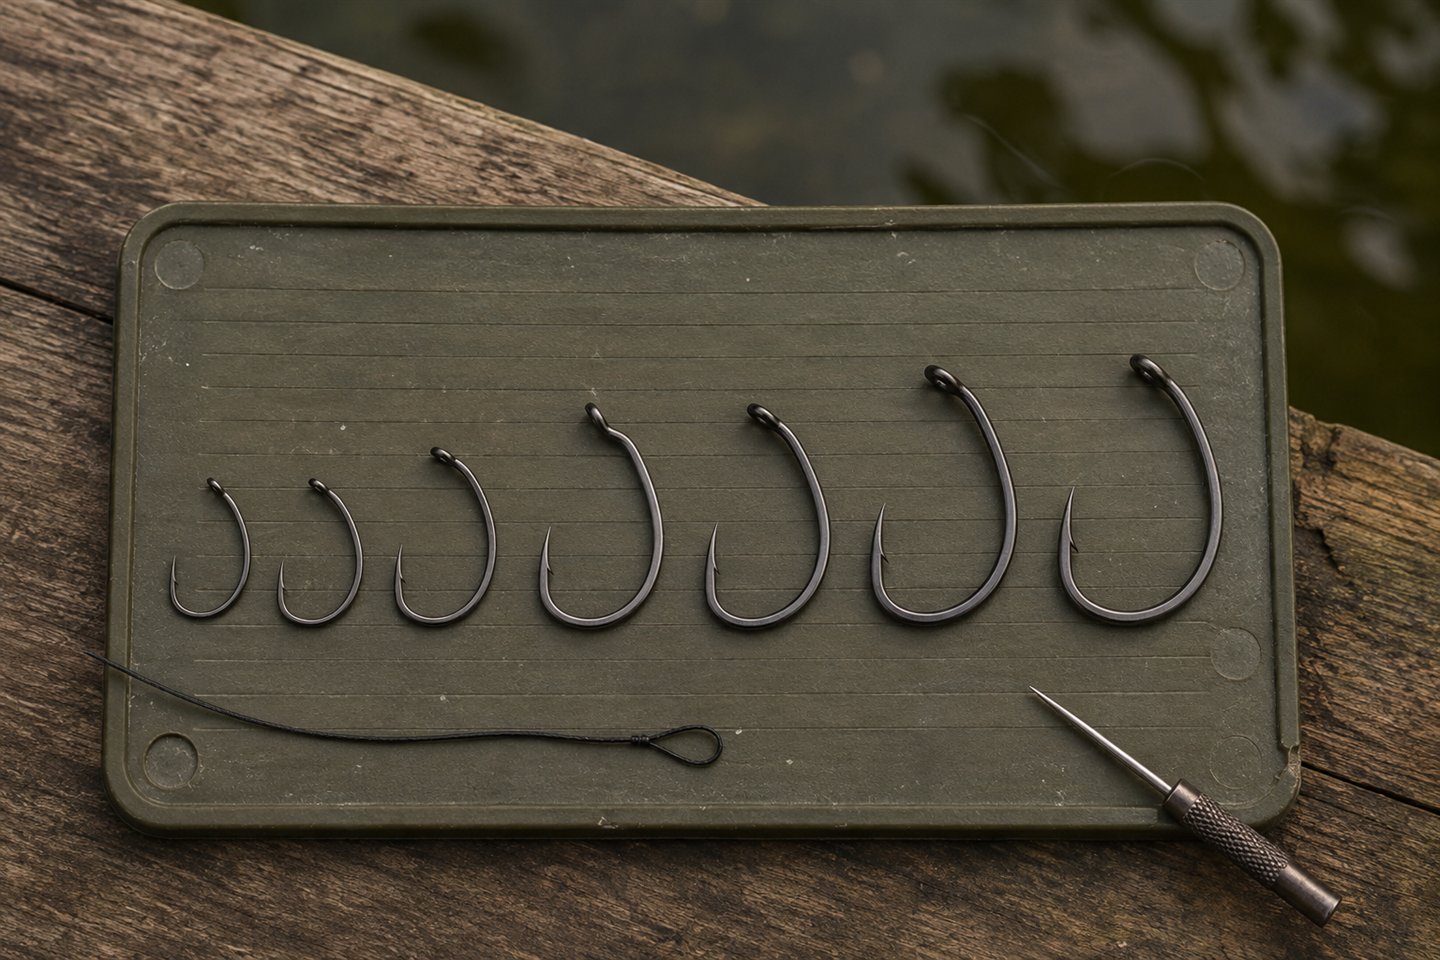
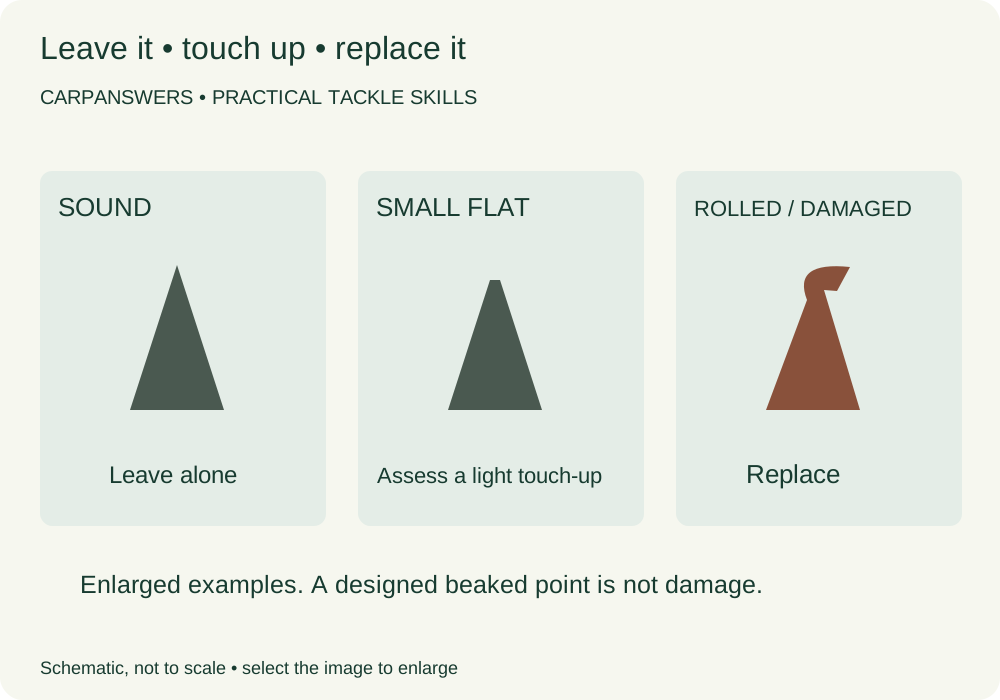
Some hooks deliberately have a beaked point. Don't mistake that designed curve for damage and try to file it straight. Our hook sizes and patterns guide explains the main shapes and where they fit.
When should I replace rather than sharpen a carp hook?
Under magnification, look for an obvious flattened tip, folded point, chip or corrosion. A reflected glint can help draw your attention to a flat, but a single reflection is not a complete test. Change the angle and look again. Coatings and lighting can make a quick glance misleading.
| What you find | Next step |
|---|---|
| Clean point, correct shape, no visible damage | Leave it alone and protect it while finishing the rig. |
| A very small dull area, with the rest of the hook sound | A careful touch-up may be worthwhile if you can see and control the work. |
| Rolled tip, chip, crack, appreciable rust or altered hook shape | Replace it. Don't file away damage until the remaining point looks thin enough to pass. |
| You cannot see the point clearly or judge the result | Use a fresh suitable hook and practise inspection somewhere with better light. |
A fresh hook still needs checking. Packaging can be damaged, and hooks can knock together once opened. Equally, an expensive hook doesn't need automatic modification. Inspect the actual one you're about to cast.
Step 3: hold the hook securely
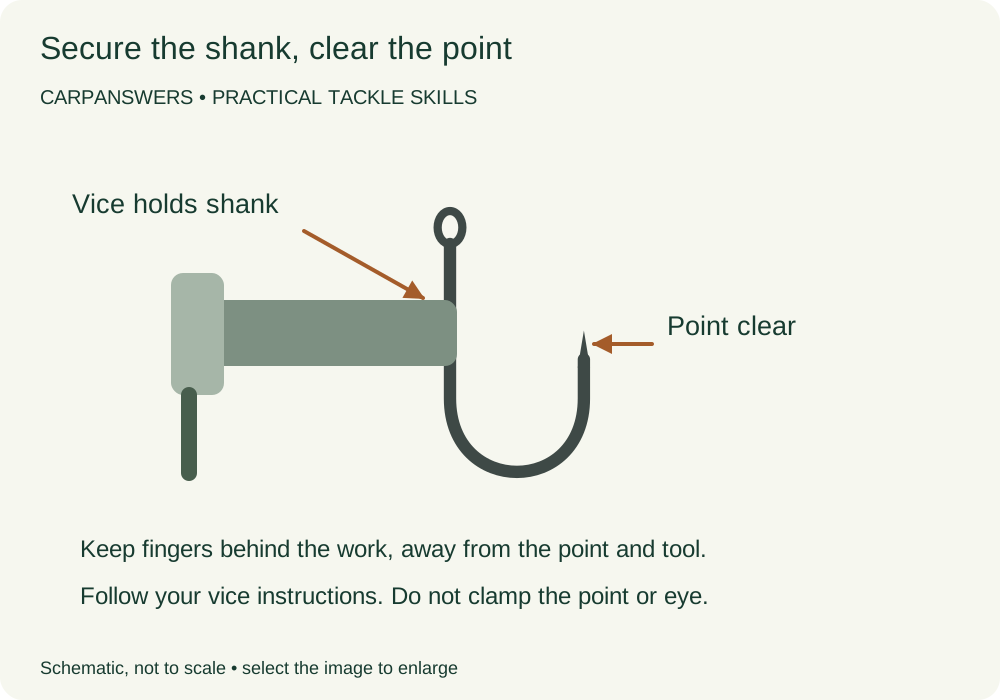
Use a purpose-made vice according to its instructions, gripping a suitable section of the shank rather than crushing the point, barb or eye. The working area should be exposed, with your fingers behind it and clear of the file's travel. Check that the hook doesn't wobble before starting.
Work over a stable surface. Balancing a rig wallet on one knee while holding a light in your teeth makes an unnecessarily awkward job. If the wind is shaking everything about, leave the sharpening until you can do it properly and fit a replacement now.
For practice, use a separate hook that will not go back into your fishing supply. Keep it clearly apart from finished rigs. That removes the temptation to fish with the first attempt just because it has taken some effort.
How to sharpen a carp hook without overfiling it
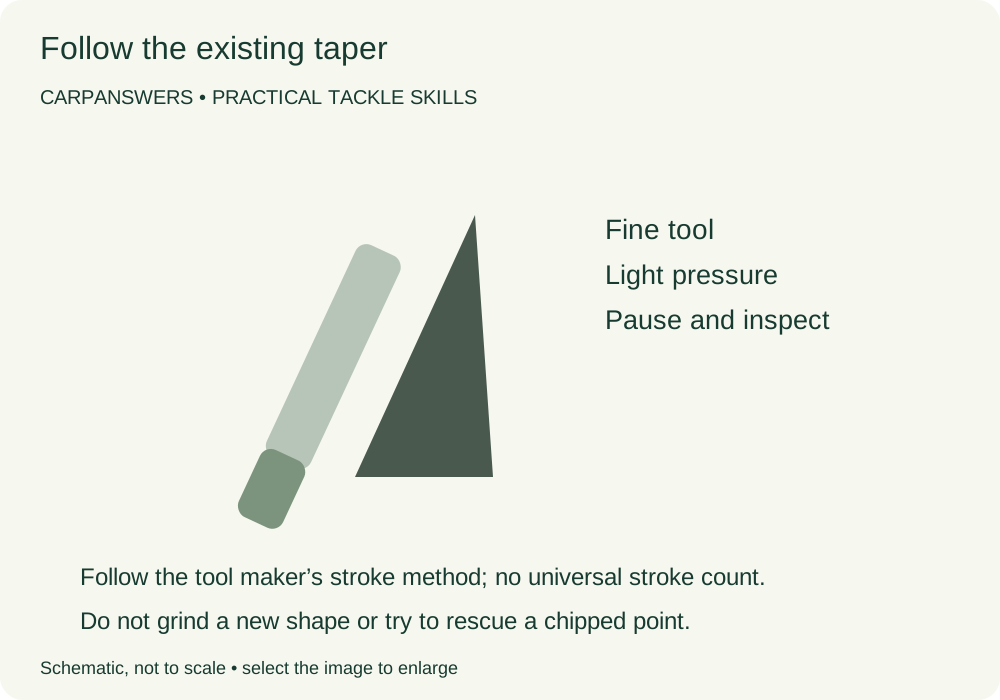
Use the fine tool in the manner its maker describes, following the existing point's taper rather than carving a different shape. Keep strokes controlled and use very light pressure. Stop after a small amount of work and inspect again; there is no magic number of strokes that suits every hook, file and starting condition.
The aim here is to address a tiny dull area while keeping a sound point. Don't chase an exaggerated long, needle-thin tip. If fixing the defect would mean removing a noticeable amount of metal, replace the hook instead.
Keep the tool away from the barb, bend and eye. These are not extra surfaces to tidy while you're there. Never use heat to change the hook's shape, and don't try to straighten a damaged bend and return it to service.
If you are using a harder stone rather than an abrasive rubber, don't assume it removes material at the same rate. Gardner's Hook Stone information distinguishes its fine and medium surfaces. Identify which face is which before using it; swapping tools without changing your pressure is an easy way to do too much.
Step 5: inspect again and stop at the right time
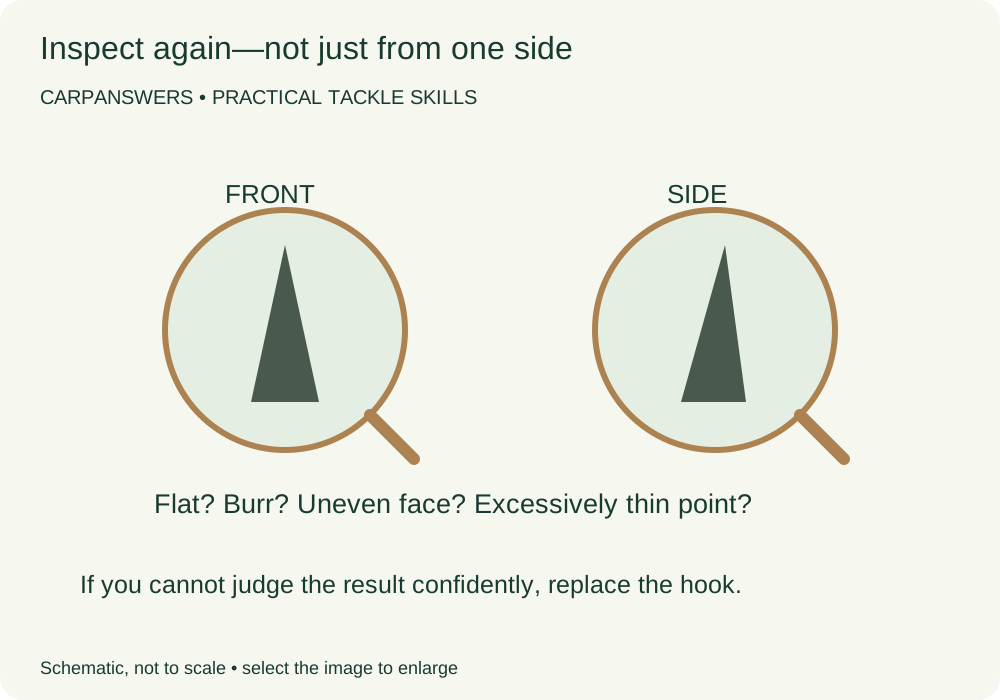
Remove loose residue as the tool maker advises, then inspect the point from the same angles as before. Has the small flat reduced? Have you introduced a burr, an uneven face or an excessively thin section? If the result is uncertain, the correct next step is replacement, not another blind round of filing.
Don't push the point into your skin to prove it is sharp. Nor should a dramatic sticking test replace a proper look at the metal. Keep hooks out of mouths, away from eyes and secured while you work. A magnifier is there to make inspection easier, not to encourage you to hold the point closer to your face.
Once you're happy with the hook, check the rest of the rig. Make sure nothing added for storage is left on the point before casting and that the hooklink has not been damaged during handling. For a more general losing-fish problem, use the hook-pulls and lost-fish guide rather than assuming sharpening alone will fix it.
Protect the point you've just worked on
Sharpening can remove the protective finish. Gardner discusses exposed metal and corrosion in its sharpened-hook FAQs. Inspect touched-up hooks after use and before reuse; don't leave damp rigs shut in a box and assume they'll be fine next weekend.
A purpose-made treatment such as Gardner Point Shield is intended for exposed hook points. Use only as directed, and don't substitute household oils or solvents. A coating isn't a way to repair existing corrosion or conceal a point you're unsure about.
Let tackle dry safely before storage, separate used rigs from ready-to-fish ones and use suitable point protection. Put discarded hooks in a secure puncture-resistant container for safe disposal, not loose in a bin bag or back into the lake. Count them away before packing up.
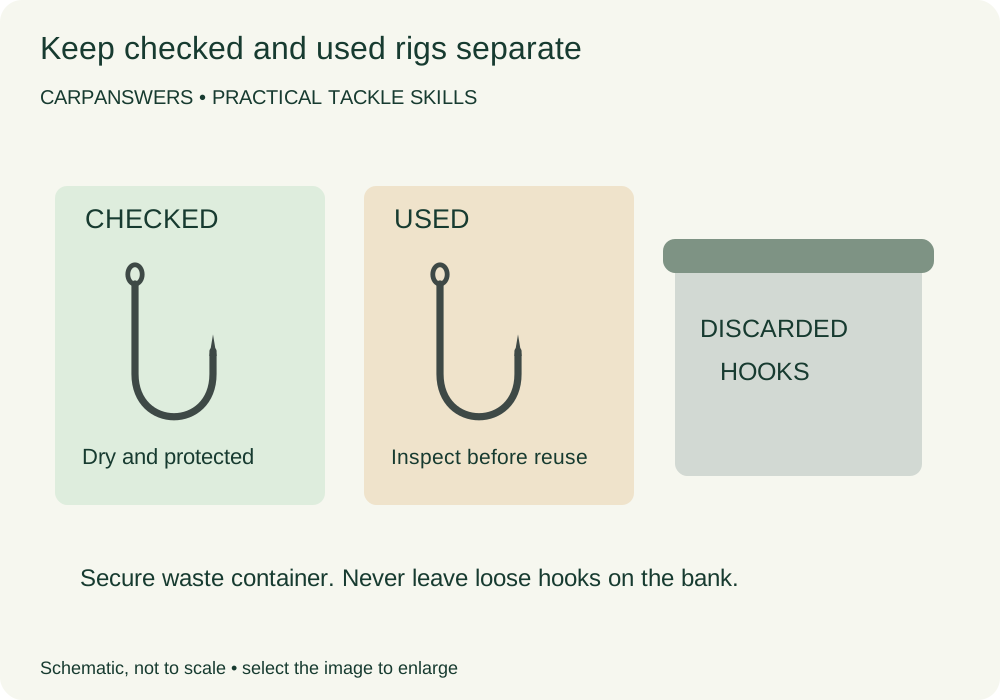
When should you check a carp hook?
Make inspection part of baiting up, not an occasional project. Check a new hook before use, the point after retrieving over hard ground, and the whole hook after landing or losing a fish. If it has caught in a landing net, clothing or something on the bank, inspect it again before casting.
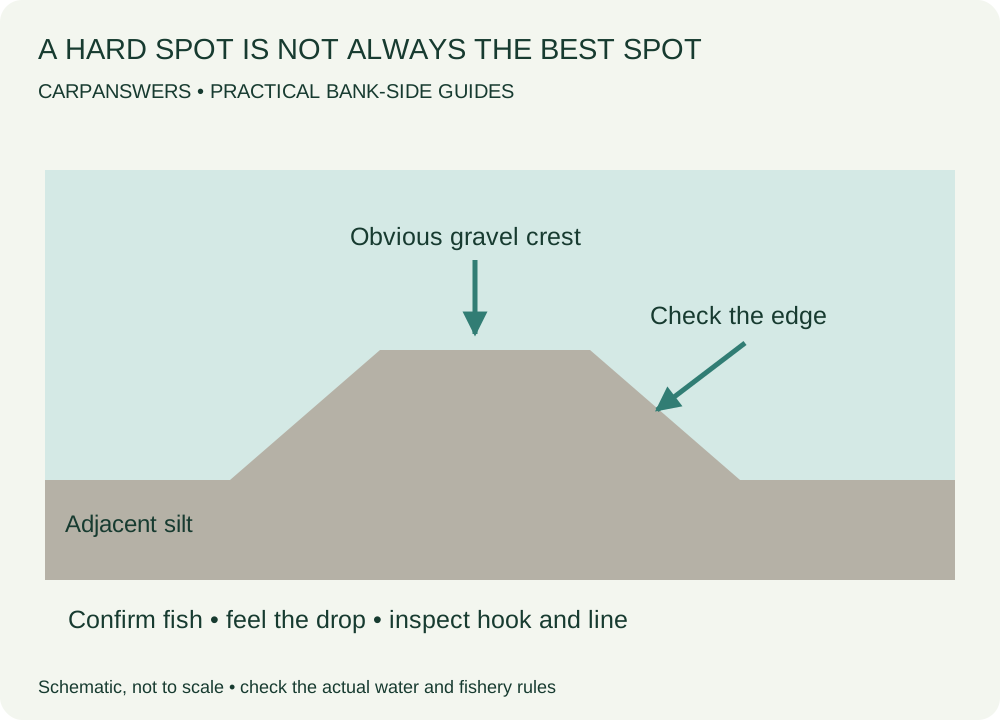
Different swims give different reasons to look. A rig retrieved across gravel may need a particularly careful point check. A rig pulled through debris needs cleaning before you can see what happened. Neither situation means that every retrieved hook must be sharpened or automatically discarded; let its condition decide.
Keep a small number of checked spares ready. Replacing a hook then becomes a quick, sensible choice instead of a reason to persist with one you don't trust. The carp rig library shows which presentations allow straightforward hook changes and which need more of the rig remaking.
Hook sharpening questions
Should I sharpen every new hook?
No. Inspect it first. If the point and hook are sound, unnecessary filing adds work and removes material without solving a problem.
How many times can a hook be sharpened?
There is no dependable fixed count. The starting point, amount removed, damage and corrosion all matter. Replace it when its condition is doubtful, not after an arbitrary number of sessions.
Can I sharpen a barbless hook?
The same inspection-first approach applies, with a tool suitable for the pattern. Don't alter the bend or point geometry to compensate for the absence of a barb. Use the hook and rig permitted by the venue.
Will sharpening stop hook pulls?
No single change can promise that. Hook condition matters, but so do the pattern, presentation, tackle condition and how a fish is played. Check those together rather than filing the next hook more aggressively.
A quick, careful look is the habit worth taking from this guide. Touch up only what you can see and control, and keep a fresh hook ready for everything else.