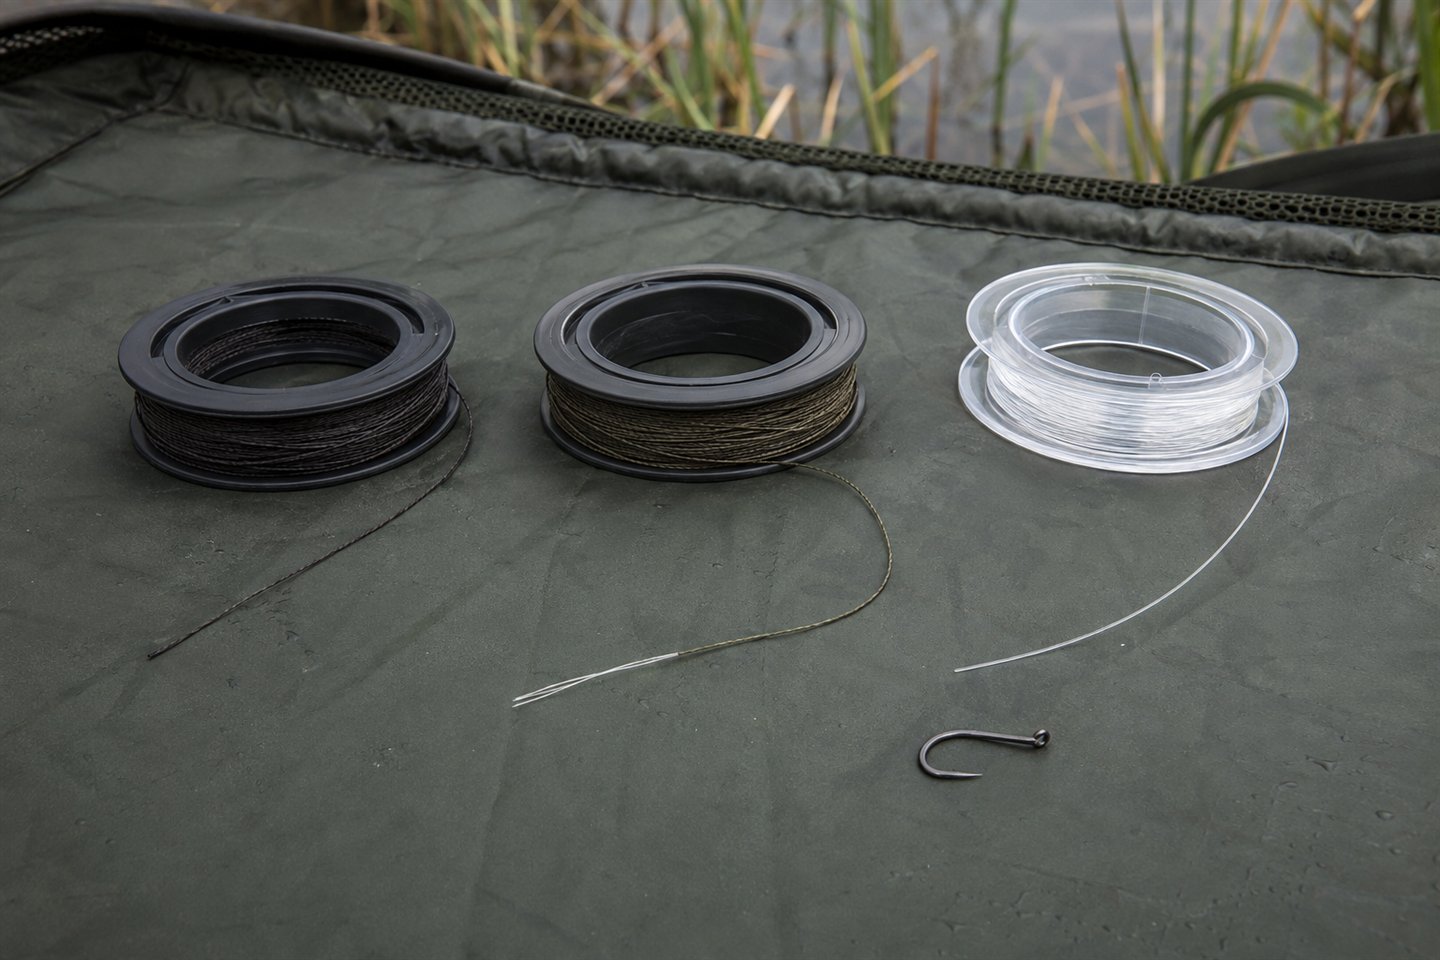
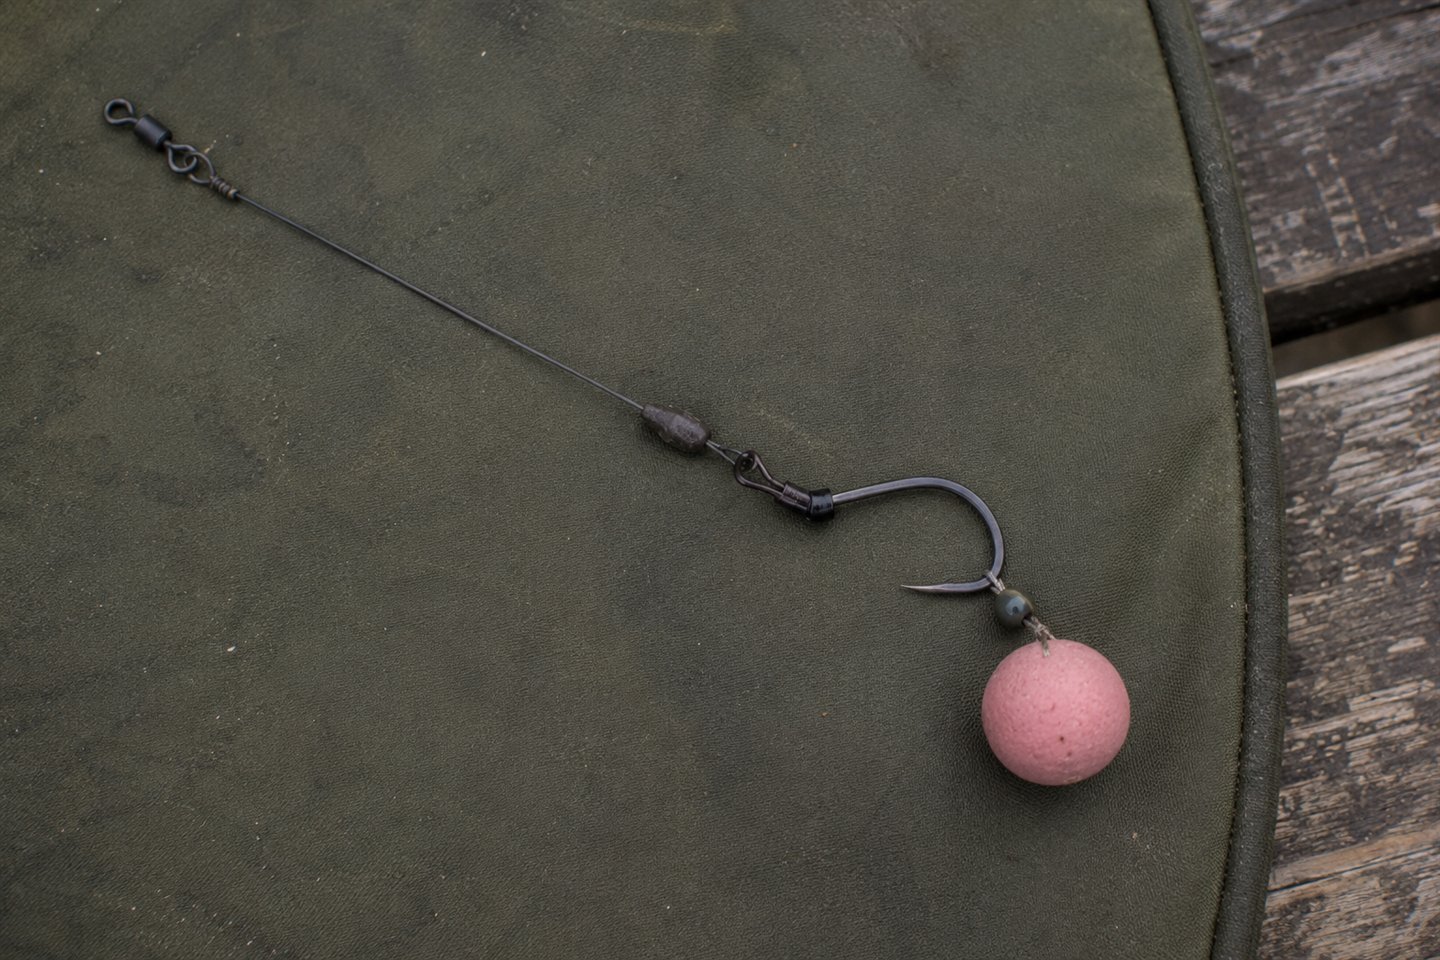
Crimping carp rigs can give you neat loops and repeatable boom lengths. First, match the material, crimp size and tool exactly as specified. A tidy-looking crimp can still be weak, so we'll inspect and test each finished connection.
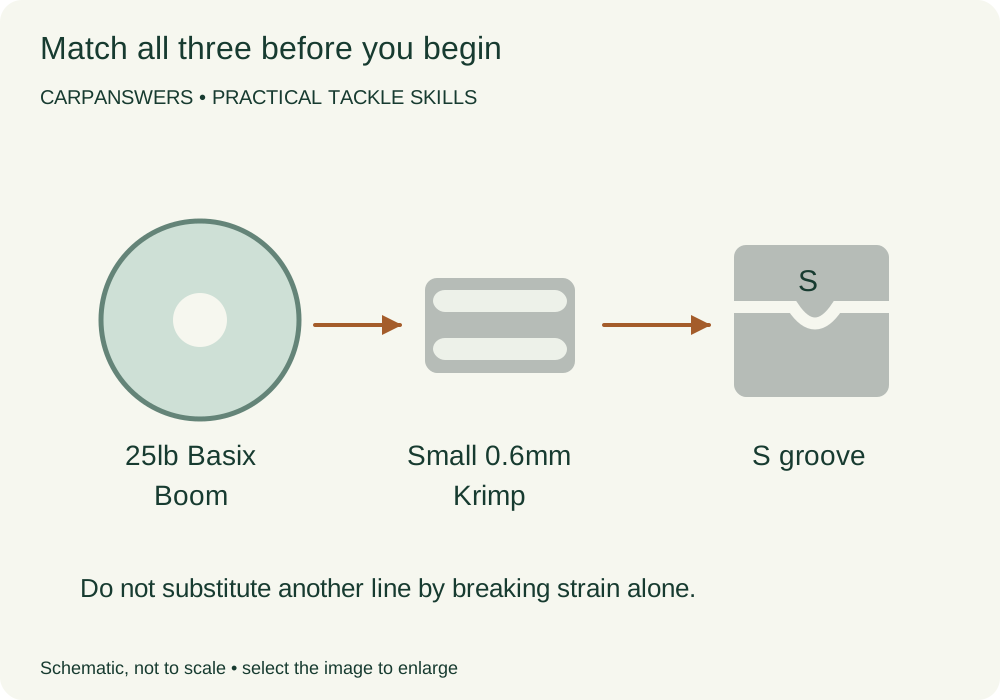
This guide takes you through a practice boom using 25lb Korda Basix Boom, a Small 0.6mm Korda Krimp and the matching S jaw. Start without a hook attached. Once you can make and check that connection consistently, use it in the rig it was intended for—not as a replacement for every knot in your tackle box.
If you're still choosing a presentation, the beginner's carp rig guide is the place to start. Crimping is a way of making a connection, not a rig on its own.
Crimping carp rigs: match the material and tools
- Korda Basix Boom in 25lb (paid link): check that the selected spool is the 25lb version.
- Korda Small 0.6mm Krimps (paid link): the sleeves for this particular worked example.
- Korda Krimp Tool (paid link): use the S groove, not the cutter or an unmarked gap in the jaws.
- Suitable cutters and two Korda Knot Pulla tools (paid link) for checking an empty two-loop practice boom.
- The ring or swivel specified by your chosen rig, if that connection needs one enclosed in the loop.
Lay everything on a light-coloured tray. Loose sleeves are easy to lose in grass, and a dark table makes it harder to see the short tag end. Put the packaging beside the spool rather than relying on memory. A minute checking labels is well spent here.
What crimp size should I use with Korda Boom?
For the standard Korda Boom range, the manufacturer's Krimp compatibility guidance gives the combinations below. Korda also specifies 0.6mm for 25lb Basix Boom. These are product-specific matches, not a chart for every line with the same breaking strain.
| Material | Krimp | Marked jaw |
|---|---|---|
| Korda Boom 15lb or 20lb | Extra Small, 0.5mm | XS |
| Korda Boom 25lb | Small, 0.6mm | S |
| Korda Boom 35lb | Large, 0.7mm | L |
| Basix Boom 25lb, used here | Small, 0.6mm | S |
Check the markings on the tool you actually own. Some older tools lack an XS groove; a photograph of today's Krimp Tool doesn't tell you what's stamped into an older pair. Don't squeeze an Extra Small sleeve in the nearest-looking groove.
Nor should you assume that ordinary mono, braid or another fluorocarbon is suitable. Read the material maker's instructions. Our hooklink materials guide explains the different jobs these materials do.
Step 1: thread the sleeve and form the first loop
Cut a fresh piece of material longer than your intended finished boom. Allow for both loops and tags; don't start with an exact finished-length piece and then discover that the loops have used some of it. For this first attempt, consistency matters more than a particular number of inches.
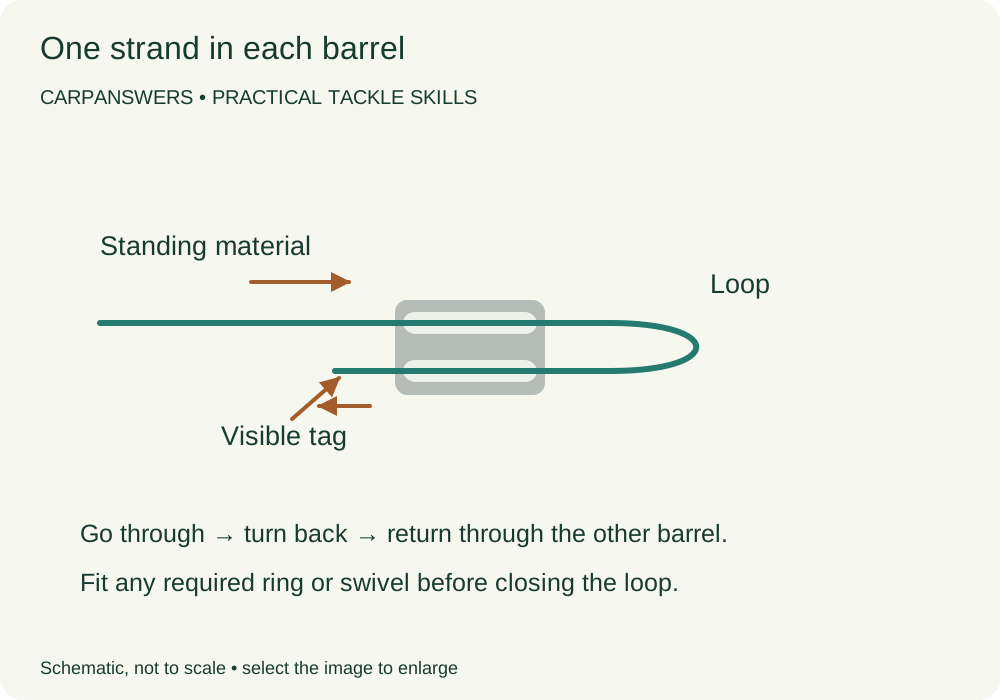
Pass the end through one barrel of the double-barrel sleeve. Curve it back and feed it through the other barrel. You should now have a loop on one side and the standing material and tag on the other. The two strands use separate channels; don't force both into the same hole.
For a real rig, any ring or swivel that belongs inside this closed loop must go on before the return pass. An empty loop is deliberate for this practice exercise. It isn't permission to improvise a different connection on a finished spinner rig.
Step 2: set the loop before squeezing
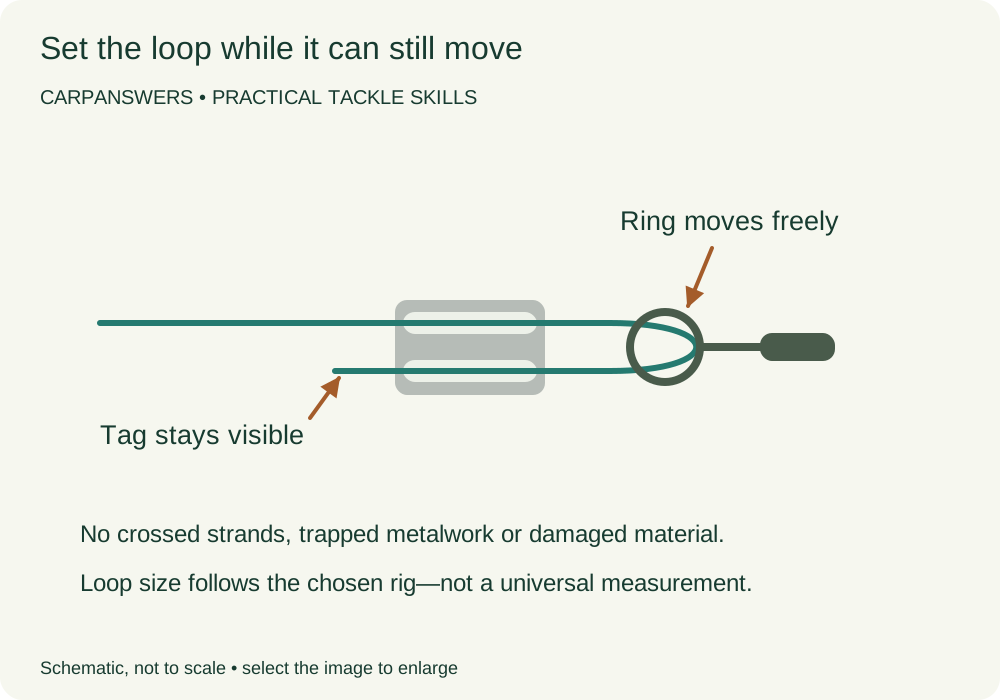
Slide the sleeve gently until the loop suits the connection. Leave the tag visible beyond the sleeve and follow the manufacturer's instructions for the final trim. Don't pull it flush with the metal. You need to see that the return strand passes right through.
Think about what the loop has to do. A swivel needs room to move; a loop-to-loop connection needs enough room to assemble properly. Making every loop as tiny as possible isn't a badge of neatness if it stops the joint working.
Lay the material flat and look for a crossing, kink or white stress mark. If you've damaged the material while adjusting it, cut a fresh section. This is the easy stage at which to put things right. Once compressed, the sleeve is not something to open up and reuse.
How to match a carp crimp to the right tool jaw
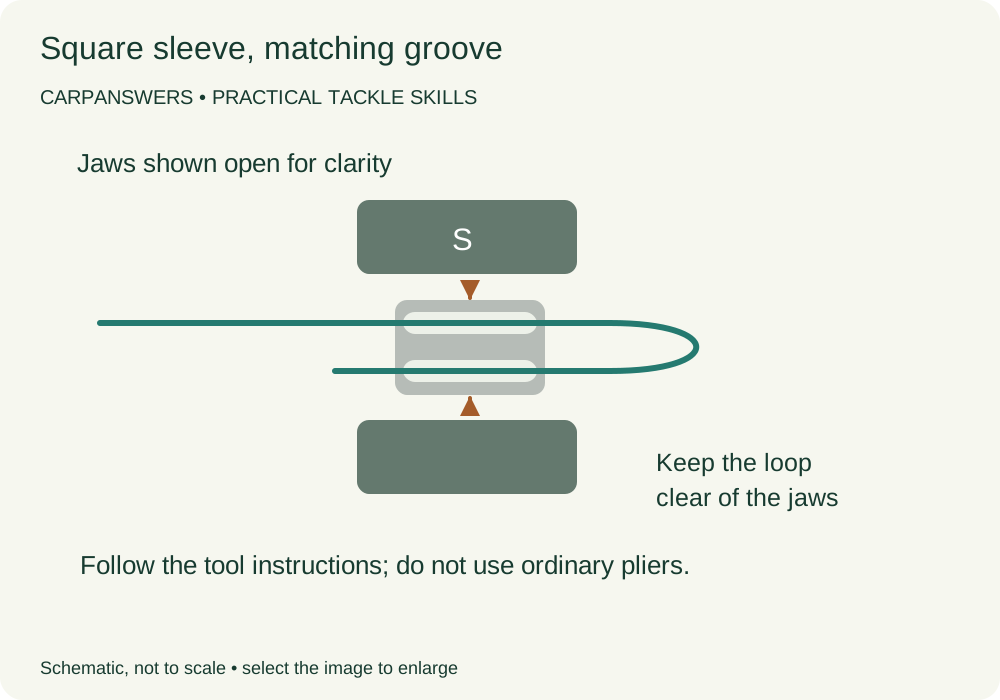
Put the 0.6mm sleeve into the S groove with the sleeve square to the tool, keeping the loop and any attached metalwork clear. Follow the tool's compression instructions and close it firmly. Ordinary pliers are not a substitute for the shaped jaws.
Korda's crimping tutorial demonstrates tool alignment and checking the finished connection. Use it alongside these diagrams if this is your first attempt; the drawing makes the layout easier to see, but isn't a dimensional template for the jaws.
Open the tool and inspect both exits. Look for a strand caught outside its barrel, a split sleeve or obvious damage where the material leaves the metal. A mark left by the correctly matched jaw isn't by itself a fault. What matters is whether the assembly follows the tool instructions and remains sound when checked.
Step 4: make the second end and measure the finished boom
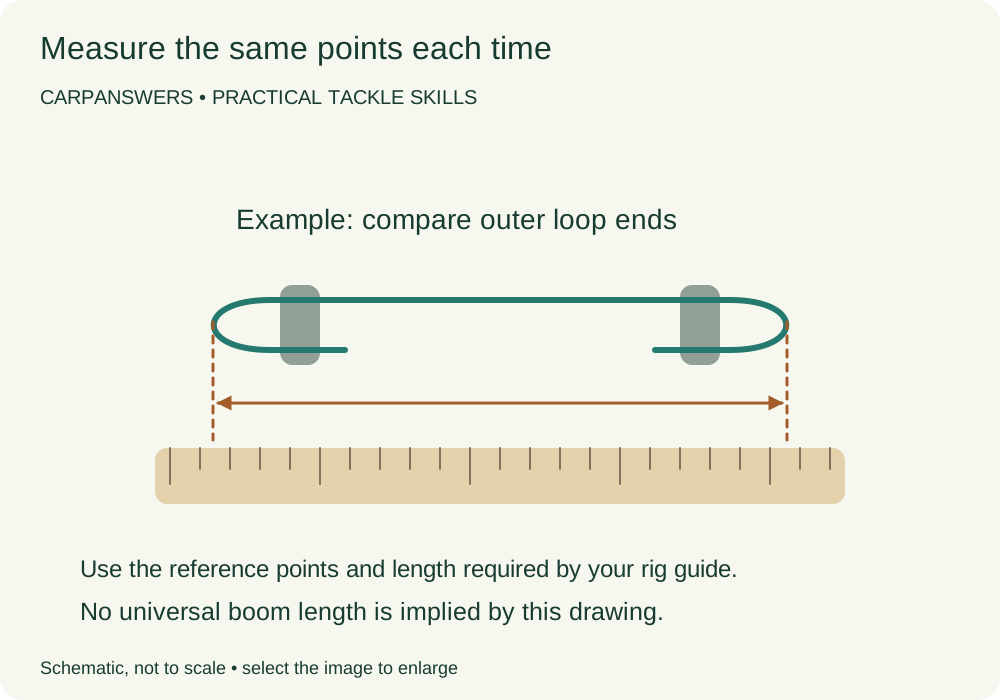
Repeat the threading and loop-setting process at the other end. Before compressing it, compare the complete boom with the length required by your rig guide. Measure consistently between the same connection points. Measuring one boom to the outside of a large loop and another to the sleeve produces an avoidable difference.
Keep the first few successful practice pieces together. They make it much easier to spot a loop that's become noticeably larger or a boom that's ended up shorter. Don't turn a scrap practice piece into a fishing rig simply because you've run out of time to make another.
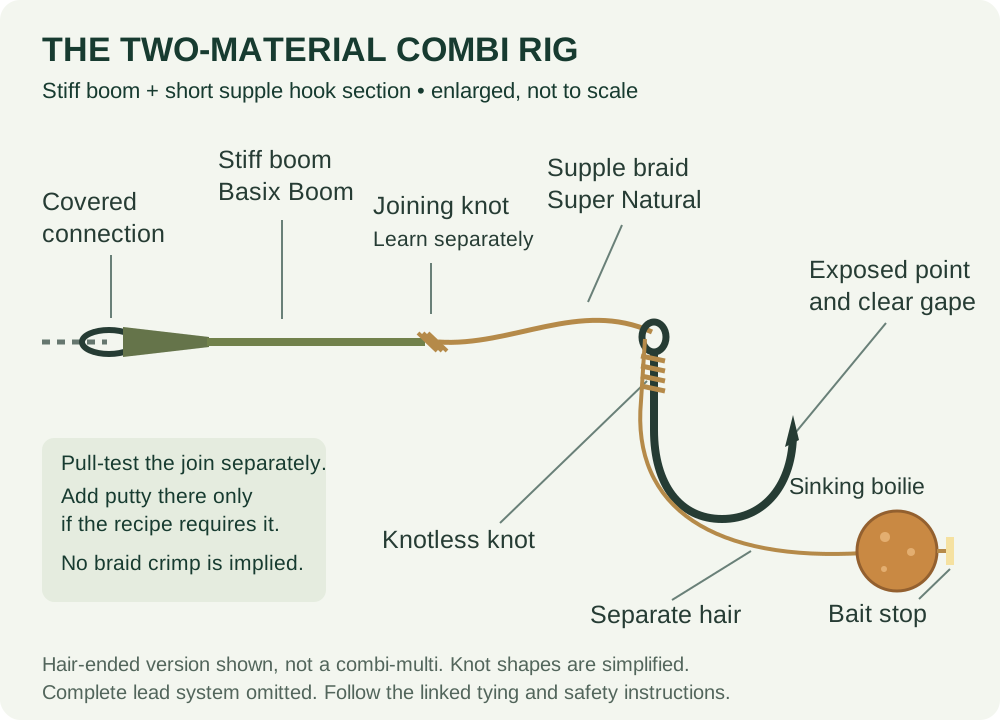
For a Ronnie or spinner rig, return to the full instructions for hook, swivel, sleeve and bait balance. A combi rig adds a separate supple section. Neither is completed by making the stiff boom alone.
How to test a crimped boom before fishing
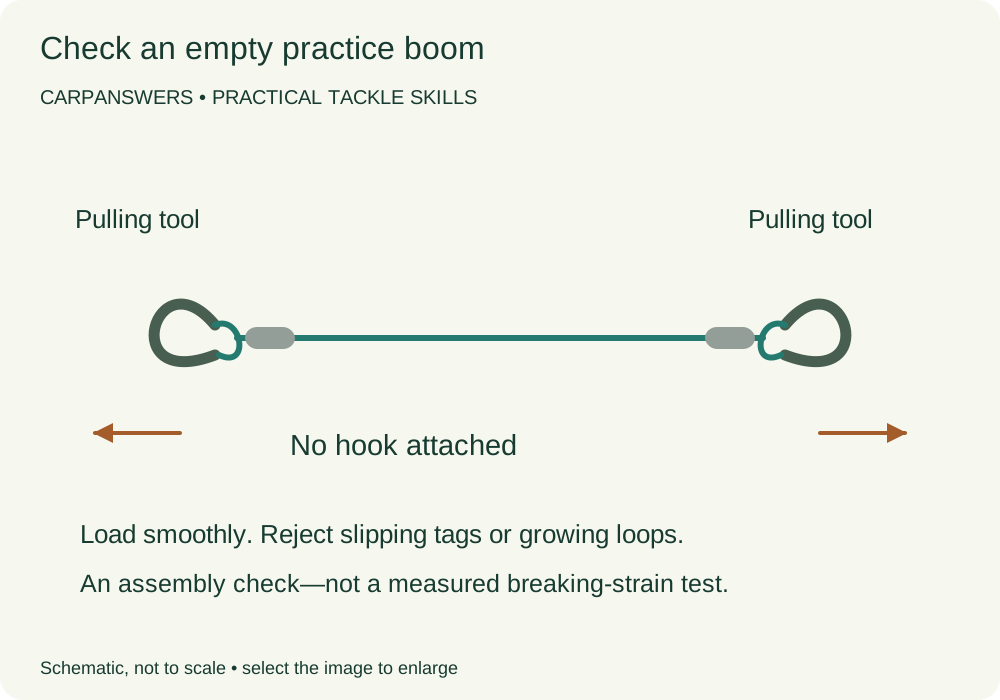
With no hook attached, put a purpose-made pulling tool through each loop and load the practice boom smoothly. Keep it away from your face, keep fingers clear and don't wrap line around your hands. Follow the material and tool guidance rather than trying to pull the line to destruction.
Watch the tag and loop while checking. If either moves through the sleeve, reject the connection. Check again for damaged material at the exits. A successful pull-check is a useful assembly check, not proof of a measured breaking strain or a guarantee against later wear.
Repeat the inspection before fishing and after anything that could have damaged the rig. Store finished booms without crushing them beneath loose leads. Leave a doubtful one out of the rig wallet; there is no saving in carrying a connection you don't trust.
If something doesn't look right
| What you see | What to do next |
|---|---|
| The tag slips or the loop grows | Discard that connection. Recheck the exact material, sleeve and jaw before making a fresh one. |
| The loop traps the swivel | Remake it with appropriate clearance. Don't bend the sleeve to enlarge the loop. |
| Material is kinked or nicked at an exit | Cut beyond the damaged section and start again with a new sleeve. |
| You can't identify the material | Don't guess from colour or stiffness. Use a labelled spool with clear crimping instructions. |
| The boom is the wrong length | Make another for the intended rig. Don't hide the difference by changing several other components. |
A few common crimping questions
Are crimps better than knots?
They are useful for repeatable connections in suitable stiff materials. That doesn't make them better for every job. For a simple braided hair rig, learn the appropriate knot; our carp fishing knots guide covers the basics.
Can I reuse a sleeve?
No. Start with a fresh sleeve when remaking the connection. A compressed sleeve has already been deformed, and trying to open it can damage both the metal and the line.
Should I melt a blob on the tag?
It isn't part of this worked example. Keep flames away from the hooklink and follow the chosen manufacturer's method. A melted end is not a cure for a slipping crimp.
What if I'm not confident in the result?
Use a correctly specified ready-made boom or ask an experienced angler or tackle shop to check your technique. Make another practice pair at home. This is a small job that's worth learning without a casting deadline hanging over you.