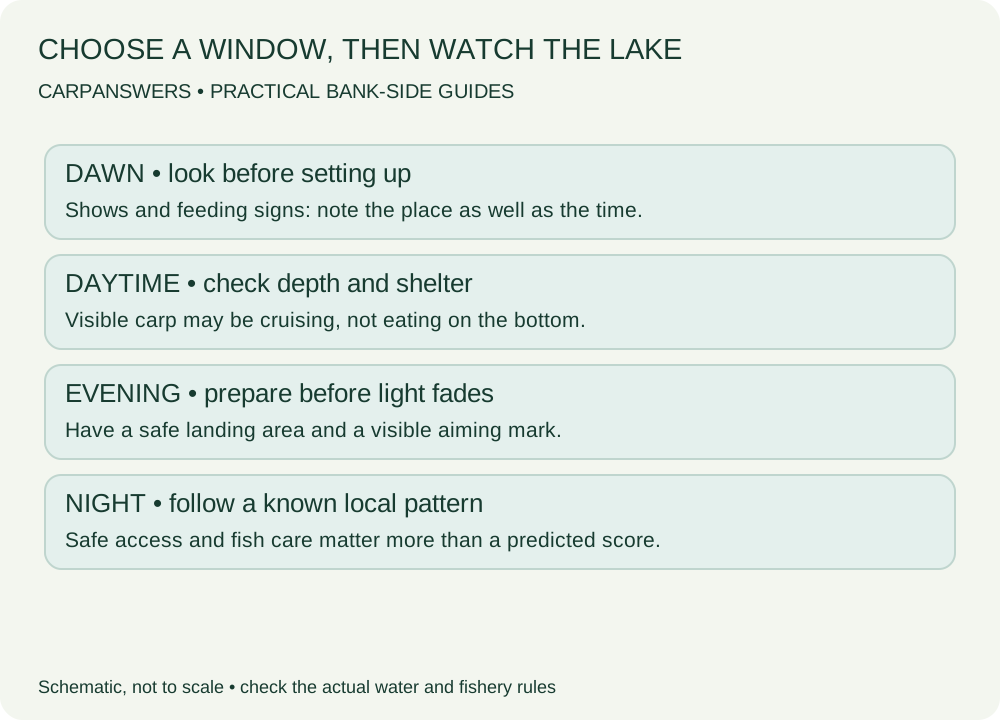
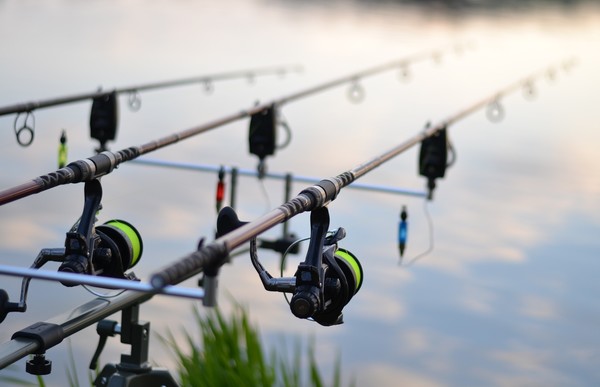
Rod pod or banksticks? Have a look at the bank first. Firm soil, hard ground and wooden platforms need different supports. We'll compare the options and check that your rods stay secure in the direction a take could pull.
A tidy-looking setup is nice, but keeping the rods secure comes first. It must remain stable when the wind changes, hold the butt against a take, present the line at the required angle and still allow the rod to be lifted immediately. Choose for the bank and the direction you're fishing, then worry about matching the rest of your kit.
Affiliate disclosure: this guide includes three clearly identified Amazon UK affiliate links. CarpAnswers may earn a commission from qualifying purchases at no extra cost to you. Product availability and specifications can change, so compare the current listing with the criteria in this guide.
Rod pods vs banksticks: what works on your bank?
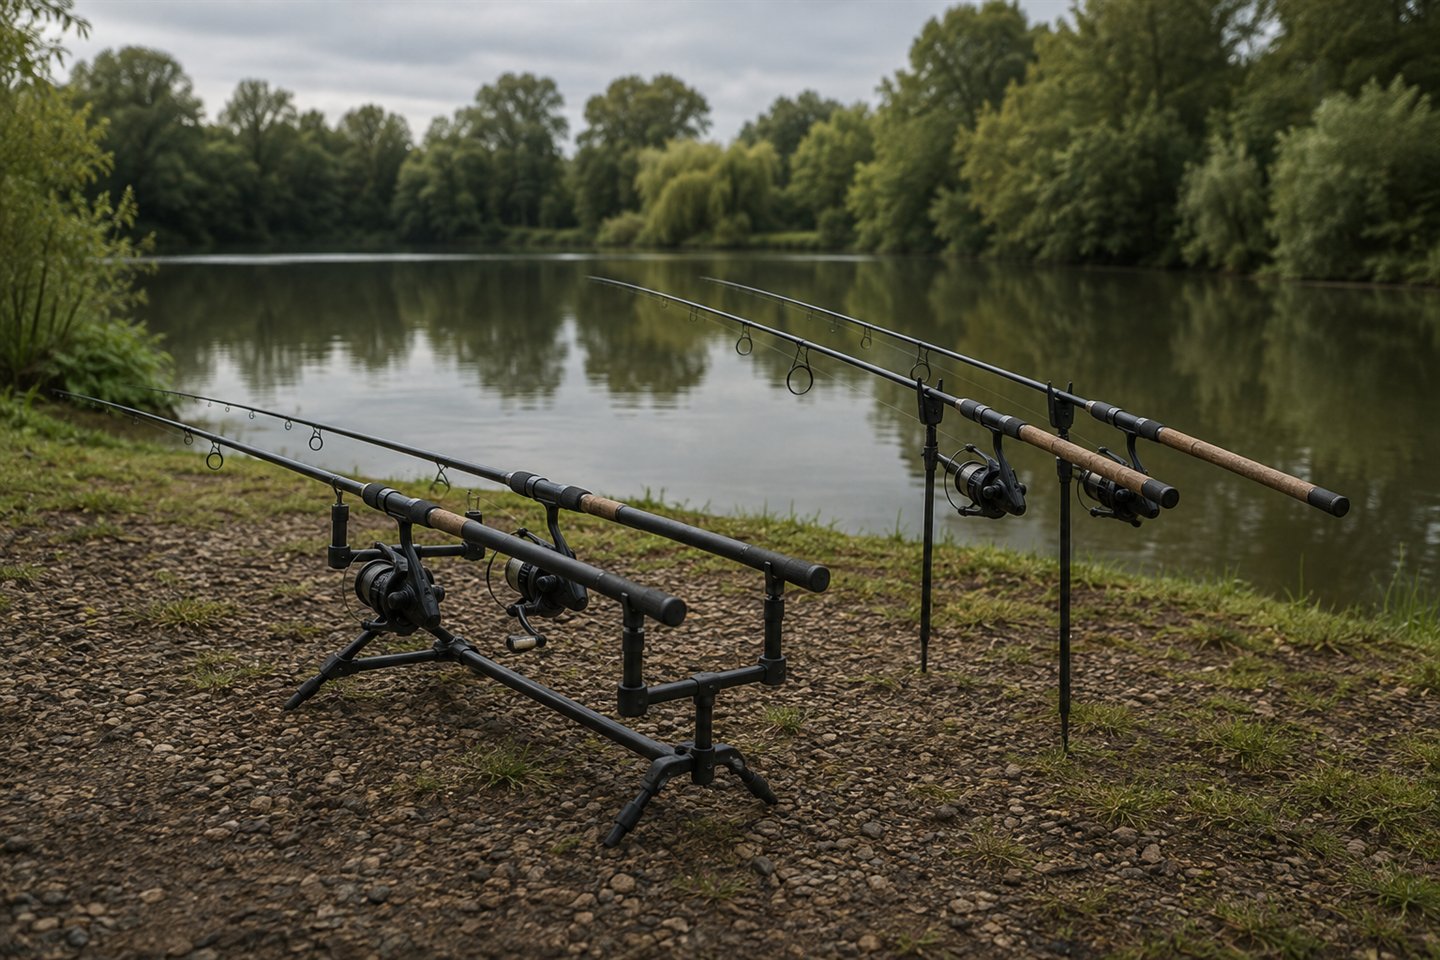
Choose individual banksticks when the bank accepts them securely, low weight matters and the rods need to face separate areas. Choose two sticks with buzz bars in a goalpost layout when you want the compactness of sticks but prefer several rods aligned together. Choose a rod pod when nothing can be pushed into the surface, when the swim changes between soil and paving, or when one freestanding unit is easier to position safely.
Those are starting points rather than absolute rules. A wide, low pod can be extremely stable on a platform, but a narrow, tall one can become top-heavy. A deeply planted bankstick can resist movement on firm soil, but the same stick may twist in peat or pull loose from a crumbling edge. Judge the complete setup on the actual bank before attaching alarms and leaving rods on it.
Fishing direction changes the answer too. Three rods cast to one open-water area can sit neatly on buzz bars. Rods fanned towards a left margin, an island and a right-hand bay are better supported individually so that each blank follows its line. Forcing sharply divergent lines through a straight three-rod bar can put sideways pressure on alarm sensors and create awkward rod lifts.
What counts as a bankstick setup?
A bankstick is a pointed or screw-ended support that enters the ground. A front stick normally carries a bite alarm or front rest, while a rear stick carries a butt rest or grip. Using a separate pair for every rod gives maximum freedom over spacing, height and direction, although it takes longer to align six sticks for three rods.
Two front and two rear sticks can instead carry buzz bars. This goalpost arrangement keeps the rods parallel and reduces the number of contact points with the bank. It can be very rigid because the front and rear assemblies are anchored independently, provided both sticks on each bar are planted to a similar depth and cannot rotate.
Single-stick buzz bars use one central stick at the front and another at the rear. They pack down small, but the entire bar can turn if the stick or locking collar moves. That doesn't make the layout unusable; it means the ground, thread connection and anti-twist features deserve a deliberate pull test before a rig is cast.
What a rod pod adds
A rod pod connects front and rear supports with a frame, so it stands without penetrating the bank. Most carp pods allow some adjustment of length and buzz-bar height, while certain designs also vary leg angle or overall width. The useful specification is the adjustment range you'll actually use, not the greatest number of moving parts.
The frame makes a pod practical on concrete, gravel compacted too firmly for sticks and many wooden platforms. It also keeps the front and rear bars aligned when moved. The compromise is a larger packed item with more joints, plus less freedom to aim each rod independently unless the pod or rests offer suitable spacing.
A pod is not automatically stable because it has four legs. Its footprint, centre of gravity, leg position, joint rigidity and the leverage created by raised buzz bars all affect resistance to movement. Extending every component to its limit can turn a sound low setup into an unstable tall one.
Rod pod or banksticks for hard ground?
Walk the swim before assembling anything. Identify soil, stone, concrete, platform boards, steep slopes and soft edges. Check fishery rules because some waters prohibit driving sticks into platforms or banks, while others provide fixing points. Never hammer equipment into a structure without explicit permission; hidden membranes, cables or timber damage are possible.
On grass or compact earth, a screw-point bankstick can make a firm hole with less downward force than a plain spike. In very soft ground, a longer stick may gain purchase deeper down, but keep back from an undercut or collapsing edge. If the stick continues to move under a moderate forward pull, change the location or support method.
On a purpose-built platform, use the fishery's approved attachments or compatible stage stands. These clamp or screw to a safe part of the structure according to their instructions. A freestanding pod may be simpler, but its feet must sit fully on sound boards and not block the route to the water.
For anglers who regularly meet mixed surfaces, a compact pod offers predictable compatibility. Use the dimensions and adjustment checks below before you compare carp rod pods on Amazon UK (paid link); a low price is poor value if the frame cannot fit your rods, alarms or usual swim.
Rod direction is part of bite indication
A rod doesn't always need to point exactly at the lead, but large line angles can load an alarm from the side and increase friction across the sensor. They can also make a quick lift clumsy. Where practical, align the rod and alarm with the first section of line, especially when prompt indication matters.
Individual banksticks excel when rods cover very different directions. Each pair can follow its own line and sit at a height that clears reeds or a near-margin shelf. Leave enough room to lift one rod without catching the adjacent blank, line or indicator.
Pods and goalposts work well when rods are broadly parallel. Small differences can be managed by spacing, but a severe fan deserves separate supports or fewer rods. Our guide to accurate carp casting explains why consistent direction and measured range make the whole setup easier to organise.
High tips, low tips and level rods
Low rod tips can keep line beneath surface drift, avoid boats and reduce conspicuous line near the bank. High tips can lift line over marginal weed, a near shelf or flowing water. Level rods are a practical default on clear, open stillwaters. The support must hold the selected position without joints slipping.
Raising a pod by lengthening only the front legs shifts load and may reduce stability. Use the maker's permitted geometry, widen the footprint where the design allows and keep extensions no longer than necessary. If extreme height is needed, individually anchored long banksticks may be more secure on suitable ground.
Don't lower tips so far that alarms, reels or blanks contact wet ground. Equally, avoid an elevated arrangement that creates a trip hazard across the swim. A clear path from shelter to rods is part of the setup, particularly at night.
How to stop a carp rod support moving on a take
Assemble the supports, place the rods in them and close each bail arm as it would be while fishing. With no hook or bait attached, pull the line steadily from the water side and slightly across each expected direction. Watch for rotating sticks, sliding feet, flexing bars, loose alarm threads and butts lifting from the rear rests.
The test should be controlled rather than violent. Its purpose is to expose movement that normal line tension or a take could create. If the support shifts, improve its footing, shorten extensions, tighten the correct collars by hand or choose another system. Don't solve a structural problem by overtightening a bite alarm's threaded base.
Wind acts on rods, alarms and indicators for hours, so stability is not only about a fast run. Long rods on high rests have considerable leverage. On exposed banks, keep the setup low if the line path permits and recheck feet after rain softens soil.
Near snags, support security is critical. Rear grips should restrain a forward pull yet release when the angler lifts deliberately. The rods must remain attended and the support choice cannot compensate for fishing too close. Read the safe snag-fishing guide before deciding rod position or clutch settings.
Butt rests, grips and front fittings
A simple cup or U-shaped rear rest lets a rod lift freely and suits open-water fishing with conventional reel positions. A retaining butt grip closes more firmly around the blank or handle and is valuable where a take could drag the rod forward. It must fit that handle diameter without crushing soft material or making the rod difficult to pick up.
Front rests are used when an electronic alarm is unnecessary, but most carp setups mount alarms on the front bar or sticks. Standard threads are common across modern coarse and carp accessories, although thread length, locking collars and large alarm bodies can still create clearance problems. Confirm compatibility rather than assuming every combination will align.
Spacing must suit reel bodies as well as rod handles. Large big-pit reels can touch on narrow bars, preventing smooth removal. Fit all intended rods and rotate handles through their normal positions before the first session. An extra-wide bar is not necessarily better if it makes the complete unit awkward inside a narrow swim.
If rear retention is the weak point in an otherwise sound system, compare carp butt grips and rests on Amazon UK (paid link) by handle diameter, release action and thread fit. Test the chosen grip with a controlled pull every time the rod or handle changes.
Buzz bars: width, thread layout and goalposts
A buzz bar carries two, three or sometimes more alarms or rests across one member. Fixed bars are simple and rigid; adjustable bars alter spacing but introduce joints that must remain locked. Measure the widest parts of the reels and allow room for hands to lift a rod cleanly.
Goalpost bars connect at two points and resist rotation well when the banksticks are secure. Align the sticks before tightening the bars so the threads are not forced sideways. Cross-threading an alarm or connector to correct poor alignment damages the fitting and can leave the setup loose.
Some systems use dedicated collars, stabilisers or anti-twist profiles. Follow the specific maker's assembly instructions because parts that appear interchangeable may seat differently. A bankstick stabiliser can reduce rotation in suitable soil, but it cannot make loose mud or a crumbling edge safe.
When comparing banksticks and buzz bars on Amazon UK (paid link), check the number of connection points, bar width, minimum and maximum stick length, point type and packed size. Buy the layout that answers the swim problem rather than the one with the most extensions.
Pod dimensions that matter
Start with usable frame length. Rod handles and reels must sit between the front and rear supports without the butt hanging precariously or the blank resting at an unsuitable point. A very short pod saves packed space but may not accommodate long handles or the balance point of every rod.
Next consider bar width and leg footprint. The reels need clearance, while the feet must fit typical platforms. A broad footprint generally improves lateral stability, but the exact result depends on geometry and build. Use official dimensions for the current model and measure a familiar swim or platform when possible.
Height range matters only in relation to line path. Low minimum settings help on exposed banks; sufficient front extension helps clear a shelf. Check whether the legs can be positioned safely on uneven ground without exceeding stated adjustment or leaving a foot unsupported.
Finally compare packed length, total weight, bag quality and the number of loose components. Mobile anglers may accept fewer adjustments for faster moves. A barrow angler staying several nights may favour a larger platform with broad adjustment. There's no meaningful universal best without that transport context.
Materials, locks and long-term care
Stainless steel is durable and substantial but tends to be heavier. Aluminium can reduce carrying weight, while carbon-composite components may be lighter again. Material labels don't prove stability: wall thickness, joint design, footprint and manufacturing tolerances all contribute.
Cam locks are quick, threaded collars can provide fine clamping, and sprung pins give repeatable positions. Whatever the mechanism, operate it with cold or wet hands before buying if possible. A lock that is difficult to confirm in darkness is a poor match for frequent overnight use.
After a session, remove mud and grit from points, threads and sliding sections, then dry every component before storing it. Keep protective caps on sharp points during transport. Don't apply lubricant that attracts grit or conflicts with the manufacturer's care instructions.
Inspect alarm threads, welds, rivets, collars and feet regularly. Replace damaged parts with specified components. Tape and improvised spacers can hide play during setup but are not a dependable repair for a structure holding valuable rods beside deep water.
Set up banksticks step by step
Choose firm ground safely back from the edge and establish the line direction. Place the front support first, using hand pressure or the screw point as intended. Don't strike the head with a mallet unless the manufacturer and fishery explicitly permit it.
Position the rear support so the rod lies naturally through the front alarm and rear rest. For individual pairs, repeat along each line. For goalposts, set both sticks vertical and level before attaching the bar, then confirm that neither side carries the whole load.
Fit alarms and rests using their locking collars, place the rods, attach visual indicators and perform the controlled pull test. Check that the rods can be removed independently. Route spare line and indicator chains so they cannot wrap a stick during a bite.
Mark preferred heights or use compatible quick-release connectors if repeatability matters, but still test the actual soil each time. A familiar setting is not evidence that a new swim will hold it.
Set up a rod pod step by step
Open the frame on level, sound ground and set the smallest stable footprint that provides the required rod angle. Tighten joints by hand according to the instructions. Ensure every foot is fully supported rather than balancing a leg across a board edge or stone.
Adjust length and bar height before loading the pod. Attach alarms and rear rests, then place the rods one at a time and check reel clearance. If the pod rocks, don't rely on the weight of the rods to settle it; reposition or adjust the feet.
Add indicators and set line tension only after the support is stable. Pull from each fishing direction and test forward and drop-back movement. The companion guide to carp bite alarms explains the available alarm features; the support still has to keep the line correctly located on the sensor.
Keep the route behind the pod clear and place shelter doors, chairs and luggage so the rods can be reached directly. On a platform, confirm that the whole pod remains within the safe area even when an angler steps beside it to lift a rod.
Common buying mistakes
Buying for the maximum rod count can produce a bar too wide for everyday use. Choose the number of rods permitted and realistically fished, then allow sensible reel clearance. Extra positions offer little value if the support no longer fits the swim.
Another mistake is comparing only weight. The lightest support may lack the footprint or height needed; the heaviest may be unnecessary for mobile fishing. Compare the complete packed system, including buzz bars, sticks, stage fittings and bag.
Don't assume a universal thread guarantees a universal fit. Large alarms can clash, locking collars vary, and quick-release inserts add height. Assemble the exact combination or confirm dimensions and returns terms before relying on it.
Finally, avoid treating appearance as evidence of security. A matched stainless set can move in poor ground, while modest individual sticks can be extremely sound when planted well. The pull test and clean rod lift decide whether the setup is ready.
Frequently asked questions
Are rod pods more stable than banksticks?
Not automatically. A low pod with a wide footprint can be very stable on hard ground, while deeply secured banksticks can be stronger in suitable soil. A tall narrow pod or shallow stick can both move. Compare the actual footing, geometry and direction of pull.
Can I use banksticks on a wooden fishing platform?
Only with the fishery's permission and approved stage stands or fixing points. Don't drive spikes into boards. A compact freestanding pod is often the least intrusive solution when platform rules or construction are uncertain.
Should rods point at the rigs?
Broad alignment gives a clean line path and can improve indication, but margins, flow, weed and other anglers may require another angle. Avoid severe sideways loading through alarms, and support rods individually when they need to fan across widely separated spots.
Do I need butt grips?
Use positive rear retention wherever a take could pull a rod forwards, particularly near snags or with tight lines. Select a grip that matches the handle and releases deliberately when the rod is lifted. In open water, a conventional rear rest may be sufficient.
Is a goalpost setup better than a single bankstick and buzz bar?
Two connection points usually resist rotation better, but only when both sticks are secure and aligned. A single-stick setup packs smaller and can work well with suitable anti-twist support. The ground and pull test decide.
Final verdict
For adaptable positioning on normal banks, individual banksticks are hard to beat. For parallel rods on receptive ground, goalpost buzz bars give a compact, rigid arrangement. For concrete, platforms and changing surfaces, a well-proportioned rod pod is the dependable all-round answer.
Whichever support you choose, check the fit with your rods and reels, secure the rear rests and test it from the direction of a take. Keep it low where practical. You should be able to pick up the right rod straight away, without the rest of the setup moving with it.