Wondering whether your float-fished bait is on the bottom or well above it? Learning how to plumb the depth takes away that guesswork. We'll find the depth first, then arrange the shot so the float sits properly and the bait falls as you want it to.
Plumbing and shotting are connected but separate jobs. A plummet measures the swim by anchoring the hook on the bottom; shot balances the float and controls presentation after the plummet is removed. Trying to solve both at once creates misleading readings.
We'll measure the depth first, then look at bulk-and-dropper, shirt-button and on-the-drop shotting. You can use the depth-finding principles with a rod, pole or whip. Check the permitted shot and fishery rules before setting up, and recheck the depth when river or canal levels change.
How to plumb the depth before setting your float
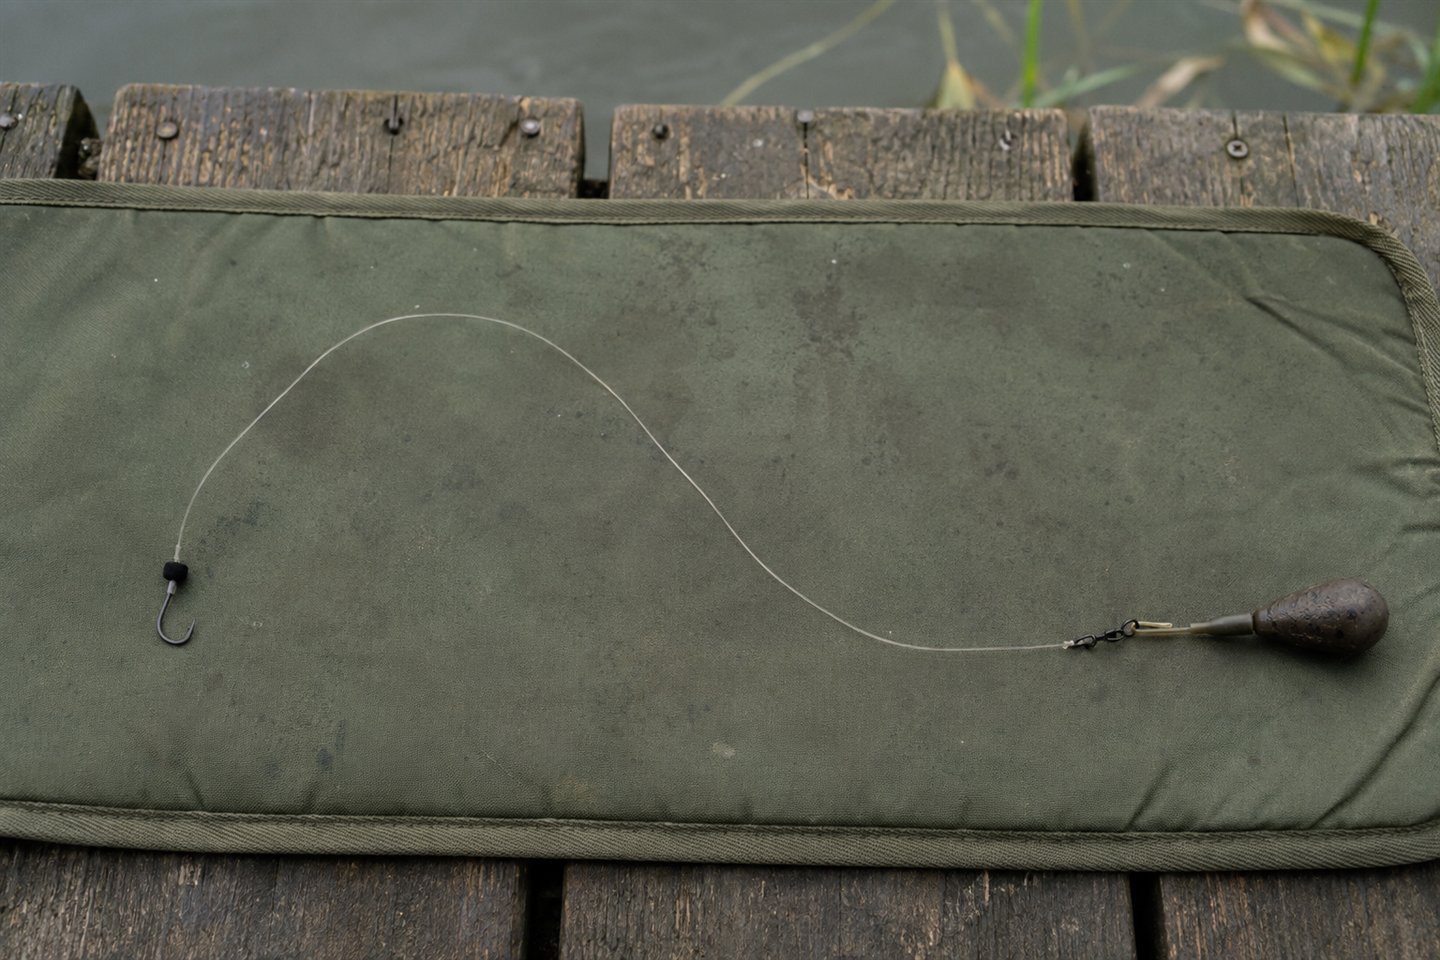
Set up the complete rig, attach a plummet that safely fits the hook and place it at the exact fishing distance. Start deliberately shallow. If the plummet pulls the float below the surface, slide the float away from the hook to add depth. Repeat until the float shows the expected amount of tip while the line stays lightly tensioned.
Check several points around the intended feed area. Once “dead depth” is known—the distance from hook to float when the hook is on the bed—mark or record it. Remove the plummet and fine-tune the float with permitted shot so only a clear, readable section of tip remains.
Begin with most shot grouped above the hooklength and one or more smaller droppers below. Move the bulk higher for a slower fall or lower for quick bottom presentation. Adjust depth by centimetres according to bites, tow and bottom contact rather than assuming dead depth is always the final fishing depth.
Why depth matters so much
Coarse fish don't all feed at one level. Bream and tench often search near the bed, roach can follow loose feed through the water, and rudd may remain high. The same shoal can change level with light, temperature, boat movement and feeding pressure.
Depth also reveals the shape of a swim. A canal typically has near and far shelves around a deeper track, though dredging and erosion make every section different. A pond margin can drop sharply, while an open lake may have gradual slopes, weed or silt hollows.
Without plumbing, a float that dips may simply be dragging bottom. A hookbait can hang far above feeding fish or disappear in weed. The beginner float-rod setup explains the rest of the tackle, but accurate depth turns that setup into a presentation.
Choose the right plummet
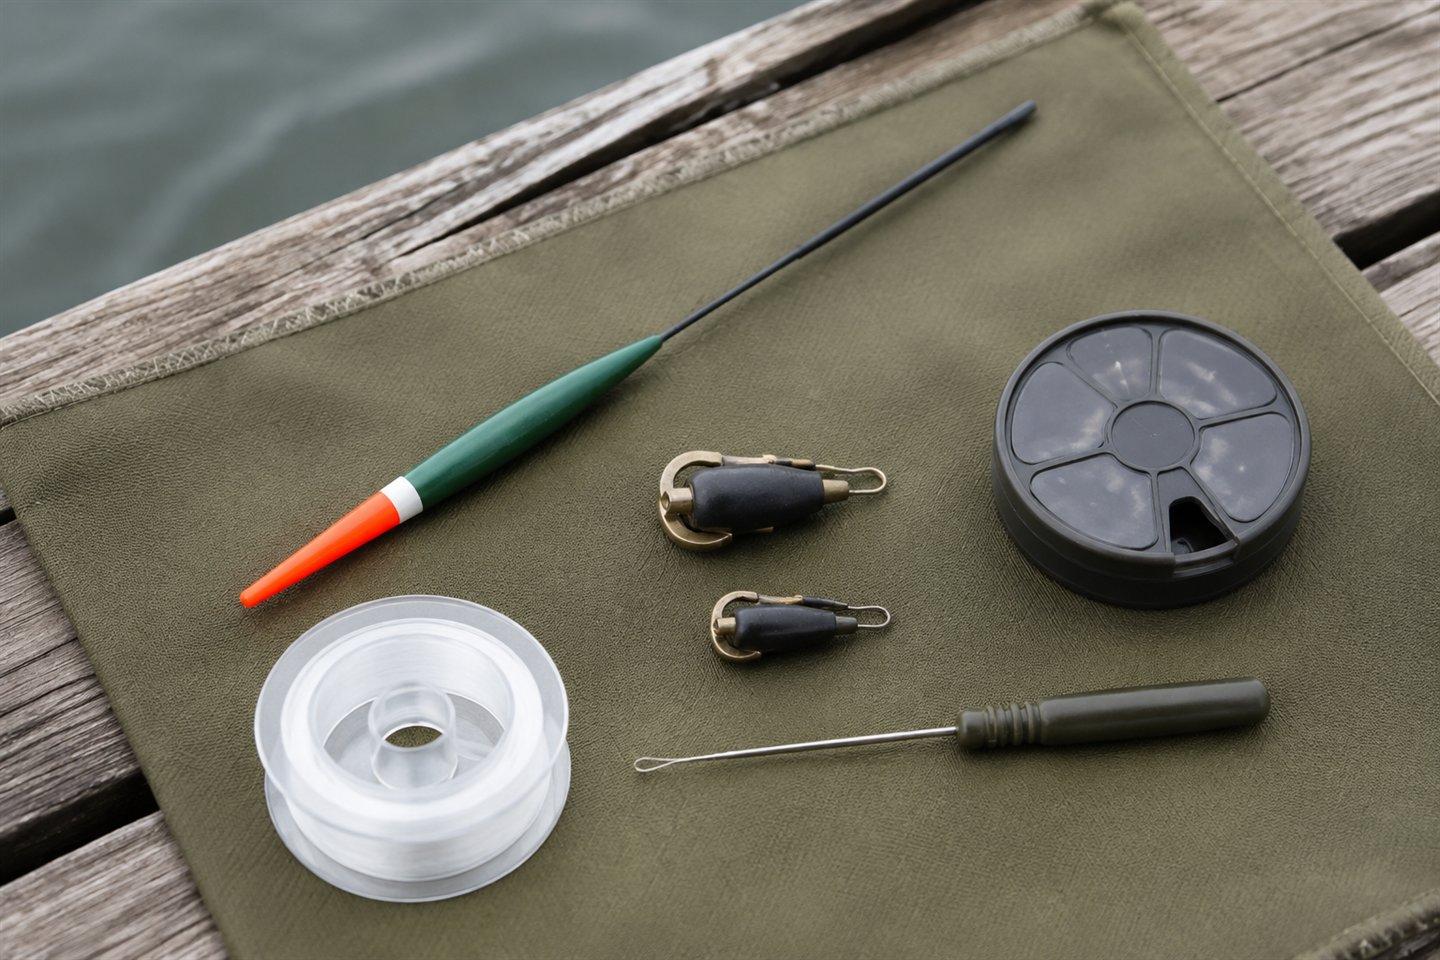
A clip-on plummet usually grips the hook by its bend or point and has a soft base into which the point is pressed. A cork-base plummet accepts the hook point after the line or hook passes through an eye. Both can work if they fit the hook securely without blunting or bending it.
Use enough weight to overcome the float and show a decisive reading, but stay within the line, pole and rod limits. A tiny plummet may be lifted by tow or a highly buoyant float; an unnecessarily heavy one can damage a fine rig or become hazardous when swung.
Inspect the attachment for sharp edges and confirm the hook cannot pull free. A plummet detached during an overhead cast becomes a projectile. Pole and whip rigs should normally be lowered under control, while rod-and-reel plumbing requires a smooth short cast and clear space.
The Preston Innovations 20g plummet (paid link) is one current plummet. Check its actual weight, hook compatibility and soft-base condition. Replace a hardened, cracked or loose product instead of modifying it on the bank.
What dead depth means
Dead depth is a practical reference: the hook is at bed level and the float is set to the corresponding distance. The exact visual signal varies with plumbing technique. On a pole, a correctly tensioned rig may show the bristle normally; with another method the float may just break surface.
Fishing depth can then be shallower, dead depth or overdepth. “Six inches overdepth” means the hook-to-float distance exceeds measured depth by six inches, leaving lower line on the bed. It doesn't mean guessing six inches before plumbing.
How to plumb a pole rig to dead depth
Attach the plummet and extend the pole to the chosen line with the rig under control. Lower it vertically at the exact point, keeping the pole tip steady. If the float disappears, move it towards the pole tip. If it lies flat or excess line bows, move it towards the hook.
Repeat until the intended amount of bristle shows under light contact. Then sample a small grid: slightly left, right, closer and farther. A few centimetres can reveal a shelf or depression. Feed only after deciding which contour is practical to reproduce.
Mark the exact distance on the pole or bank layout as well as the depth. A correct rig placed half a metre farther down a slope is no longer at the same depth. Use removable, maker-approved markers and don't score carbon.
How to plumb with a whip
A whip uses a fixed line, so rig length must exceed the depth while remaining manageable. Lower the secured plummet gently rather than swinging it overhead. Adjust the float on the line until a positive bed reading appears.
Because short whip lines often fish a near shelf, check closer and farther before feeding. The bed can change quickly near piling or a cut bank. If the water is too deep to leave a workable lash between tip and float, choose a longer whip, pole or reel method.
The whip-fishing beginner's guide covers rig length and handling. Never shorten the rig so much that the plummet reading looks convenient while the bait is actually suspended well above the bed.
How to plumb the depth with a waggler float
A fixed waggler can be plumbed when water is shallower than the rod and manageable casting drop. Attach the plummet securely, remove enough shot or adjustable loading for the float to remain buoyant against it if the design requires, and make a smooth short cast to the fishing line.
Let the plummet settle without tightening it towards the bank. If the float remains submerged, add depth. If it lies flat with obvious slack, reduce depth. Reel in before moving the float; dragging a hooked plummet across the bottom risks snags and damaged line.
When water is deeper than the rod or casting drop becomes unsafe, a sliding float is a specialist solution. Don't force a fixed waggler rig with several metres of line between tip and float. The waggler fishing guide explains appropriate first-water choices.
Plumbing a river swim
River depth changes along the trot, and current can lift a light plummet. Use a sufficiently positive safe weight and test the intended starting, middle and finishing points from firm ground. Don't cast towards weirs, strong debris or an inaccessible far bank.
A plummet gives a static reading, while the fishing rig travels. Note obstructions and the shallowest point that can stop the hook. Begin just clear of rough bottom through the useful run, then add controlled overdepth only where the contour permits.
If the river is too powerful to hold the plummet vertically or safely retrieve it, conditions don't suit this fine float method. The stick-float beginner's guide covers choosing a manageable glide and interpreting bottom contact.
Marking and preserving the measurement
On a top kit, align the hook with a repeatable point and note where the float sits. On a rod, compare hook-to-float distance against the blank only when the hook is secured and the rod is not bent. Never pull a bare hook towards a hand or face.
A rig label should record measured depth, float, shotting and hooklength. If the rig tangles, the mark lets you restore it. After moving to a new swim, regard the old depth only as a starting clue and plumb again.
Understanding float capacity
Float markings estimate the weight required to cock the float, but traditional shot codes, gram markings and maker tolerances are not identical. Bait, hook, swivel, line and water absorption also contribute. Use the printed capacity to select shot, then test the real assembled rig.
A loaded waggler carries some or most weight in its base; the marking may show built-in loading plus additional capacity. Don't add the whole printed number without reading the product convention. Adjustable discs can be removed to allow more shot down the line.
Pole-float codes such as 4x12 are traditional wire-based measures and are not a precise universal gram conversion. Floats from different factories can vary. Keep shot with the rig and tune by how it sits, not by an internet conversion alone.
Legal and line-safe shotting
In England, lead weight may generally be used only at 0.06 grams or less, or above 28.35 grams; the prohibited middle range includes familiar larger split shot. Current GOV.UK rules and regional byelaws are the authority. Use correctly labelled fishing shot and check rules elsewhere in the UK.
Soft shot designed to reopen is easier to move without crushing mono, but every adjustment can mark line. Use a shotting tool rather than teeth. Close shot only enough to hold and slide it gently after wetting, then replace any flattened, cloudy or kinked section.
Non-toxic shot and olivettes provide alternatives, but material density changes size. Lock an inline olivette using compatible stops or shot according to the manufacturer. Never improvise weights from workshop lead, solder or unknown metal.
The NGT six-way non-toxic split-shot dispenser (paid link) is one current compartmented option; check its labelled weights and closure. Confirm local legality and keep every spill away from birds and water.
How to shot a float so it sits correctly
The float needs enough tip above water to be seen reliably in glare, ripple and changing light. “Dotting down” until only a pinprick shows may improve sensitivity in ideal conditions, but it is useless if the angler cannot distinguish a bite from waves.
Add the smallest adjustment shot progressively and allow the float to settle fully each time. Water can creep into damaged bodies, making a previously balanced float sink. Replace cracked floats rather than removing shot throughout the day.
Bigger or heavier hookbaits can pull down a fine bristle. Test with the real bait. When switching from a single maggot to sweetcorn or worm, remove or rearrange trim shot if necessary, maintaining a visible and stable tip.
The bulk-and-droppers pattern
A bulk is a group of shot or an olivette carrying most of the capacity. Droppers are smaller weights between the bulk and hook. This pattern is forgiving because it reduces tangles, gets the rig down and lets the last section fall in observable stages.
Place the bulk well above the hooklength for an all-round start, with two or three droppers spaced below. The exact distance depends on depth and fish. Move the bulk lower when small fish intercept feed above the target, or higher when bites come on a slow falling bait.
The lowest dropper influences bite timing. Closer to the hook, it registers movement quickly but can make bait fall abruptly. Farther away, the bait falls naturally but the float may respond later. Change it in small measured steps and inspect line after moving shot.
The shirt-button pattern
Shirt-button shotting spreads small weights at even or gradually increasing intervals down the rig. It creates a slow, controlled fall through much of the water, which can suit roach, rudd and silverfish following loose feed.
The pattern is more prone to tangling than a concentrated bulk, especially on a cast. Use smooth placement, a sensible float and a short hooklength. If bites occur only after the rig settles, grouping shot may be more efficient.
Don't use many tiny shot merely because the name is familiar. Each shot can damage line and takes time to adjust. Use only enough weights to create the fall required and store the completed rig on a winder.
On-the-drop and shallow shotting
Fish feeding high need less weight below the float. A few small, widely spaced shot allow bait to fall with loose feed. The float may cock slowly, so watch line and bristle during the whole descent; a hesitation or sideways movement can be a bite.
This presentation works best when feeding rhythm supports it. A heavily baited bottom line and a slow shallow rig answer different questions. Keep them separate or be deliberate about drawing fish upward.
In very shallow water, excessive line and weight create noise. Use the capacity needed for control, not a heavy float simply because it casts well. If larger fish are likely, line and hook still need enough strength even when the shotting is delicate.
Shotting a waggler
A fixed waggler attaches at the bottom. Most casting weight belongs around the float so it flies ahead of the lower rig. Lock it with shot or manufacturer-approved stops and attachments, leaving the arrangement secure without crushing the line.
Place smaller dropper shot below to control the bait. A loaded waggler needs less external weight around its base; read the marking and adjust built-in discs only as directed. The combined setup must cast within the rod rating.
Feathering before splashdown helps the hooklength extend beyond the float. If tangles persist, reduce scattered shot, shorten the hooklength or smooth the cast. A range of coarse-fishing floats (paid link) is useful only when capacities and attachment styles are understood.
Shotting a pole or whip float
Pole and whip floats are normally attached at more than one point, allowing weight to be distributed below them. A compact bulk and droppers gives an uncomplicated start. Keep the rig straight while lowering so each shot descends in order.
For a tow, bring weight lower or increase float capacity so the rig remains stable. For shy silverfish, spread weight and use a visible fine bristle. The pole fishing guide explains how rig length and elastic affect the rest of the system.
Don't load a delicate bristle until it sits below the surface whenever bait is added. Balance with the hookbait fitted and confirm it returns to the same position after lifting. Inconsistent settling often signals damaged line, a shifted shot or waterlogged float.
Shotting a stick float
A stick float runs with the river and is attached top and bottom. A bulk-plus-droppers pattern helps bait reach depth; a strung-out pattern creates a slower fall. Float size and weight must provide enough control for the pace and distance.
When holding back, lower shot can lead downstream while the float is checked. Too little weight causes the rig to rise or skate; too much can make it snag. Watch the angle and adjust the whole presentation, not only depth.
Check the complete trot with the plummet before fishing but remember the riverbed changes. Shorten the run to avoid shallow obstructions. Lost floats and line are not acceptable costs of exploring an unsafe lane.
Reading what the float tells you
A float that never cocks can mean insufficient shot, excess depth or a rig lying on weed. One that sinks slowly without a bite may be overloaded, waterlogged or pulled by tow. One that rises can show a lift bite or the bottom shot being lifted.
Repeated dips at one location usually indicate bottom or vegetation. Random dips following loose feed are more likely fish, though line bites occur. Strike smoothly, then inspect bait and line. A pattern across several presentations is more reliable than one movement.
If fish are hooked outside the mouth, stop and reconsider depth, feeding and fish position. Foul hooking can result when many fish are concentrated around an overdeep or poorly placed rig. Adjust rather than treating it as unavoidable.
Common plumbing mistakes
Plumbing only once is the largest error. A single point hides slopes and shelves. Check the exact area you intend to feed, then make distance repeatable. Another error is tightening so hard that the plummet moves towards the bank and gives a false shallow reading.
Using a light plummet with a buoyant float in tow can also understate depth. Select enough safe weight for a positive reading. Conversely, don't swing a heavy plummet from fine line or overload a pole top kit.
Finally, remember to remove the plummet before baiting and casting. Inspect the hook point afterwards and replace it if dulled. Store the weight securely; a loose plummet can damage floats and fingers inside a tackle box.
Common shotting mistakes
Crushing shot onto line creates weak points. Use the right tool and gentle pressure, and replace damaged sections. Placing shot on knots or immediately against the hooklength join also creates stress and tangles.
Copying an exact diagram without considering depth produces the wrong fall. A pattern drawn for three feet behaves differently in twelve. Preserve the principle—bulk for speed, spread shot for slow fall—and scale spacing to the swim.
Over-dotting a float is another trap. Sensitivity is useful only when the tip is visible and stable. Select a thicker bristle or brighter colour before straining to see a submerged pinprick.
A repeatable adjustment routine
Plumb a small grid, mark depth and start with a simple bulk and two droppers. Fish several presentations at one depth while feeding consistently. Note whether bites arrive during the fall, immediately after settling or only when the bait drags.
If bites come on the fall, spread shot or move the bulk higher. If tiny fish intercept bait but the target is on bottom, group weight lower. If the float drags, reduce overdepth or move to the matched contour.
Change one dimension at a time and label successful rigs. This turns plumbing from a pre-session ritual into an ongoing measurement. The best shotting is the simplest pattern that gives the desired fall and clear bites.
Frequently asked questions
Should the float sit normally while plumbing?
That depends on method, plummet and line tension. Aim for a repeatable positive signal showing the plummet is on the bed, then establish dead depth. Follow the float maker's guidance rather than relying on one universal picture.
How much line should lie on the bottom?
Start at dead depth or just touching bottom, then add measured overdepth for tow, bream or a stable bait. Rough beds and rivers may require fishing clear. Persistent dragging means reduce depth or change position.
How much float tip should show?
Enough to see every presentation in current light and ripple. Fine-dotting can help in calm conditions, but a larger visible section is correct when glare, wind or eyesight otherwise prevents reliable reading.
Can I move split shot repeatedly?
Only with care. Even soft shot can weaken mono. Wet the line, open or slide gently with a proper tool and inspect it. Replace any kinked, flattened or cloudy section rather than trusting it.
Final thoughts
Knowing how to plumb the depth gives every float-fishing decision a reference point. Check more than one spot, preserve the measurement and distinguish actual fishing depth from dead depth before interpreting bites.
Once you know the depth, arrange the shot for the way you want the bait to fall. Grouped weight gets it down more quickly; spread weight slows the fall. Keep enough float tip visible to follow what's happening, use permitted weights and check the line for damage when making changes.