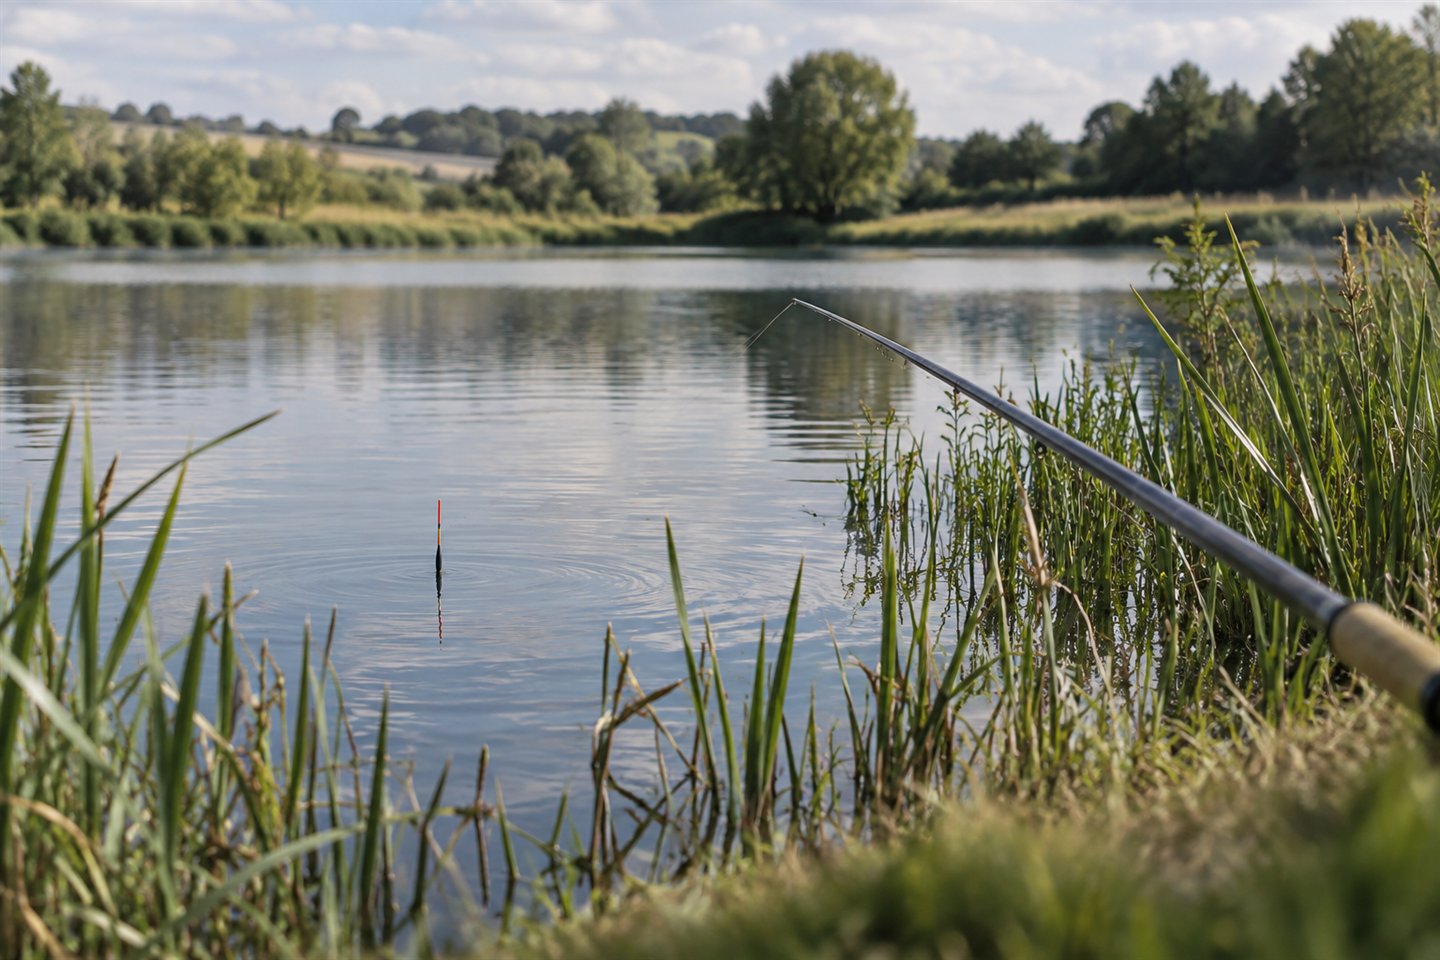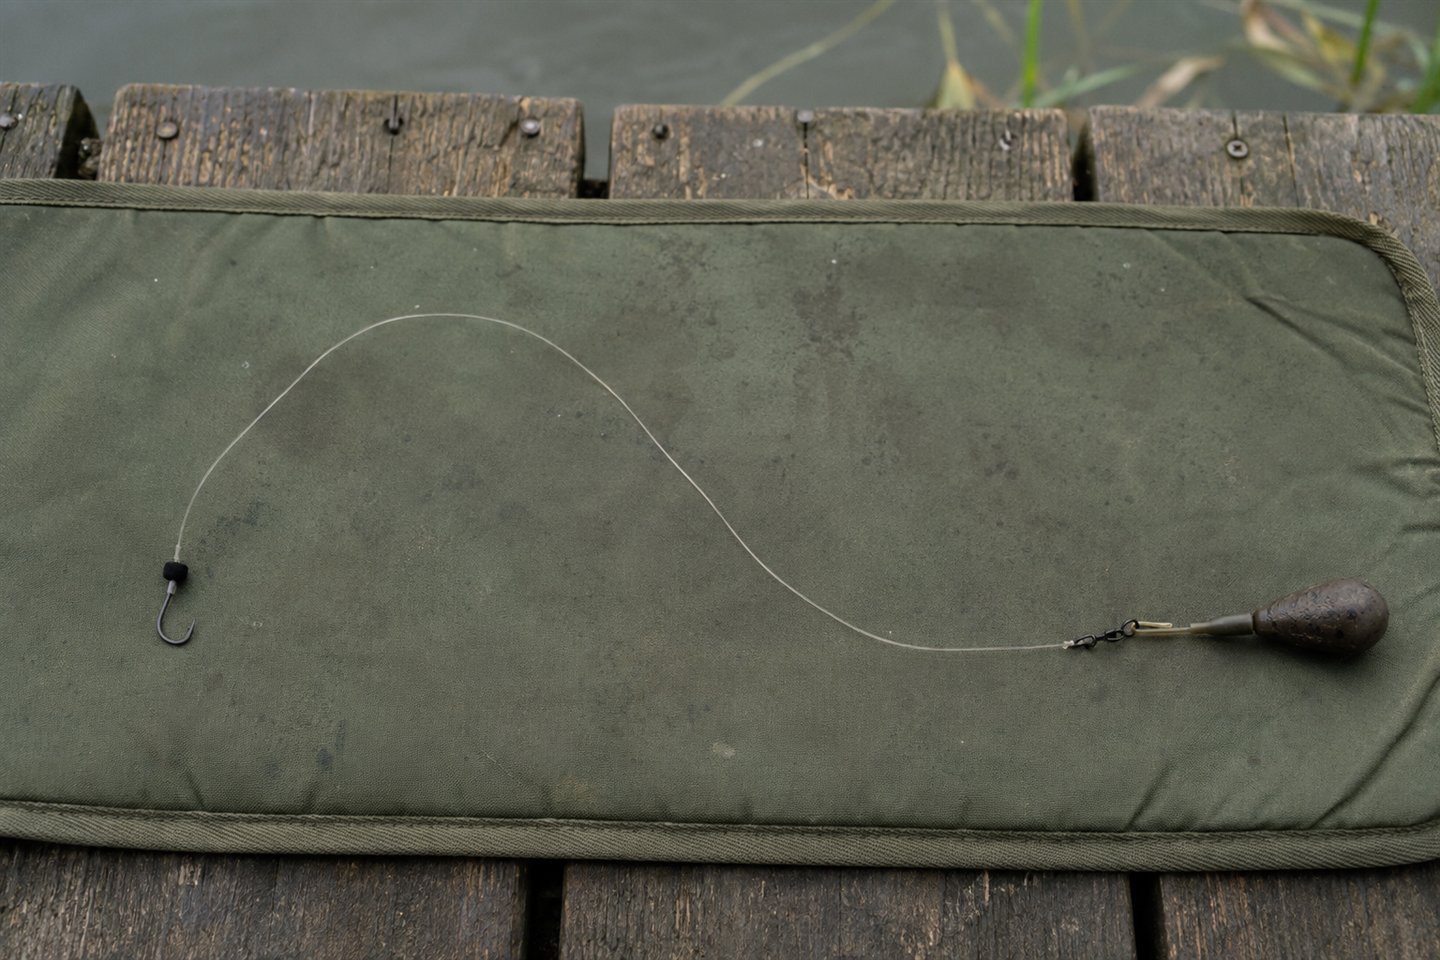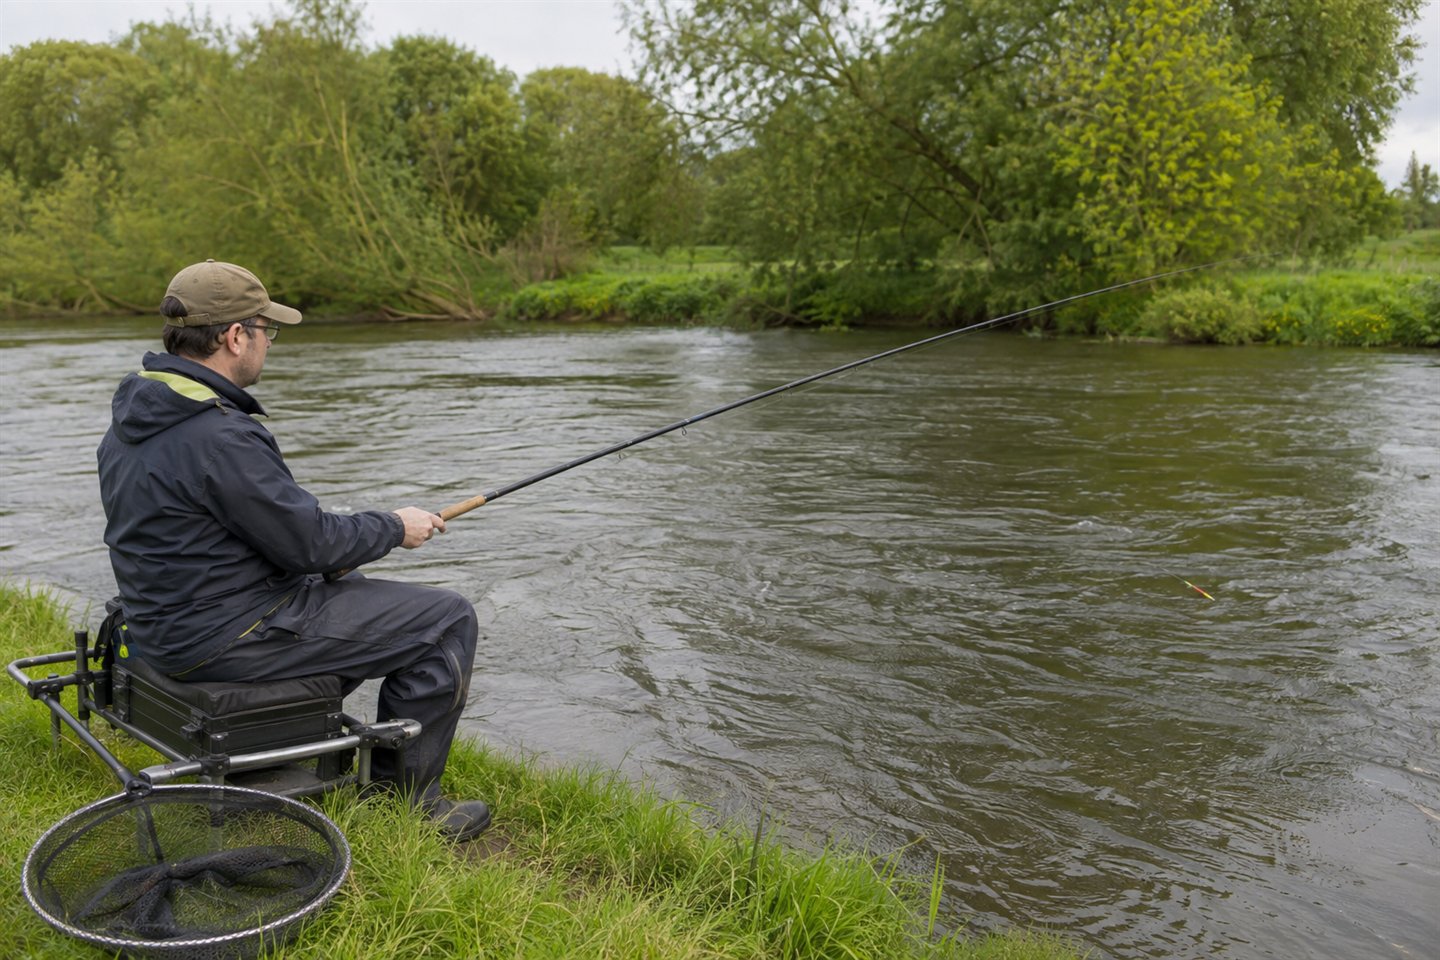
For your first stick float session, choose a steady river swim where you can control the float. A suitable rig, simple shotting and regular loose feed are enough to get going. Save the wallet full of specialist floats until you've had a few trips.
The method is usually called trotting. The float travels downstream with the current while the angler pays out line, slows the float when useful and retrieves at the end of each run. Roach, dace, chub, perch and other coarse fish can all be caught this way, so it is a fine route into mixed river fishing rather than a carp-led tactic.
We'll put together a first setup, find the depth and use each run through the swim to learn a little more. Match the float, line and hook to the current and likely fish, and check the local rules. Once those are sorted, you can concentrate on controlling the float.
Stick float fishing for beginners: how to control the trot
Choose a smooth, even-paced glide that can be reached and landed from the bank without wading. Use a float rod long enough to manage the line, a small reel with a reliable clutch, floating main line and a stick float attached by rubbers at the top and bottom. Match the float capacity to the flow and depth rather than automatically choosing the smallest model.
Plumb the full trot, set the bait initially close to the riverbed and arrange most shot in the upper or middle part of the rig with smaller droppers below. Feed a few maggots or another permitted bait before each cast, cast slightly upstream, keep the line behind the float and follow it downstream with the rod.
If the float continually drags under, catches bottom or races beyond control, adjust before adding more bait. A slightly larger float, a different shotting pattern, a shorter trot or a calmer swim can restore presentation. Beginners improve fastest by changing one thing at a time and noting whether the float becomes easier to guide.
Check permission, seasons and river conditions first
A rod licence is not permission to enter or fish a stretch. In England and Wales, anglers aged 13 or over need the appropriate rod fishing licence, and everyone also needs the landowner, club or fishery's permission. The rod-licence guide explains the distinction, but check GOV.UK and the controlling club immediately before travelling.
The statutory coarse-fishing close season applies to rivers, streams and drains in England and Wales from 15 March to 15 June inclusive, subject to the published regional detail. Some canalised rivers and other waters have specific classifications, and private owners can impose additional closures. Don't infer that a stretch is open because another water nearby is open.
River level and pace decide whether a session is sensible. Rising coloured water, strong flow, slippery banks, submerged platforms and debris can make an otherwise familiar peg unsafe. A beginner doesn't need to wade to learn this method. Fish from firm ground, keep behind an unfenced edge and abandon the swim when control or a safe landing route is doubtful.
What a stick float does
A traditional stick float is held to the line at both top and bottom with silicone or rubber sleeves. This two-point attachment helps the angler guide and slow it as it travels. The body provides carrying capacity and stability; the visible tip shows position and bites. Designs vary, so use the manufacturer's stated capacity as a starting point.
The float is not merely a bite alarm. Its pace, angle and path reveal how the rig is behaving. A float leaning downstream may be pulled by the lower rig or bottom contact. One leaning upstream can indicate excessive restraint from the rod. Sudden hesitation, lifting or a sideways movement can be a bite, debris or a change in depth.
A wire-stemmed or heavier pattern can help in faster, turbulent water, while a lighter body can suit gentle glides. Labels and traditional shot-capacity markings are not perfectly consistent between makers. Carry a small range around the expected capacity, but select through controlled trials rather than treating a named pattern as compulsory.
How to set up a stick float for river fishing
A float or match rod around 13 feet is a familiar all-round river choice because its reach helps keep line away from conflicting surface currents. Shorter or longer rods can work according to river width and cover. The important qualities are a progressive action, manageable weight and guides that pass fine line cleanly in damp conditions.
A small fixed-spool reel is easiest for most newcomers. A closed-face reel can control trotting line well in experienced hands, but it is not required. Set the clutch so a stronger chub or surprise fish can take line without immediately breaking the hooklength, and keep a finger close to the spool only when safe control is needed.
Use a floating mono main line that the rod and reel are designed to handle. A dedicated float line can be mended or lifted from the surface more easily than a line that repeatedly sinks and drags. Choose breaking strain for the fish, snags and hooklength rather than copying an ultra-light match setup from a different river.
A finer hooklength can give a controlled weak point and a neater presentation, but it must still be strong enough for the swim. Use a barbless or permitted micro-barbed hook in a pattern matched to the bait. Venue rules override general advice. The broader coarse line and hooklength guide helps balance these parts.
Useful small items include split-shot or legal non-toxic alternatives, float rubbers, a disgorger, forceps and a shotting tool. In England, restrictions apply to lead weights in the vulnerable middle range; current GOV.UK tackle rules specify which sizes may be used. Buy recognised angling shot and don't use improvised lead.
For comparison, an Amazon UK search for a stick-float fishing set (paid link) can show different float sizes and rubber arrangements. Check each listing's capacity, materials and contents; a search result is not a recommendation that every item suits your river.
Choosing a first river swim
Look for a glide where the main current is smooth enough for the float to travel in one readable lane. The inside of a gentle bend, the downstream edge of pace, a crease beside steadier water or a run below a shallow section may all offer feeding routes. Avoid boiling water and awkward conflicting currents for the first lesson.
The trot should be reachable without casting across other anglers and should finish before dangerous snags, moored boats, weirs or an inaccessible bank. Confirm that there is a landing point downstream of the seat. A fish doesn't know where the nominal peg ends, so the net and feet need a safe route before the first cast.
Observe for several minutes. Foam, leaves and bubbles show surface direction; submerged weed and changes in colour hint at depth or bottom character. The surface may travel faster than the bait near the bed, which is why some restraint can improve the presentation. Observation gives context to what the float later reports.
Plumbing the depth through the trot
Depth is rarely identical from the start to the end of a river swim. Attach a plummet that is appropriate for the hook and lower rig, then test several points without casting into unsafe flow. The guide to plumbing the depth and shotting a float covers the general process in detail.
Start with the float set shallower than expected and increase depth until the plummet draws it under or produces clear bottom contact. Repeat across the intended line. Record the shallowest obstruction and any steady deeper section. Don't drag the plummet through weed with force, because a trapped rig can leave line and tackle in the river.
For an uncomplicated first approach, set the hookbait close to bottom through the useful part of the run. If it repeatedly catches, shallow the rig slightly. If bites arrive as the bait lifts when the float is checked, fish may be above bottom or responding to movement. The correct depth is a working setting, not a number discovered once.
A forgiving shotting pattern
Shotting controls how the bait falls and how readily the rig follows the flow. A bulk of shot positioned well above the hooklength gets the rig down and reduces tangles, while two or three smaller droppers below let the final section settle more naturally. Keep shot off the hooklength knot or loop.
Spread the droppers farther apart when a slow fall is useful, or bring weight lower when the bait must reach depth quickly. Don't squeeze shot so hard that it damages line. The float should settle to a clearly visible amount of tip after the bait and all shot are attached; test in the margins before the first trot.
The combined weight must agree with the float and water, but capacity markings are only guides. A waterlogged bait, bulky swivel or heavy hook also affects loading. Fine-tune with small legal shot rather than forcing an overloaded float to work. Keep the last small shot far enough from the hook to avoid creating a rigid hinge.
How to cast and begin the trot
Stand or sit squarely with the intended line and check behind for people, branches and paths. An underarm swing is often sufficient on a narrow river. Cast a little upstream so the shot and bait can settle before reaching the feeding area, then close the bail arm and place the line onto the surface without a loose loop.
Keep the rod angled downstream and follow the float. Let line leave the spool in controlled lengths, preventing it from blowing ahead of the float. Ideally the line runs from rod tip to float without a deep belly, yet doesn't pull the float unnaturally across the current.
Mend line by lifting a short section and placing it behind the float. A high sweeping movement can move the whole rig and disturb nearby anglers, so make compact corrections. When the float reaches the end of the useful lane, retrieve before it enters snags or becomes hidden by glare.
A beginner may find a 13-foot float-fishing rod (paid link) easier to compare by weight, packed length, line rating and number of sections. Confirm those details with the maker or retailer and pair the rod within its stated limits.
How to hold back a stick float on a river
Holding back means applying enough pressure through the line to make the float travel more slowly than the surface current. This can let the lower rig lead downstream and keep the bait near loose feed. It is not the same as pinning the float in one place against strong flow.
Begin by allowing an unrestricted trot. On the next run, apply a light check for a second or two and watch the float's angle. If it rises, skates sideways or dives, the rig may be too light, too deep or held too hard. Release pressure before making another gentle check.
Different species and days favour different speeds. Dace may intercept a naturally moving bait, while roach or chub can respond to a bait that slows and lifts. Alternate free runs with lightly checked runs, but keep the feeding line consistent so the comparison means something.
How to feed when trotting a river with a stick float
Regularity is more useful than volume at the start. Feed a small number of maggots, casters, hemp or another permitted loose bait into one upstream area so it reaches the fishing line as the rig settles. The beginner coarse-baits guide explains practical options and storage.
Feed before or immediately after casting, not at random points throughout the trot. A few pieces on most runs can encourage competition and show whether fish move upstream or downstream. If bites fade, reduce, pause or adjust the line before assuming that more bait is the answer.
Throwing by hand works at close range. A small catapult is more repeatable across wider water, but practise with an empty swim and use only enough force to reach the target. Search listings for a coarse-fishing bait catapult (paid link) by pouch size, spare elastic availability and safe range, then follow its instructions.
Groundbait can start or hold a river line, yet it also adds food and can spread downstream unexpectedly. For a first stick-float session, loose feed is easier to read. If groundbait is permitted and needed, introduce a conservative mix with enough binding for the depth and flow, and watch where it actually breaks down.
Reading bites and striking
A bite may pull the tip under, hold it back, lift it higher or move it sideways. Strike when the movement differs convincingly from the float's normal behaviour. Lift the rod smoothly in the direction that tightens the line without sweeping towards people or vegetation.
Repeated false indications are information. Bottom contact at the same point suggests the rig is too deep for that contour. Random dips with leaves and debris suggest a difficult lane. Tiny rapid movements may be small fish or a bait problem. Check the hookbait and reset the rig rather than striking harder.
If bites occur but few fish are hooked, verify hook sharpness, bait placement and shot near the hook. Moving the lowest dropper a small distance can change registration. Don't jump straight to a much smaller hook or weaker line when the likely issue is presentation.
Playing, landing and returning coarse fish
Keep the rod bent and let its action absorb lunges. Guide the fish away from the fastest water and downstream snags, but avoid locking the reel clutch. A landing net with soft, knotless, non-metallic mesh should already be extended and wet at the safe landing point.
Bring the fish over the net head first; don't chase it with the frame. Transfer it low over a wetted unhooking mat when the bank is hard or the fish is too large to unhook in the net. Wet hands, use the correct disgorger and minimise air exposure. The coarse fish-care guide covers the full routine.
Return the fish promptly and support a tired fish upright in quiet, oxygenated water until it holds position. Never put fish on dry ground for a photograph. Follow the fishery's keepnet policy; pleasure anglers normally gain little by retaining a catch when prompt release is available.
Solving common first-session problems
When the rig tangles around the float, check that most weight is above the droppers, use a smooth cast and lightly feather the line before the rig lands. A wildly powerful cast encourages the bait to overtake the float. Replace kinked hooklength rather than trying to straighten weakened line.
When the float is hard to see, choose a tip colour that contrasts with glare, shorten the trot or move so reflected light is less direct. Polarised glasses can reduce surface glare but don't make distant fine tips safe to watch indefinitely. Eye comfort and reliable bite detection justify a larger tip.
When the float outruns loose feed, check where the feed enters and sinks. Slow the float lightly, add an appropriate amount of shot or shorten the fishing line. In deep fast water, a stick float may not be the best first method; a heavier Avon-style float or feeder can provide better control.
When fish are hooked and lost, inspect knots, hook point and line for abrasion. Consider whether the tackle matches chub, barbel or snags likely in the swim. Ultra-fine equipment is not a badge of skill. A balanced stronger setup that lands fish safely is the more responsible choice.
A productive two-hour practice plan
Spend the first fifteen minutes checking the bank, assembling fish-care equipment, plumbing the run and watching the surface. Begin with one depth, one shotting pattern and one bait. Make several trots without changing anything so there is a genuine baseline.
During the middle hour, feed small amounts consistently and alternate free runs with gentle checks. Note where bites or bottom contacts happen. Change only one variable—usually depth, lowest dropper position or starting point—then give the new setup enough trots to judge.
Use the final part to confirm the lesson rather than chase every option in the tackle box. If fish are feeding, repeat the successful line and pace. If not, try a second sensible swim only when moving is permitted and safe. Pack away line and shot carefully, and remove every offcut from the bank.
Frequently asked questions
What size stick float should a beginner use?
There's no universal size. Use enough capacity and stability to carry the required shot, reach the line and remain controllable through the pace. A float that is slightly more positive and easy to see is usually more useful than the smallest possible pattern.
Should the bait drag on the bottom?
Start close to bottom, then adjust from what the trot shows. Slight bottom contact can work in an even swim, but persistent dragging makes the float unreadable and risks snags. Shallower presentation or a different line is safer when the bed is rough.
How far should I trot the float?
Only as far as you can see, control, strike and land safely. A short accurate trot through a known feeding lane is better than paying out line until the float is a speck. Retrieve well before hazards or another angler's water.
Can I stick-float fish with a normal reel?
Yes. A small fixed-spool reel with sound line lay and an adjustable clutch is suitable. Closed-face and centrepin reels have advantages for specialist trotting, but neither is necessary for learning the core method.
Final thoughts
Stick float fishing for beginners becomes manageable when control is valued above delicacy. Pick a safe steady glide, find the changing depth, use a visible float with a forgiving shotting pattern and feed the same lane in small repeatable amounts.
Watch a few runs through the swim before treating every dip as a bite. You'll start to notice where the float catches the bottom or changes pace. Shorten the trot, change tackle or use another method if you can't stay in control. Keep the first session manageable and build from there.