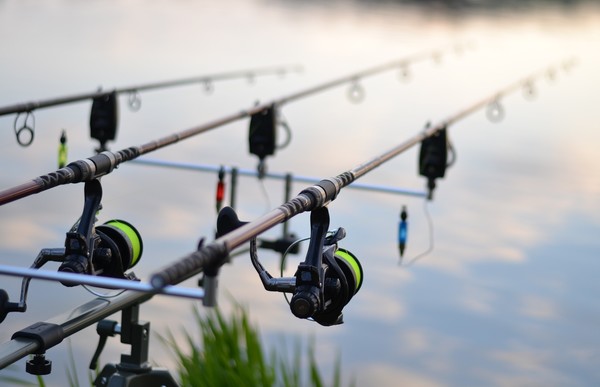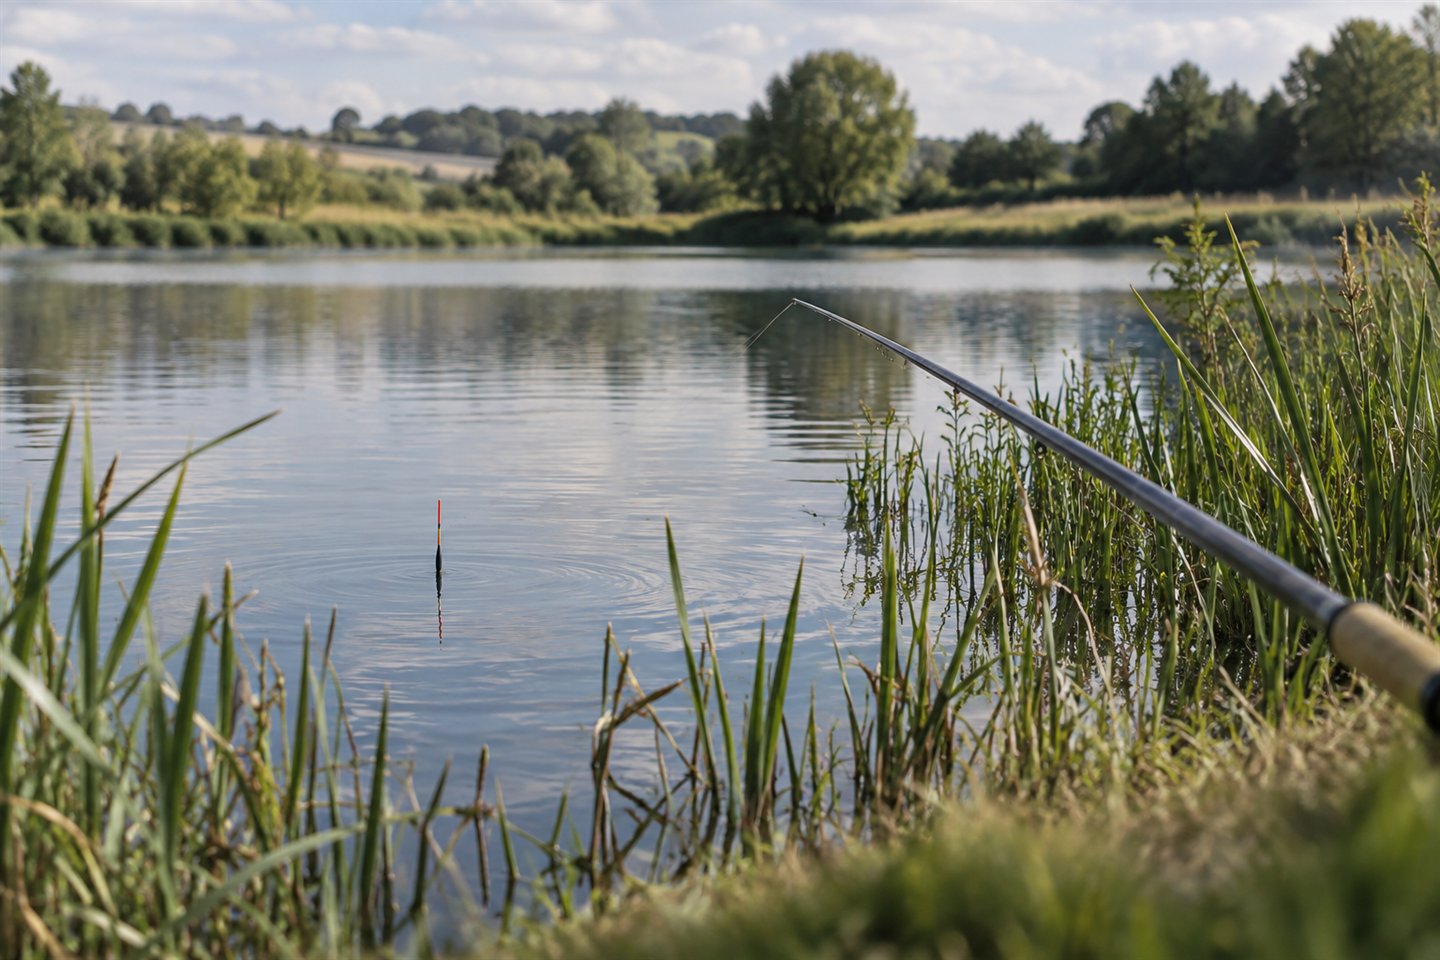
Float fishing for carp keeps you close to the action, without bite alarms or a heavy lead to set up. Pick a manageable swim, use tackle that can handle the fish and get the depth right. Then settle into feeding and watching the float.
This guide concentrates on presenting a sinking bait on or near the bottom with a rod and reel. It is different from repeatedly casting a pellet waggler at shallow-feeding fish, and different again from surface fishing. Starting with one clear job makes the first setup easier to understand and adjust.
The aim is not to use the lightest possible tackle. Carp can accelerate hard at short range, so the rod, line, hook and landing arrangements must suit the actual water. Choose an open, manageable swim where you can learn the method without asking delicate tackle to stop a fish reaching roots.
Float fishing for carp: how should you set up for the swim?
Look for a lake with known carp, comfortable bank access and an unobstructed area within a modest cast. A few rod lengths can be enough. You need to see the float clearly and introduce loose feed to the same place without stretching your casting or catapult skills from the outset.
Margins are worth inspecting, but close doesn't automatically mean safe. A narrow strip between sunken branches can be much harder to fish responsibly than open water farther out. Imagine the first run and the final approach to the net before deciding that an attractive-looking corner is suitable.
Observation comes before feeding. Look for fish turning, disturbed sediment, deliberate feeding activity or a patrol route that passes a clear patch. Our guide to finding carp in a lake explains those clues. A float placed accurately where carp visit is more useful than an elaborate setup in empty water.
Check the venue before choosing tackle
Ask whether float fishing is allowed on the intended lake, what size carp are commonly encountered and whether there are minimum line or hook requirements. Some specimen waters expect equipment beyond an ordinary commercial float outfit. Fishery advice can save an unsuitable purchase and help identify a better beginner water.
Read the rules for bait, hooks, nets and mats as well as the ticket times. A quiet technique doesn't exempt you from a fishery's restrictions. The UK carp fishery rules guide explains the common terms, including why permission to use a particular bait should not be assumed across neighbouring lakes.
Choose somewhere you can keep all fish-care equipment immediately accessible. If the only possible landing area is several swims away, or reaching the water would require climbing down a slippery bank, find another position. A beginner session should allow attention to remain on the float, not on solving a difficult landing problem.
A rod that bends without giving away control
A carp-capable float or power-waggler rod with an appropriate line rating is a useful starting point. Its action should cushion short lunges while retaining enough reserve for the venue's fish. A specialist silverfish rod may be enjoyable with small fish but unsuitable for deliberately targeting the carp in front of you.
Handle the rod if possible and check the manufacturer's intended use. Length affects line control and landing reach as well as transport. A longer rod can help lift line clear of near-bank vegetation, while a shorter one can be easier under limited casting room. Neither compensates for overhead cables or an obstructed swing.
You don't need to buy a powerful specimen carp rod simply because the target is a carp. Such a rod may feel clumsy with a small float and soft hookbait. Match the outfit to the whole method, using the coarse rod selection guide to distinguish suitable float tools from feeder and general-purpose alternatives.
How to set up a float rig for carp on a lake
For short-range open-water fishing on a commercial lake with modest carp and no stronger minimum-tackle rule, consider a 10 ft carp-capable waggler rod, 6 lb main line and a size 14 hook on a compatible 5 lb hooklength. Drennan's Vertex 10 ft specification supports 4–6 lb reel line, while its Carp Match hair-rig range includes that size 14/5 lb combination.
A loaded insert waggler marked 2+0.5 g is one modest starting float: the loading supplies 2 g and the stated additional capacity is 0.5 g, fine-tuned with bait attached. Preston's float specification includes that format. Mount one firm grain of corn securely on the hair, with the point clear, and plumb the actual bottom rather than adopting a fixed depth.
This is an illustrative starting combination, not a manufacturer-tested complete kit or a specimen-water prescription. Check component compatibility and the venue's fish before using it. In a swim measured at 1 m deep, begin with the hookbait just resting at that measured depth, then adjust from the float's behaviour. Don't take this outfit into weed or snags simply because carp are visible there.
Reel, main line and hooklength
Use a reliable fixed-spool reel with a smooth drag and enough appropriate line. Check that line leaves the spool without catching and winds back evenly. A reel that sticks under load can turn a manageable close-range surge into a broken hooklength, regardless of how carefully the float was shotted.
Select line by its condition, diameter, knot performance and compatibility with the rod, not breaking-strain alone. Follow any fishery minimum. If using a separate hooklength, the complete combination must remain capable of landing the expected fish; deliberately adding an extremely weak section to make a large carp feel sporting is poor preparation.
Inspect the working length before fishing, particularly after the float attachment or shot has been moved. Flattening and roughness are reasons to replace that section. The line and hooklength guide explains how the parts work together. Sound, uncomplicated tackle is easier to diagnose than several unfamiliar knots and accessories.
Choose a float for bottom presentation
A conventional waggler attached at its base is a straightforward choice on many stillwaters. Choose enough carrying capacity to cast accurately and maintain a readable tip in the conditions. The smallest float on the display is not automatically the most sensitive once wind, distance and the weight of the hookbait are involved.
An insert tip can make small movements easier to see, while a thicker visible tip may be more practical with a larger bait or imperfect light. Start with a float you can actually read against the water. Squinting at a barely visible dot makes it harder to distinguish a bite from ordinary surface movement.
Manufacturer guidance such as Drennan's bodied-waggler explanation shows how tip visibility and carrying capacity affect presentation. It is useful background, not a reason to copy another angler's exact shot sizes onto a different float and line combination.
Understand the attachment before threading up
Follow the instructions for the chosen float attachment. Loaded and unloaded floats need different amounts of added weight, and interchangeable adaptors have their own fitting requirements. A float marked with a capacity is telling you something about that particular design, not providing a universal shotting rig for every waggler.
Use compatible components that hold the intended depth without crushing the line. Don't glue, knot or clamp a heavy float permanently into a trapped arrangement. Consider what could remain attached after a break and use a recognised, fish-safe setup; a tackle shop or qualified coach can demonstrate this with the actual components.
If the depth approaches the rod's usable casting length, don't simply lengthen the drop until the cast becomes unmanageable. A slider arrangement is a separate skill. For this first bottom-fishing session, choose shallower accessible water or another method that you can set up and cast confidently.
How to plumb the depth when float fishing for carp
Before baiting, establish depth at the intended spot using a suitable plummet and the method in our depth-plumbing guide. Make a few careful checks around it so that a small casting error will not place the hookbait unexpectedly above the bottom or deep in debris.
A smooth, manageable shelf is easier to learn on than a sharp slope. If the float's depth must change dramatically after every slight variation in landing position, move the target or improve accuracy. Repeatedly adjusting the rig while continuing to scatter feed over different depths creates a confusing first session.
Mark the chosen depth in a way that doesn't damage the line, and remember which position was measured. Plumbing has limited value if you then cast several metres beyond it. Use a clear far-bank reference and a comfortable casting motion to return to the same small area.
Shot the float in stages
Add the main loading required by the float, then use smaller adjustments until a useful length of tip remains visible. Do this in water where you can see the result. Printed capacities and shot labels get you close, but the actual float, attachment, line and hookbait determine the finished balance.
Arrange the smaller shot deliberately so the bait descends as intended and the line doesn't arrive in a heap. For a beginner, a straightforward pattern is more useful than a complicated spread copied from a photograph. Understand which shot cock the float and which influence the final fall of the bait.
Use appropriate non-toxic weights and a proper tool where needed; avoid pinching shot with your teeth. Close it only enough to hold without damaging the line. If moving a shot reveals a flattened or weakened section, replace that section rather than assuming a less visible mark is harmless.
Set the hookbait on the bottom deliberately
Start with the hookbait just resting at the measured depth, then observe how the float behaves. A little extra depth may help hold a bait still in some conditions, but laying excessive line across the bottom can blur indications and create more opportunities for fish to brush the line.
Don't confuse a settled float with proof that the hookbait is clear. Weed, leaves or soft debris may support or conceal it. Retrieve occasionally to inspect the hook and bait, particularly after a suspicious cast. A clean nearby spot can be a better solution than adding depth to an unexplained presentation.
Make small, measured adjustments and retain the starting setting. If a change improves stability but produces more missed indications, you have useful information to compare. Changing depth, shotting and bait size together makes it much harder to understand what actually improved or worsened the fishing.
Start with a hookbait you can inspect
Sweetcorn, a suitably sized piece of luncheon meat or a permitted soft pellet can all suit close-range bottom float fishing. Choose one familiar bait initially. A modest grain or cube is easier to present and examine than a mixed cocktail that hides the hook point and changes shape with every cast.
Match hook strength and gape to both bait and expected fish. Leave the point effective and check that soft bait has not folded over it. Drennan's sweetcorn-hook information illustrates a purpose-specific pattern, but the hook still needs to suit your line, rod and fishery rules.
If bait repeatedly falls off, slow the cast and inspect how it is mounted before buying a new flavour. Our sweetcorn guide covers direct hooking and hairs. On a short float cast, secure presentation matters more than making the bait look unusually large or elaborate.
Feed where the float will fish
Begin with a small amount of the chosen bait and watch the response. Feed can be added; it cannot conveniently be removed. The useful quantity depends on fish presence, the duration of the session and how much activity develops, not simply the capacity of the bait box you brought.
Practise placing free offerings accurately without a hook in the water first if needed. A tight, reachable feeding area makes depth and bite observations more meaningful. If most loose feed lands short, bring the float closer rather than repeatedly fishing beyond the food and hoping carp will find the isolated hookbait.
Keep a small working portion beside you and the reserve protected. That makes it easier to notice how much you're actually introducing. A handful tipped in while distracted can change the swim more than several careful tackle adjustments, especially during a short session with only occasional fish visiting.
Cast quietly and manage the surface line
Check the space behind, beside and above you, then make a smooth controlled cast. Gentle acceleration helps keep soft bait attached. Slow the line carefully near the end so the hooklength can straighten, rather than allowing the float, shot and bait to collapse together onto the feeding spot.
After the float settles, manage the line between rod tip and float without pulling the bait out of position. Wind and surface drift may require a different rod angle or a small correction. Watch what happens to the float while adjusting; winding until everything feels tight can quietly move the entire presentation.
Hold the rod or keep it immediately within reach with your attention on the float. This is active fishing, not a setup to leave while preparing food elsewhere. If you need a break, retrieve. A carp taking a close-range bait can remove the opportunity for a leisurely response very quickly.
Learn the float's normal movement
Watch several casts carefully before treating every tremble as a bite. Wind, settling shot, undertow and fish brushing the line can all move the tip. Knowing its ordinary rhythm helps a deliberate slide, sustained disappearance or unexpected lift stand out without requiring you to strike at every ripple.
When a clear bite develops, take up controlled contact and lift firmly rather than making a violent overhead strike. A short length of line offers little room to absorb excess force. The aim is to connect with the fish and let the balanced rod and drag begin their work.
Repeated misses deserve an inspection. Check the point, bait position, depth and whether fish are contacting line above the feeding area. Don't respond by striking harder or allowing increasingly long delays. Improve the indication and presentation so that a positive movement can be answered promptly and consistently.
Play and land a carp at close range
Keep a useful bend in the rod and let the drag release line smoothly when necessary. Avoid lifting the rod so high that only the tip is carrying the load. Use side pressure when space permits, steering towards open water rather than trying to stop every movement through brute force.
Have the net assembled before the first cast, with a handle suited to the bank. Bring a tired fish over the submerged net rather than chasing it with the mesh. Never lift a carp from the water on the line. A promising float session still needs the full landing and unhooking routine.
Follow the carp-care guide for supporting, unhooking and returning the fish. During release and any necessary tackle check, pause feeding and fishing rather than trying to maintain a match-style pace. Learning one sound capture routine is worth more than rushing for another bite.
A first afternoon to learn from
Choose one open spot, measure its depth and make the first few casts with minimal feed. Note whether the hookbait returns intact and whether the float settles consistently. This gives you a baseline before fish activity complicates the picture with liners, feeding disturbances and changes in position.
If a carp is caught, check line, hook and depth before resuming. Return a small amount of feed only if the response justifies it. If the spot remains quiet, observe elsewhere rather than mechanically adding food. You can move to another safe position or finish with useful knowledge of the first one.
Write down the depth, bait, distance and adjustments that helped. A note that the bait held still after a small change is more transferable than a vague claim that a particular float is lucky. Over several sessions, this builds confidence in choosing a setup for the conditions you can see.
Equipment worth considering
A small selection of suitable wagglers, compatible attachments, non-toxic shot and a plummet will cover more useful learning than a large box of unrelated floats. Protect the tips in transit and label any accessories that belong to a particular float. Carry spare hooks and enough sound line to remake a damaged section properly.
A stable seat, practical bait boxes and a landing-net handle that reaches safely are worthwhile supporting items. Fish-care equipment should already be included, not treated as something to buy after the first capture. If you have a workable rod and reel, try the method before investing in a more specialised outfit.
For a simple float session, the Roddarch four-piece bait-box set (paid link) can separate small quantities of permitted hookbait and feed. The NGT 42-inch landing net with 2m handle (paid link) is one landing-equipment example to compare with the fish size, swim and handle reach. Its suitability doesn't follow automatically from the size of the float outfit. Keep bait boxes shaded and remember their ventilated lids are not watertight. Use existing suitable tubs and a venue-compliant net if you already have them; neither purchase replaces a balanced rod, line and hook arrangement.
Frequently asked questions
Can I catch a large carp on a float?
Yes, but the setup and water must suit that possibility. Float fishing is not permission to target large fish with tackle intended for tiny silverfish. Choose compatible strength, a safe playing area and proper landing equipment, and follow the fishery's requirements even when the bait is only a few metres away.
Should the bait always be on the bottom?
Not always, but bottom presentation is the starting method explained here. If carp are consistently feeding higher in the water, consider a deliberate change of approach. The pellet-waggler guide covers active shallow fishing rather than treating every depth as the same float technique.
Is float fishing only a summer method?
No. The important questions are whether carp are present, the bait can be presented usefully and conditions allow clear indication. In colder or less active periods, feed cautiously and be realistic about opportunities. A manageable calm spell may be more useful for learning than a season label alone.
Keep the first setup understandable
Start with a safe swim, balanced tackle and a depth you've checked. Feed a little, get used to the float's normal movement and change one thing when you see a reason. Then enjoy watching it. A close-range session can teach you a lot about presentation without a complicated setup beside you.
Sources and further reading
Manufacturer references checked on 15 September 2026 include the linked Drennan bodied-waggler explanation and sweetcorn-hook specification. Product examples explain design choices rather than promising results. Follow the current instructions for your own float and attachment, and ask the fishery or a qualified angling coach to check an unfamiliar setup.