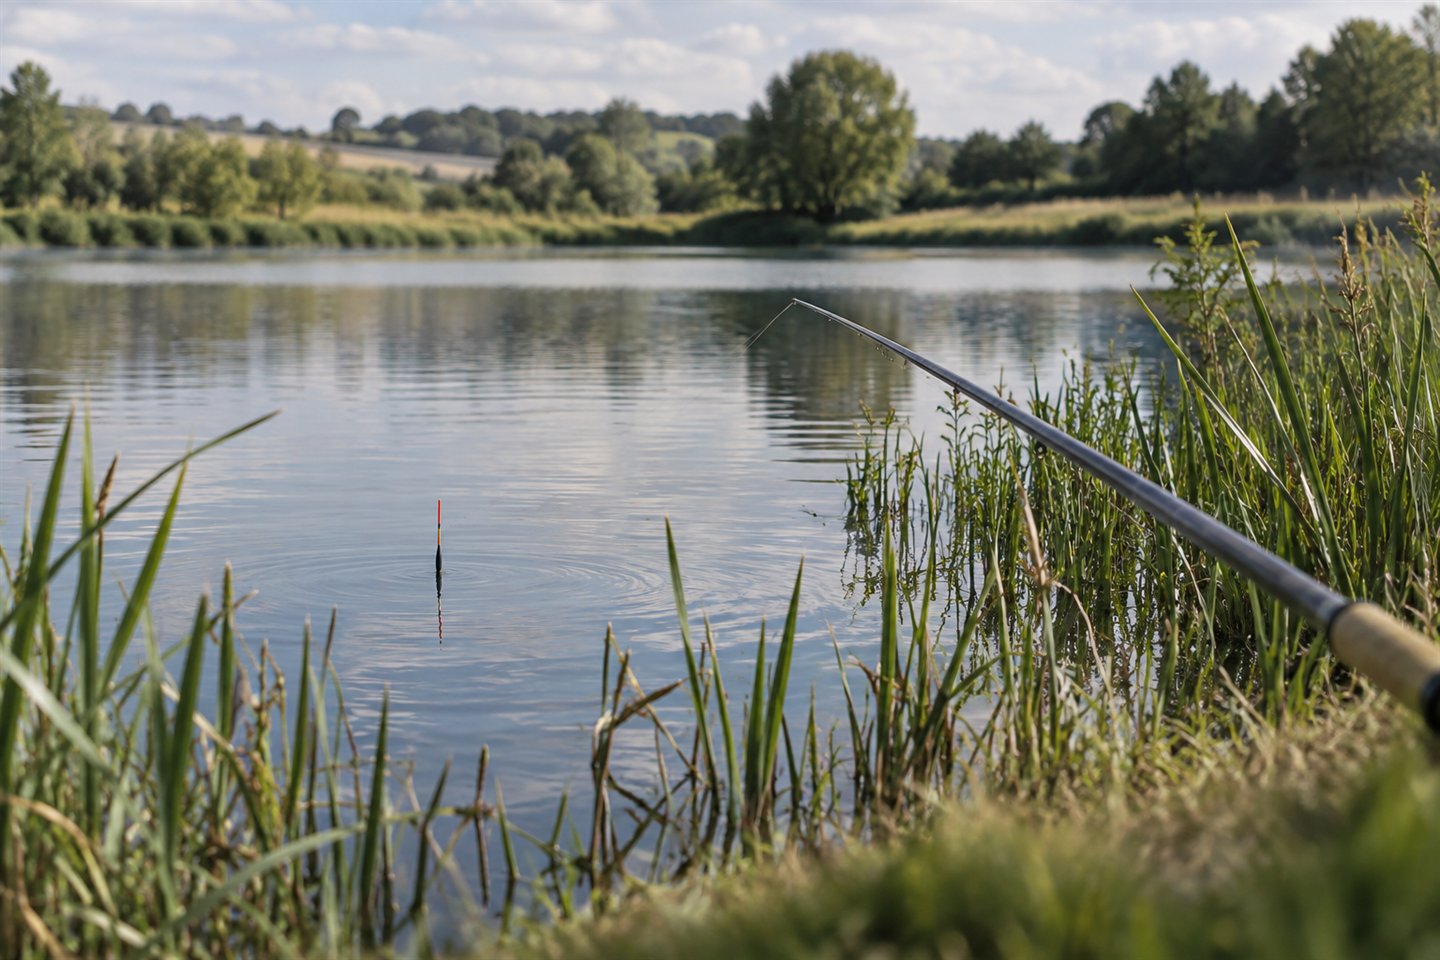
Let's set up a float fishing rod for a simple waggler session on a stillwater or gentle canal. We'll go from fitting the reel to finding the depth, so you can spend more time watching the float and less time untangling the line.
The float is both a casting weight and a bite indicator. Most of the loading holds a waggler at the chosen position, while smaller weights below control how the bait falls. The rig should leave a visible tip, cast without tangling and use line and hook strong enough for the fish and any nearby weed or platforms.
We'll use a conventional waggler attached at the bottom end. Pole floats, river stick floats and sliders have different setups, so leave those for their own tutorials. For this first rig, choose the line, hook, float and permitted shot to suit your fishery.
How to set up a float fishing rod from reel to hook
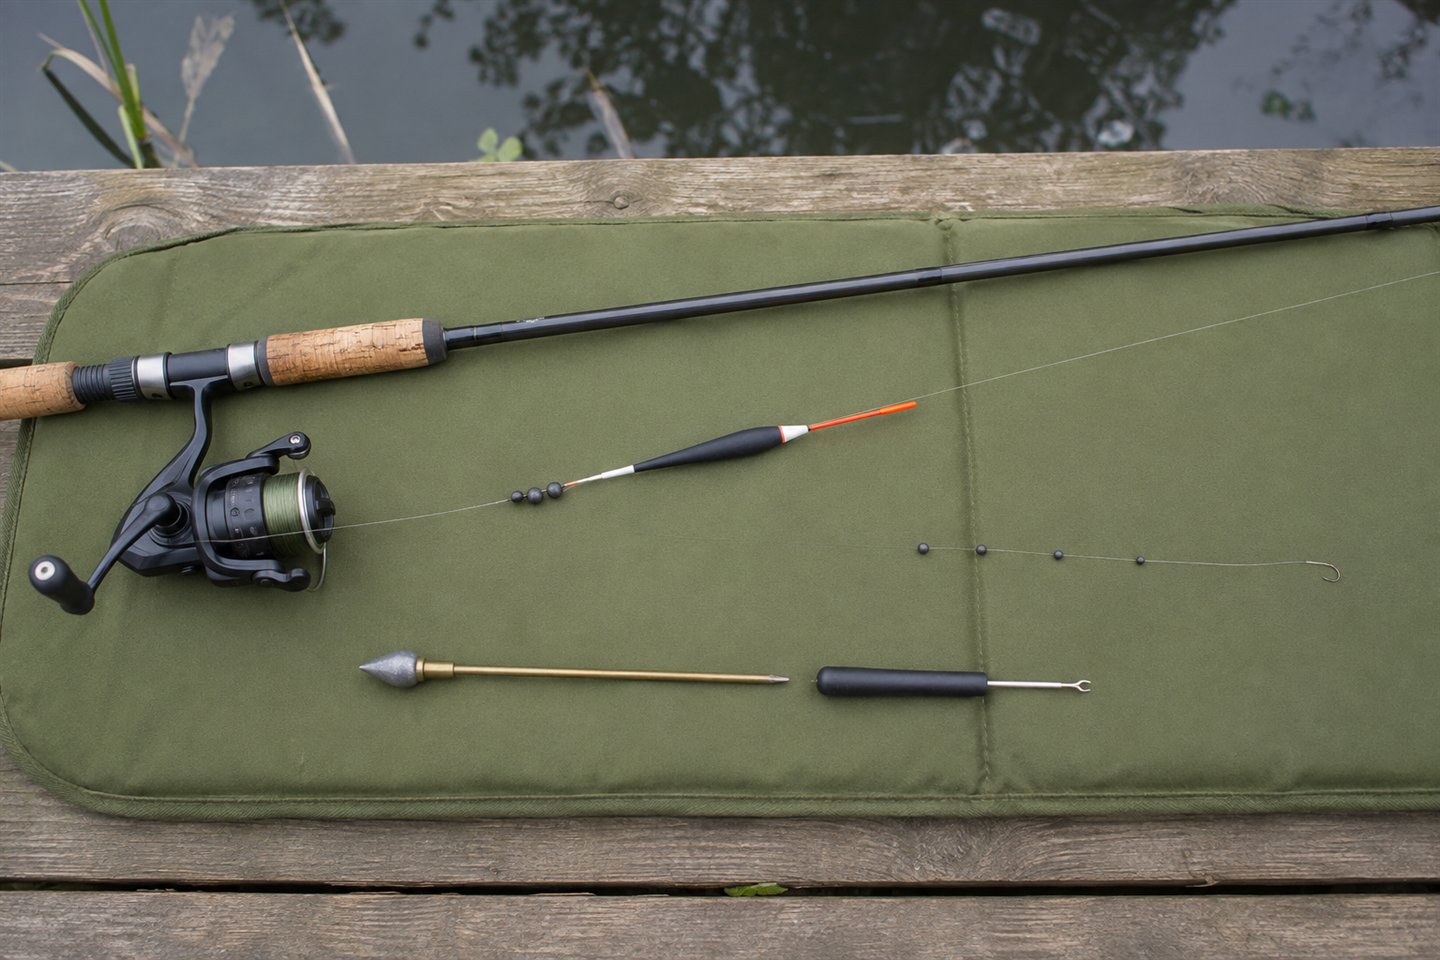
Assemble the rod safely, mount the reel and pass line through each guide. Thread or attach a waggler by its bottom eye, lock it with legal shot or a suitable adapter, add the remaining shot below, join a pre-tied hooklength and hook, then use a plummet to find depth. Remove the plummet, bait the hook and test the rig close in.
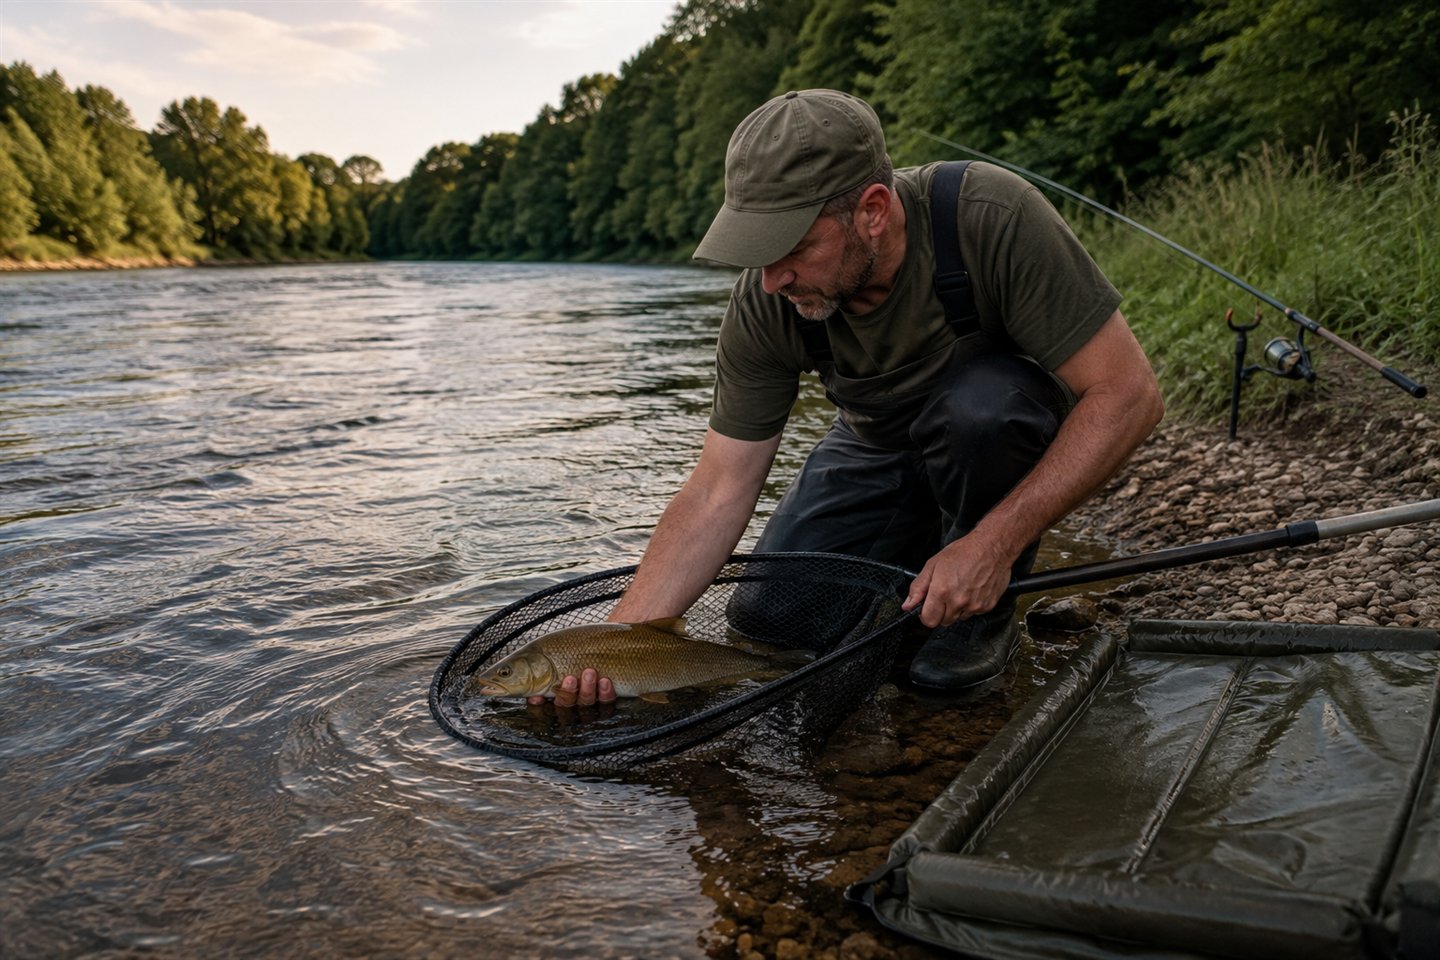
Prepare the fish-care area before casting. A soft knotless landing net, disgorgers and a wet padded mat where larger fish may occur are part of the setup. The coarse fish-care guide explains the full landing and release sequence.
A Hunter Pro 10ft carbon float rod-and-reel combo (paid link) can help compare entry-level outfits. Check rod length, casting guidance, reel capacity and supplied line on the exact listing; a bundle is not automatically balanced or complete.
Check permission, rules and conditions
In England and Wales, anglers aged 13 or over generally require the appropriate rod fishing licence, and everyone needs permission from the owner or club. Read national and regional byelaws plus the fishery’s current rules. These may specify hook type, minimum line, float restrictions, bait and unhooking equipment.
Weights deserve particular care. Current England guidance permits lead fishing weights only at 0.06 grams or less, or above 28.35 grams, with stated exceptions including lead incorporated into self-cocking floats, swimfeeders, weighted lines and flies or lures. Buy current UK angling shot from a reputable supplier and follow local rules, which may require non-toxic alternatives.
Don't assemble a carbon rod beneath power lines or during thunderstorms. Check clear space behind and above the peg, protect other anglers and towpath users, and choose a level position. Safety decides whether the rig should be cast at all.
Choose a suitable float rod
A match-style float rod around a familiar 12- or 13-foot format suits many stillwater wagglers, but length is not universal. Shorter commercial rods and longer river rods serve different tasks. The rod must be rated for the float and line and comfortable to hold.
The coarse fishing rod guide explains length, action and casting ratings. Don't use a powerful carp rod for delicate silverfish floats or overload a fine match rod with a heavy loaded float.
Inspect joints and guide liners before assembly. Seat sections to their intended depth without forcing them and align the guides. A cracked liner can damage line, while a loose joint can split under a cast.
Fit and balance the reel
A compact fixed-spool reel with smooth drag is the normal partner. Fit its foot squarely in the seat and tighten only until secure. Hold the outfit in the fishing position; a sharply tip- or handle-heavy combination becomes tiring and makes control harder.
Fill the spool with fresh monofilament appropriate to the rod and venue, ending close to but not beyond the lip according to the manual. Unknown old line supplied on a second-hand reel should be replaced. Label the spool with diameter, stated strength and date.
The coarse fishing reel guide covers size, drag and capacity. Reel numbers vary by manufacturer, so select from actual weight and specification rather than assuming every 3000-sized reel is identical.
Assemble the rod safely
Lay the bag or sections on clear grass or a mat, not a public path. Join butt, middle and tip sections while protecting the fine top. Align guide rings by sight from the butt and keep the rod horizontal until clear of overhead hazards.
Don't push joints until no spigot shows; some designs intentionally leave a gap. Follow the manufacturer’s instructions and keep grit from mating surfaces. If a joint sticks or feels damaged, stop rather than twisting with tools.
Thread the line through the guides
Open the reel bail arm so line pulls freely. Starting at the butt guide, pass the line through the centre of every ring in order. Missing a small tip guide makes casting erratic and can pull line against the blank.
After the tip, close the bail by hand and check the line is under the bail and seated in the roller. Leave enough working line beyond the tip to build the rig without bending the rod sharply. A small temporary loop can prevent it sliding back through while you organise tackle.
Never put line in the mouth. Wet tackle can carry harmful bacteria, and a concealed hook can cause serious injury. Use line scissors and keep the tag under control.
Practise the controls before adding a hook
Learn the bail arm, drag and casting grip with no hook fitted. At an authorised water, a coach can supervise gentle casts with an appropriate practice weight or float. Don't cast lead or a rig across a garden, park or car park where people, animals, windows and overhead cables create hidden risks.
Set the drag by pulling line steadily through the assembled rod rather than yanking it straight from the spool. It should release before unsafe pressure reaches the hooklength while remaining firm enough to set a small hook. Recheck after transport because a drag knob can move inside a bag.
Practise closing the bail by hand, placing line in the roller and winding loose line under light tension. This short routine prevents many tangles. Once it is automatic, add the terminal rig and keep the point secured until the peg and landing-net area are ready.
Choose a beginner waggler
A waggler attaches to the line at its bottom end. A straight waggler has a buoyant visible body and suits general stillwater work; an insert waggler has a finer upper section that can show delicate bites in calm conditions. Choose a tip you can see against the background.
The float’s loading or shotting mark indicates the weight needed to settle it, but marking systems vary. A self-cocking or loaded waggler carries some weight in its base and needs less shot on the line. Read the packet rather than translating markings from memory.
Start with a float heavy enough to cast comfortably and remain stable, but not heavier than necessary. Wind, distance, tow, depth and bait size all matter. The waggler fishing guide helps choose between straight, insert, loaded and unloaded designs.
A 20-piece straight and insert waggler set (paid link) can show typical markings and lengths. Buy a small labelled selection from a known maker rather than a large anonymous assortment with no shotting information.
How to attach a waggler to a float rod
The simplest setup threads the main line through the bottom eye and locks the float between shot. A purpose-made waggler attachment can also allow quick changes without cutting line. Follow its instructions and ensure every part remains secure and line-friendly.
Place the bulk of the required shot around the float, commonly with more below than above so the rig casts in a stable order. The exact arrangement depends on the float. Shot should grip without crushing line, and stops or adapters must not slide unexpectedly.
Leave the float able to move only when adjusting depth. Once set, test the attachment with a steady pull. A loose float that slides during the cast changes depth and can tangle around the hooklength.
Understand the shotting mark
Traditional markings may use letters such as AAA, BB and numbers, while modern floats may show grams. Don't guess equivalence between brands. Use the manufacturer’s chart and add weight progressively in a container or at the water’s edge.
The target is normally a visible section of tip with the body submerged. In calm water, less tip can improve indication; in waves, a little more visibility prevents every ripple appearing as a bite. Don't overshot until the float sinks with bait attached.
Test with the actual hook, bait and any attachment fitted because all contribute weight. Some baits sink, others are buoyant. Final trimming belongs at the water, not solely in a kitchen jug whose water and depth differ.
Add smaller shot down the line
After locking the float, place the remaining allowed shot below it to control the bait’s descent. A simple beginner pattern uses a small bulk or evenly spaced droppers, with the lightest shot near the hooklength. Keep enough separation to prevent components rotating together in flight.
Bulked shot takes bait down quickly through small fish and tow. Spread shot creates a slower, more natural fall and can catch fish at different depths. Begin with a simple local pattern and alter spacing only when the response explains why.
Don't pinch shot directly on a delicate pre-tied hooklength unless the rig calls for it. Keeping adjustment on the stronger main line protects the replaceable link. Inspect any area where shot has moved.
Connect the hooklength
A pre-tied barbless hook to nylon is a practical beginner choice. Check its hook pattern, size, line diameter and length against the bait and likely fish. The fishery may specify manufactured barbless hooks or minimum hooklength strength.
Make a small reliable loop in the main line and join it loop-to-loop with the hooklength, or use a tiny swivel where an appropriate rig calls for one. Seat the connection neatly and test with a gentle protected pull.
The line and hooklength guide explains material and diameter, while the coarse hook-size guide covers gape, wire and bait matching.
Use the right hook
A single maggot or small piece of bread needs a lighter and usually smaller pattern than double corn, worm or meat. Keep the point and gape clear. Hook number alone doesn't determine strength because wire gauge and shape vary.
For light canals, coaching material sometimes uses size 20 or 22 hooks with fine line. Don't copy that onto a commercial pool containing large carp or a snaggy tench swim. Ask for a rig suitable for the exact water.
Plumb the depth
Attach a suitable plummet to the hook as its maker directs. Gently lower or cast the rig a short distance to the chosen area. If the float disappears, the rig is set too shallow; move the float up the line. If it lies flat or too much tip shows with slack line, it is likely too deep; move it down.
Repeat until the float settles correctly with the plummet just contacting the bottom. Then decide whether the hookbait should sit on bottom, touch bottom or hang above it. For a basic stillwater start, fishing close to the bottom is often sensible, but fish can feed higher.
Measure the depth against the rod or mark it mentally so it can be restored after a tangle. Explore a small area to find shelves, silt and weed. Remove the plummet before baiting; it is a measuring tool, not part of the fishing rig.
How to set the depth on a float fishing rod
If fishing just on bottom, adjust the float by a small amount from the plumbed reference. Allow for hooklength angle and tow. A rig set exactly to vertical depth can lift or drag when wind pulls the surface line.
Overdepth fishing lays part of the hooklength on the bottom and can steady bait, but too much creates slack indication and snag risk. Underdepth fishing suspends bait and can find roach feeding off bottom. Change in measured steps and note bites.
Re-plumb if the float begins behaving differently or after moving casts. A lakebed can vary sharply within a metre. Depth is not a one-time formality.
Test the rig close to the bank
Lower the unbaited rig into clear water and watch how shot and hooklength settle. The float should reach its final position, the line should not wrap the stem and the hook should hang clear. Correct tangles before the first full cast.
Add the intended bait and repeat. A large bread flake or buoyant caster can change the final balance. Make tiny shot adjustments only with legal, appropriate weights and inspect line after each change.
A float shot, plummet and hooks-to-nylon search (paid link) can show terminal kits. Verify that the weights comply with current law and fishery rules and that hooklength specifications are clearly labelled.
Cast without tangling
Start with a gentle overhead cast into clear water. Keep the rig hanging a safe distance from the tip and accelerate smoothly rather than snapping. Feather line near the end so the float leads and the hooklength straightens before landing.
Close the bail by hand, place the line in the roller and wind only enough to establish control. If the hook repeatedly catches above the float, increase separation in the shotting pattern, smooth the cast and feather earlier.
Never cast when people, boats, birds or overhead obstacles enter the arc. On a canal, retrieve for approaching craft and keep the towpath clear.
Sink or control the line
In stillwater waggler fishing, submerged line between rod and float can reduce wind drag. Dip the rod tip and wind or strike the line beneath the surface without dragging the float far from the feed. Some reel lines sink more readily than others.
Don't blindly sink line where weed, debris or shallow obstacles can trap it. In a moving canal, excessive subsurface line can create a bow. The goal is controlled contact, not line at the bottom at any cost.
Hold the rod on a rest or comfortably in hand with the tip positioned to manage line. Keep immediate physical control; it is illegal to leave a baited rod unattended.
Feed before changing the rig
Accurate light feeding brings fish to the hookbait. Begin with small quantities of allowed bait and repeat a controlled pattern. Throwing or catapulting large amounts before understanding the swim can overfeed fish and hides whether the rig works.
Cast to the same area using a far-bank marker. If no bites come, check depth, bait condition and location before rebuilding the whole setup. The coarse fishing beginner guide gives a wider session plan.
Read bites and strike
A bite may pull the tip under, lift it, move sideways or stop a natural drift. Not every tremor is a fish; wind, tow and line movement create false indications. Watch for a positive change and learn the venue’s common bite shape.
Strike by lifting the rod enough to tighten and set the hook, not with a violent overhead sweep. Keep the rod curved and let the drag protect the hooklength. If bites are missed repeatedly, check point clearance and depth before using a larger motion.
Land and unhook the fish
Guide the fish over the submerged net head first when possible. Don't lift it on the line merely because it looks small; an unexpected lunge can break the hooklength or drop the fish on the bank. Netting is part of the planned setup.
Keep hands and net wet, support the fish low and use a correct disgorger. Return it promptly once it holds itself upright. Larger fish may require the wet padded mat prepared before casting.
Troubleshoot the setup
If the float lies flat, the rig may be overdepth, tangled or underweighted at the body; inspect close in. If it sinks without a bite, the rig may be overshotted, the bait may have added weight or weed may pull it. Don't keep casting an unexplained rig.
If the float drifts rapidly, surface wind or tow is moving line. Sink or mend line, adjust depth and shot distribution or choose a more stable float. Avoid adding weight beyond the rod’s capacity.
If hooklengths break, stop. Check guides, shot damage, knots, snags and tackle balance. Repeated breakage is a welfare warning, not bad luck. Strengthen appropriately or move away from the obstacle.
Frequently asked questions
Does a waggler attach at the top or bottom?
A conventional waggler attaches at the bottom end only. That reduces surface-drift influence and supports casting. Stick floats and pole floats use different attachment systems and should not be copied into this rig.
How much float tip should show?
Enough to see clearly in the actual light and waves while leaving useful sensitivity. Calm water may allow a fine dotted-down tip; rough conditions require more. Test with the hookbait attached.
Should the bait touch the bottom?
It is a practical starting point on many stillwaters, but fish may feed above or the bottom may be weedy. Plumb accurately, begin close to bottom and adjust in measured steps from bite response.
Why does the rig tangle around the float?
A jerky cast, unbalanced shot or failure to feather can let the hook overtake the float. Smooth the cast, keep most weight around the waggler, space droppers sensibly and straighten the rig before it lands.
Final thoughts
To set up a float fishing rod, keep the first rig simple and verifiable. A suitable rod and reel, fresh line, bottom-attached waggler, legal shot, matched hooklength and measured depth provide everything needed to learn.
Try the setup close in first and change one thing at a time. Make sure the net and unhooking tools are ready before fishing. Once the waggler casts neatly, settles properly and shows the bites, enjoy getting used to it. You can explore more specialised floats when you know what you'd like them to do differently.
Sources and further reading
Angling Trust: how to start coarse fishing; Canal & River Trust: setting up a beginner rig; Canal & River Trust: learn-to-fish skills; Drennan: example bottom-end waggler attachment guidance; and Environment Agency: current tackle and lead-weight rules. Check local byelaws and venue rules before fishing.