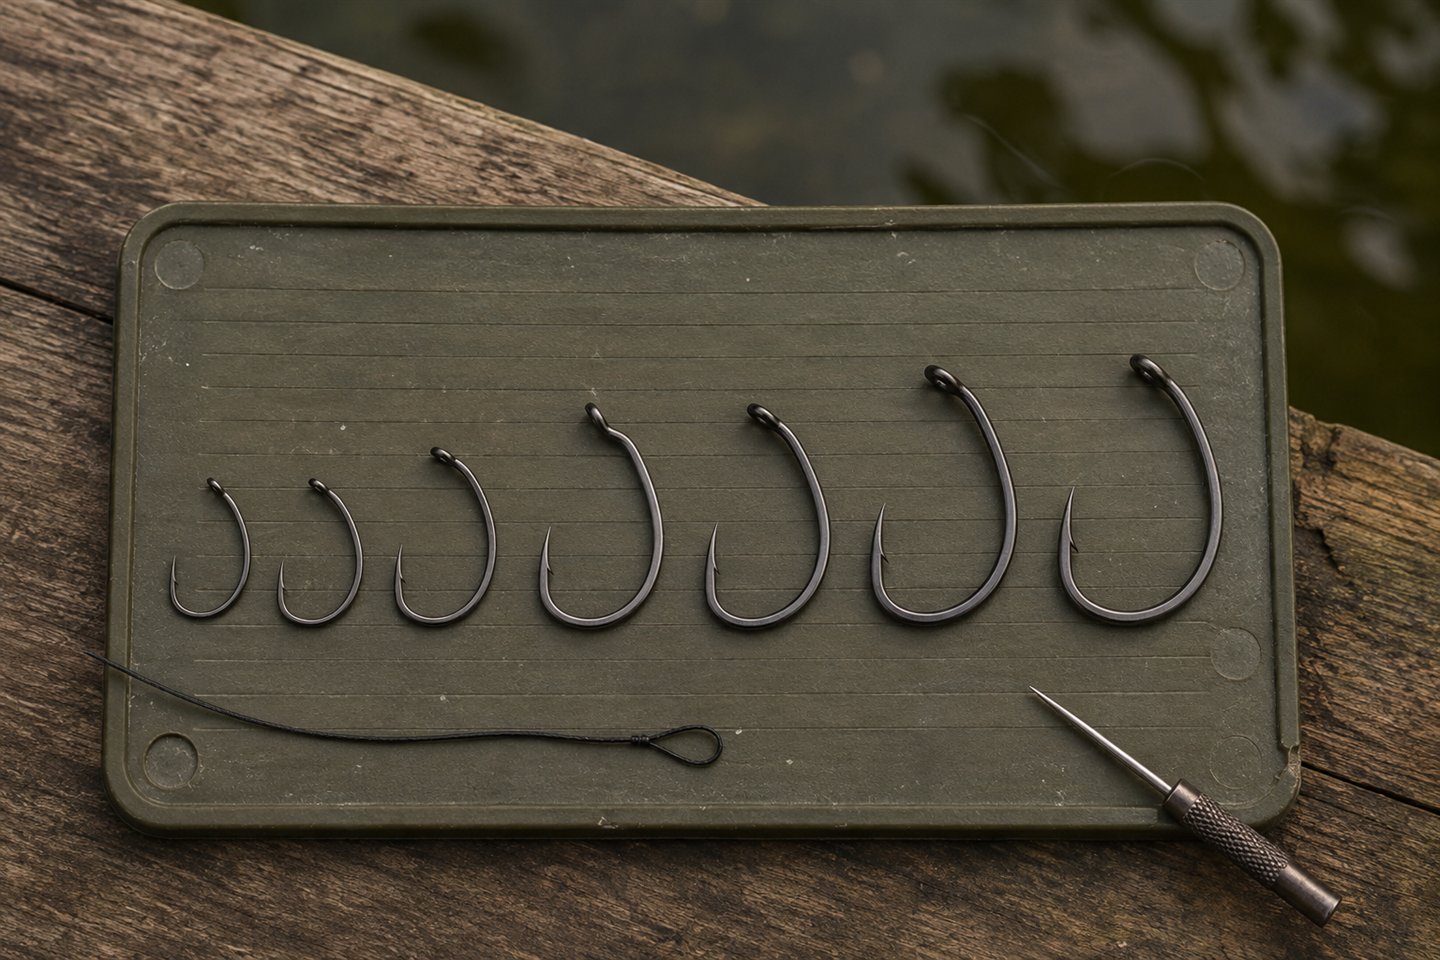
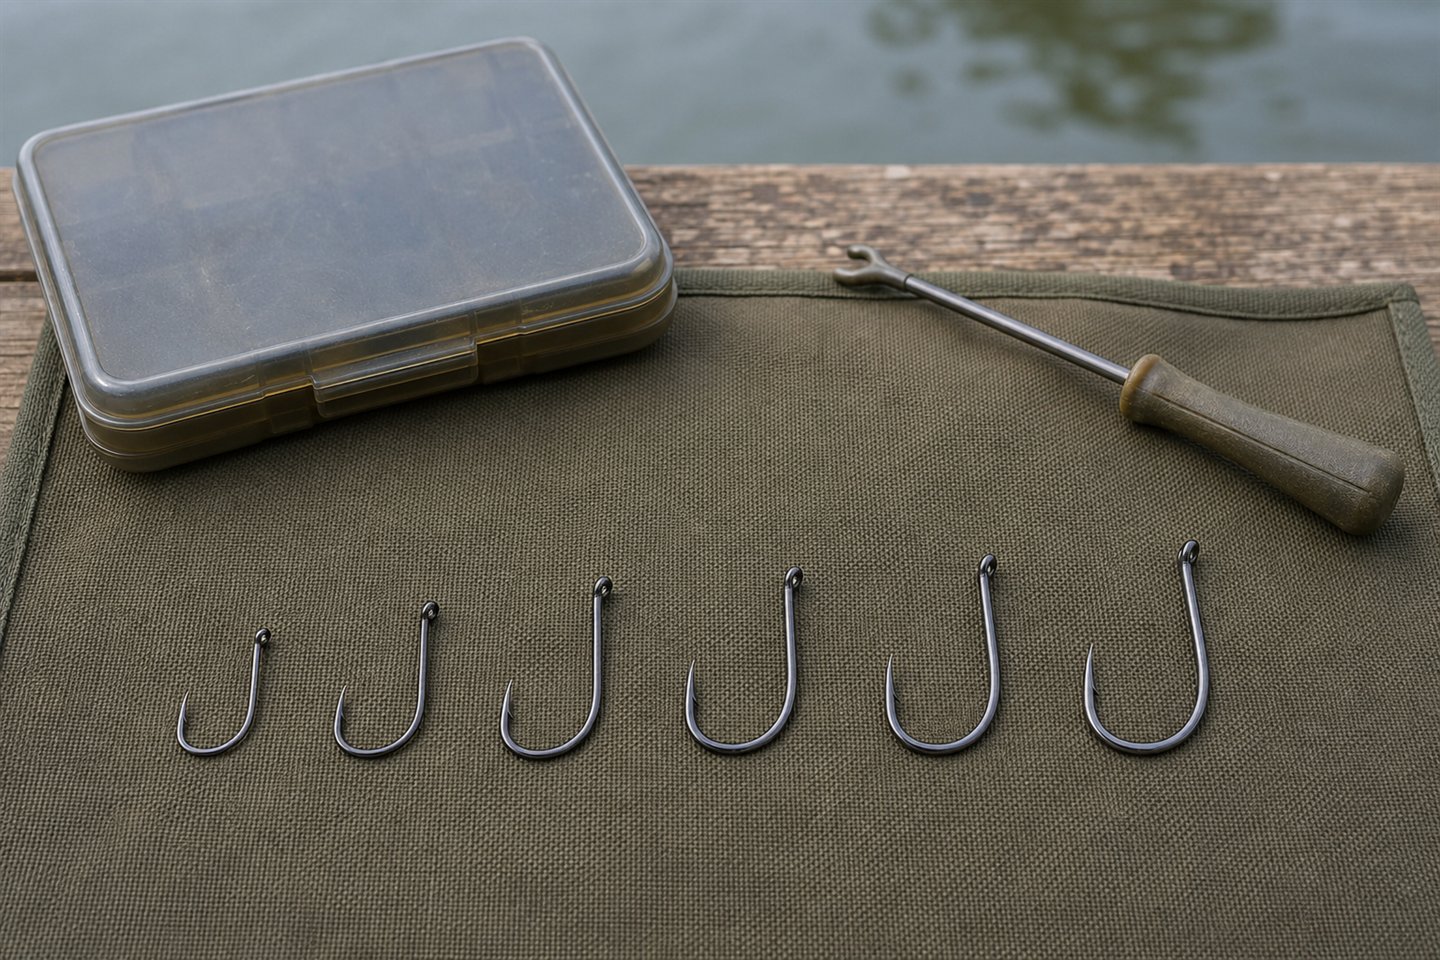
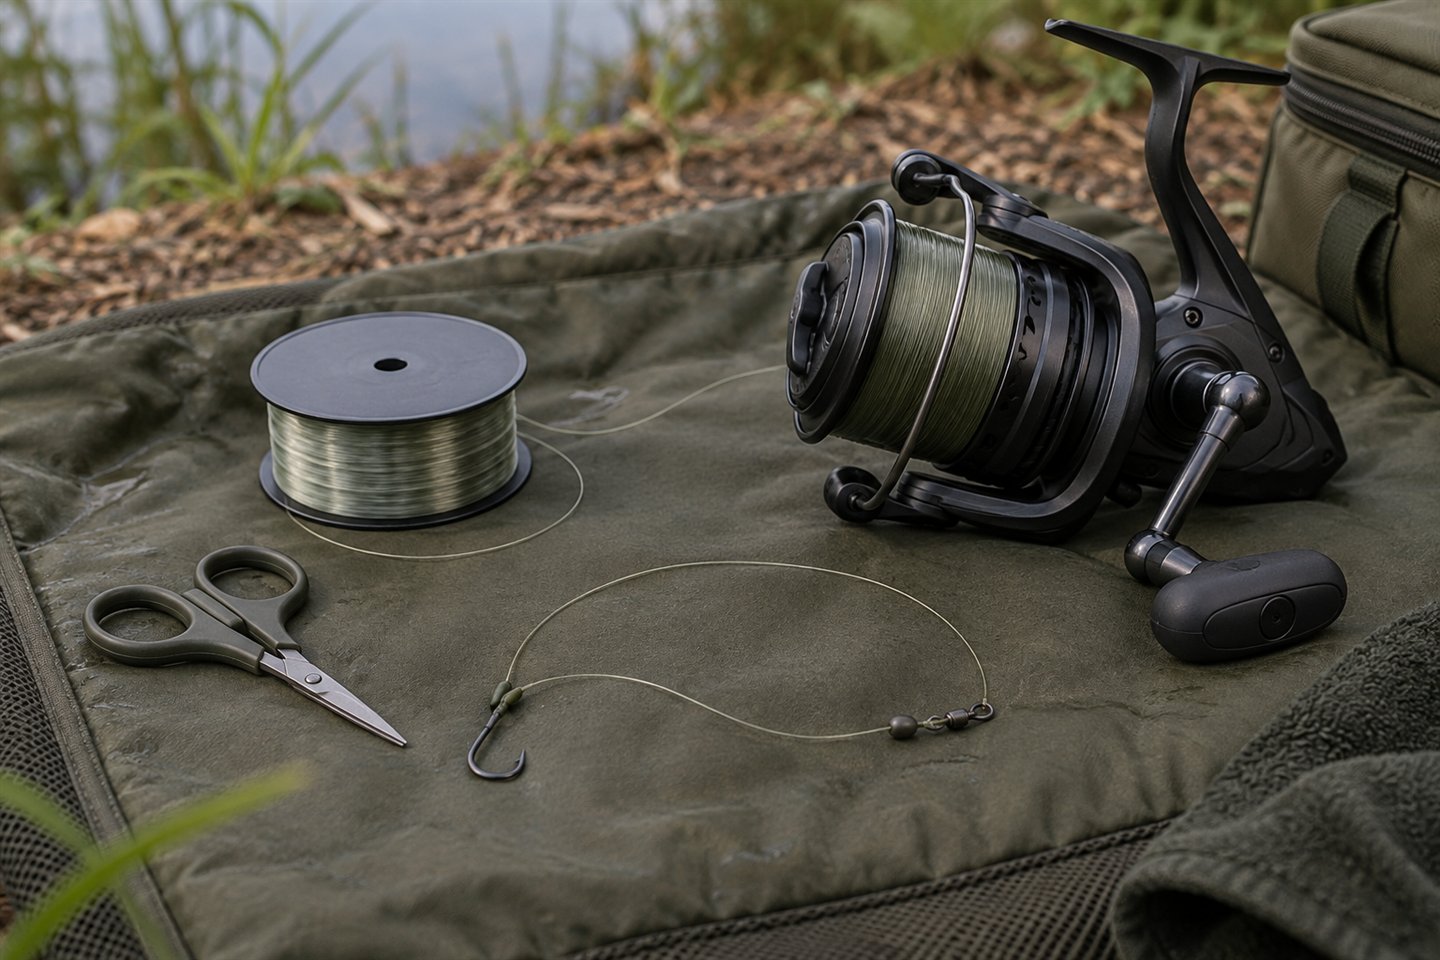
One handy thing about the multi rig is being able to change a damaged hook without tying a whole new hooklink. A loop holds the hook and forms the bait-carrying D. In this pop-up version we'll use coated braid, a short supple hinge and an out-turned-eye hook, then check the bait balance and what happens when you change the hook.
This guide takes that pop-up multi rig from component selection through assembly, bait balancing and the checks required after a hook change. The Korda-led shopping list matches the rig in the beginner carp rigs guide. If you're still learning basic knots or lead-system safety, start with the simple hair rig and practise the multi at a table before fishing it.
Multi rig anatomy: the loop does two jobs
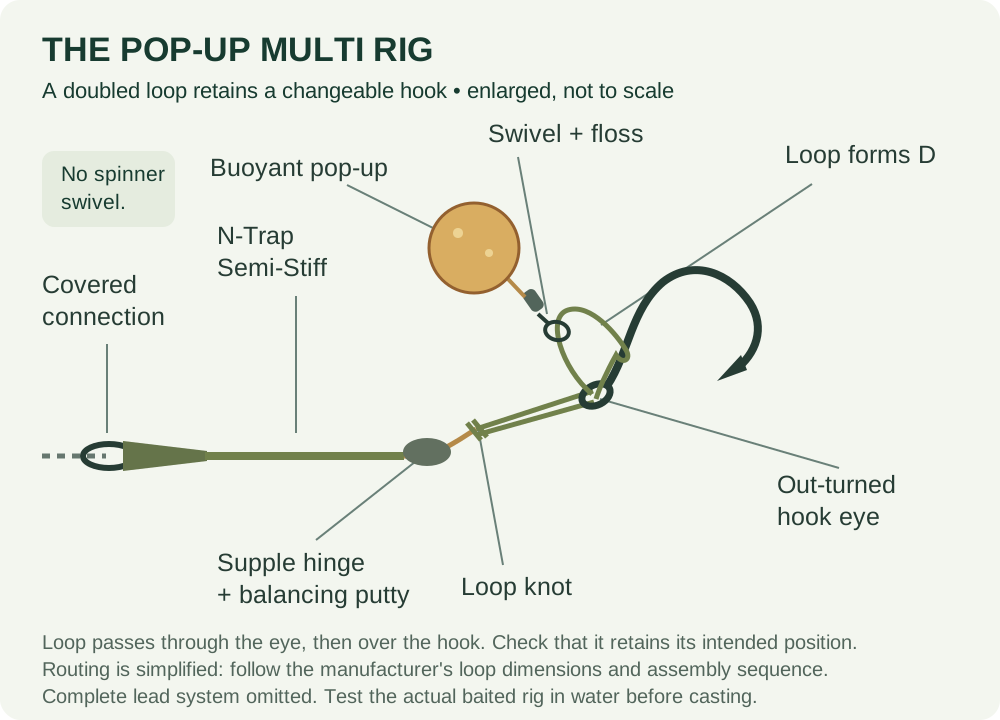
The important part to recognise is the doubled hook-end loop. It passes through the eye and over the hook, retaining it while leaving a D-shaped area for the bait attachment. The small bait swivel sits on that loop. It is not a large swivel connecting the hook to the hooklink.
Below the hook-end loop, the material changes behaviour again. The coated body provides some stiffness, while the intended stripped section supplies a supple hinge. Counterweight near that hinge controls the buoyant bait. These parts have different jobs: adding more putty cannot repair a badly retained loop, and using a larger hook doesn't fix a damaged coating.
The diagram is deliberately an anatomy illustration. Its enlarged proportions make small parts visible, but they are not measurements to trace. Set the loop and hinge according to the manufacturer's demonstrated construction, then check the actual baited result. The practical test is what your real components do together in water, not whether they exactly resemble a stylised drawing.
When should you choose a multi rig?
Consider it when you want a tested pop-up presentation and value being able to replace the hook separately. That can be useful if a point becomes damaged during ordinary fishing, provided the retained loop and the rest of the hooklink remain sound. The convenience is conditional: a damaged hooklink still needs replacing, however easy it is to fit a fresh hook.
Use it on a spot where the complete presentation can settle as intended. A raised bait may help keep the bait clear of some light debris, but it doesn't prove that the hook, hinge or lead have landed safely. Nor does the word “pop-up” make a setup appropriate for dense weed or a snag from which a fish cannot be landed.
A firm, reasonably even spot is a useful learning environment because it removes some uncertainty. First establish what the rig should look like in a clear container, then make controlled placement checks where possible. If the ground is unknown, investigate it rather than relying on the bait's height to conceal that uncertainty.
Choose another arrangement if the fishery restricts the hook pattern, material, hooklink length or lead system you intended to use. Permission comes before adapting the rig. If you need a sinking bait on a simple hair, the ordinary hair rig is a more direct starting point than converting a pop-up multi by trial and error.
It is also reasonable to decide that a Ronnie or spinner rig is easier for you to assemble consistently. Neither name guarantees better results. Compare the work you can actually do well: fit and retain a hook correctly, test the connections, obtain the intended bait balance and repeat the result.
Multi rig components: what you need and what you do not
Pop-up multi-rig
- Korda Choddy hook (paid link), in a permitted size and barb option suited to the bait and doubled material.
- Korda N-Trap Semi-Stiff coated braid (paid link).
- Korda Micro Ring Swivel (paid link) for the bait-carrying loop.
- Korda bait floss (paid link) and a suitable buoyant pop-up (paid link).
- Korda Dark Matter putty (paid link) for balancing at the intended hinge.
- Korda anti-tangle sleeve (paid link) and a compatible size-8 quick-change swivel (paid link) for the chosen lead-end connection.
Tools and complete setup
RazorBlades scissors (paid link), a Strippa tool (paid link), a suitable baiting needle (paid link), a pair of Pulla tools (paid link) and a container of water. Add suitable main line (paid link), a complete Lead Clip Action Pack (paid link) and an appropriate swivel lead (paid link) where that full system is suitable and permitted. Confirm any replacement swivel is compatible with the actual clip.
You don't need a spinner swivel, a crimp tool or a stiff fluorocarbon boom for this coated-braid multi rig. A separate hook bead is not being specified to hold its bait swivel on the shank; the attachment belongs on the loop. Those differences are useful safeguards against making a shopping basket from several unrelated tutorials.
Amazon links are affiliate links; we may earn a commission from qualifying purchases. Choose a permitted hook and check that its eye admits the doubled material without damage.
Korda's N-Trap Semi Stiff information is the material reference, and the Choddy specification identifies the hook pattern. Retain the intended coating except at the specified hinge. Stripping the entire hooklink would create a different arrangement, not a harmless shortcut.
Prepare the parts before making the first loop
Check the material in good light. Coating that is cracked before you start, frayed fibres or damage caused by a previous failed attempt are reasons to cut a fresh length. Keep the hook safely out of the way while practising loop knots so that tightening a knot doesn't bring a point towards your fingers.
Lay out one hook, bait swivel, sleeve and bait beside the tools. It sounds basic, but it makes it easier to notice a missing part before a loop is tightened. The correct assembly order matters when a component must pass over a loop; discovering that omission at the end encourages awkward improvisation.
Decide on the lead-end connection before cutting to a final length. A loop for a compatible quick-change swivel is not interchangeable with every supplied swivel or clip. If the whole setup needs a different connection, learn that version as a whole. The hook-end multi arrangement doesn't remove the need for a correctly specified lead end.
Use one demonstrated loop construction and compare your practice knots against it. A loop should be neatly formed, securely tightened and free of damaged coating or fibres. Don't use a new hook to distract yourself from a loop that slips when tested. That loop remains part of the load-bearing connection after every hook change.
How to assemble this pop-up multi rig
Follow Korda's photographed multi-rig tutorial for loop dimensions and routing. The following sequence highlights the stages to inspect rather than inventing a different knot.
- Make the hook-end loop. Form the demonstrated figure-of-eight loop, moisten it, tighten with a pulla tool and inspect the finished knot.
- Create the hinge. Strip the specified section below that knot without cutting the inner fibres.
- Finish the opposite end. Add the anti-tangle sleeve before making the required lead-end loop.
- Fit the hook. Pass the hook-end loop through the front of the out-turned eye.
- Add the bait attachment. Thread the Micro Ring Swivel onto the loop, then pass the loop over the hook point to retain the hook and form the D.
- Mount the pop-up. Secure the actual bait to the swivel with floss and check that attachment.
- Counterbalance and test. Place putty at the intended hinge, leaving the required movement, and test the complete baited rig in water.
After passing the loop through the eye, inspect both strands. They should not be crushed, split or forced into an unsuitable opening. If you have to drag the doubled material through with excessive force, don't continue on the assumption that it will bed in. Recheck the hook and material combination.
Don't leave the loop in a position merely because it looks attractively D-shaped. It has to retain the hook correctly while allowing the intended bait attachment movement. Handle the rig, lower it into water and inspect again. If the geometry changes unexpectedly during that modest test, find the cause before any casting attempt.
Understand the loop before relying on a quick hook change
A changeable hook is useful only when you can recognise the correct assembled state. Before fishing, practise removing and refitting a hook with the bait out of the way. Keep track of which strand passes through which opening. Don't pull a loaded hook point towards your hand while trying to enlarge a stiff loop.
When a hook needs replacing, reverse the demonstrated hook-fitting sequence carefully, then inspect the exposed loop all around. Look particularly where it contacted the eye and where the strands turn around the hook. Damage can be hidden when the rig is assembled; replacing the hook is a chance to inspect, not an excuse to skip it.
Fit the same appropriate pattern and size when you want to preserve the tested presentation. A different hook may change eye fit, loop position and bait balance. A hook that is heavier or lighter than the original deserves a fresh water test even if its size number looks familiar.
After reassembly, check retention, movement and buoyancy again. Don't assume that last night's balance test applies to today's replacement hook and new bait. The saving is avoiding unnecessary retying of an undamaged hooklink, not avoiding the checks you would perform on a new rig.
There's no fixed number of safe hook changes to advertise. Condition decides. If the loop is abraded, the knot has moved, the coating is damaged outside the intended hinge or the hooklink has been stressed by a snag, replace the relevant hooklink rather than trying to extract one more use from it.
Balancing the pop-up: test the entire hook section
Pop-up buoyancy has a job to do beyond floating the bait itself. The bait must support the intended hook assembly while the counterweight controls how the presentation settles. A bait floating alone in a mug doesn't tell you whether it will behave correctly with the hook, swivel, floss and wet material attached.
Use a container deep and wide enough that the sides don't hold the rig up. Lower the baited assembly gently and allow it to settle. Look at the hook end, hinge and coated body together. If you hold the boom in the air while judging the bait, you're supplying support that will not be there on the lakebed.
Adjust the putty in small amounts and test again, keeping it where the rig intends rather than spreading it across every moving part. Check it grips securely. A balanced rig that loses its putty on the cast is no longer the same presentation you examined.
Repeat after the bait has soaked. The point is not to claim that one brief home test predicts an entire session precisely. It is to discover obvious changes before relying on the bait for hours. If buoyancy falls enough to alter the presentation, change the bait or use a more suitable option and test again.
Watch for the bait or swivel crowding the hook's point and gape. Larger is not automatically safer: a very buoyant bait may demand a different balance, and a bulky attachment may move differently. Use a combination that gives the intended clearance, not the largest bait you can fit through the eye of a needle.
Hinge position, presentation height and the lakebed
The loop and hinge arrangement help determine the relationship between the bait and the counterweight. Don't treat the diagram's height as a prescription. Learn the demonstrated version, then observe its actual posture with your hookbait. Changes to loop size, hook size or the stripped section can affect more than one part of that posture.
A raised bait can still be badly presented. The hook may be obscured, the hinge may be caught, or the coated body may bridge something beneath it. When practising in a clear container, place a small harmless obstruction nearby and observe how the body responds without changing the rig. Treat this as a demonstration of limitations, not proof that an unseen fishing spot is safe.
If you retrieve weed or debris around the hinge repeatedly, first reconsider placement and the chosen spot. Continually increasing the height of the pop-up may leave the underlying problem untouched. Fish should not have to be landed through dangerous obstructions merely because the bait itself can float above them.
Compare the purpose of alternative rigs instead of treating them as a difficulty ladder. A two-material combi changes stiffness along the hooklink. A German rig changes the bait attachment on a tied hook. A spinner uses its own retained swivel. Choose the feature that addresses your situation, then learn that complete construction.
Complete lead-system and casting checks
The multi hooklink still needs a safe lead system. Follow the instructions for the exact kit and the fishery's current rules. A lead clip, inline arrangement and helicopter system are not interchangeable finishing touches; each has its own components and escape behaviour. Read the safe lead systems guide before using an unfamiliar arrangement.
Ask two separate questions: can the lead release as designed, and can the fish escape the remaining tackle after a main-line break? Don't answer the second merely by seeing the lead fall away. Check the actual line, knots, sleeves and any leader involved. If you can't explain that route, ask a competent fishery team member to check the assembly.
Inspect the open quick-change connection and its covering sleeve where used. A securely retained hook-end loop doesn't excuse a poorly covered lead-end connection. Conversely, a tidy lead-end sleeve doesn't repair a hook loop that has shifted. Work along the whole setup rather than checking only the newest feature.
Begin with controlled casts at a manageable distance, using the actual bait. Make sure the line is clear of the rod tip, vegetation and your body, with no people or animals in the casting area. After retrieving, check the hook, loop, hinge, bait attachment and putty, not just whether the lead came back clean.
If something tangles repeatedly, return to a known assembled state and change one factor at a time. Our tangle troubleshooting guide helps distinguish visible faults from guesses about when a tangle occurred. Repeatedly casting a suspect rig is not a useful test of its supposed reset properties.
Multi rig troubleshooting
| What you notice | Check | Appropriate response |
|---|---|---|
| D changes position unexpectedly | Loop dimensions, routing, hook fit and material condition | Rebuild to the demonstrated version before casting |
| Doubled material is crushed at the eye | Hook pattern, eye opening and material thickness | Use a compatible combination, not extra force |
| Hookbait will not support the hook section | Actual wet bait buoyancy and component weight | Change or rebalance the baited assembly |
| Putty falls off | Attachment point and secure moulding | Refit and repeat the water test |
| Fibres fray after changing the hook | Contact points around eye and loop | Replace the damaged hooklink |
| Rig returns covered in debris | Placement, ground and hooklink posture | Reassess the spot before increasing bait height |
Common multi-rig questions
Does the multi rig need a spinner swivel?
No. The hook is retained by the loop in this version. The small Micro Ring Swivel carries the bait and performs a different job. If your assembly includes a hook-eye spinner swivel, you're following a different construction.
Can I use a bottom bait instead?
There are bottom-bait and balanced-bait variations, but this guide's shopping list and tests describe a pop-up multi. Learn a complete variant with its appropriate hook and loop geometry. Changing the bait alone is not enough to establish that the new arrangement behaves as intended.
Is this the same as a combi-multi?
No. The names share a loop-retained-hook idea, but a combi-multi also combines a separate boom and supple hook section and may use a different kicker and bait presentation. The combi guide explains the distinction and links the separate manufacturer construction.
How small can the hook be?
The doubled material must fit the eye without damage, and the hook must suit the bait and rules. Don't choose a tiny hook solely to make a weak pop-up float. Read the hook-size guide, then test the full combination.
Can I reuse the hooklink after every fish?
Only if inspection and testing show it is still sound. A fresh hook doesn't renew worn braid or a slipping knot. If the condition is doubtful, remake the hooklink. There's no meaningful universal reuse count for different conditions and handling.
Your final check before fishing
Check the hook is held correctly and the point is sound, then look at the bait attachment and putty. Test the soaked bait's balance and the whole rig's release after a line break. Choose a spot with a safe landing route and have your net, wet mat and unhooking tools ready. Repeat the checks after changing a hook.
Use the linked manufacturer instructions to check the components and tying sequence. Use the manufacturer sequence when learning the loop and seek experienced help with anything you can't inspect confidently. For a comparison of the main families, return to carp rigs for beginners.